Wednesday, August 7, 2013

Making a bronze boat hook - Part 1

This is one of those old projects that have been kicking around for a few years, waiting patiently to get back to the top of the list. I bought a bronze boat hook head and ash handle a few years back to make gift to my father in law and got extras to make one for my self as well. I made his, but never got around to making one for myself until now.

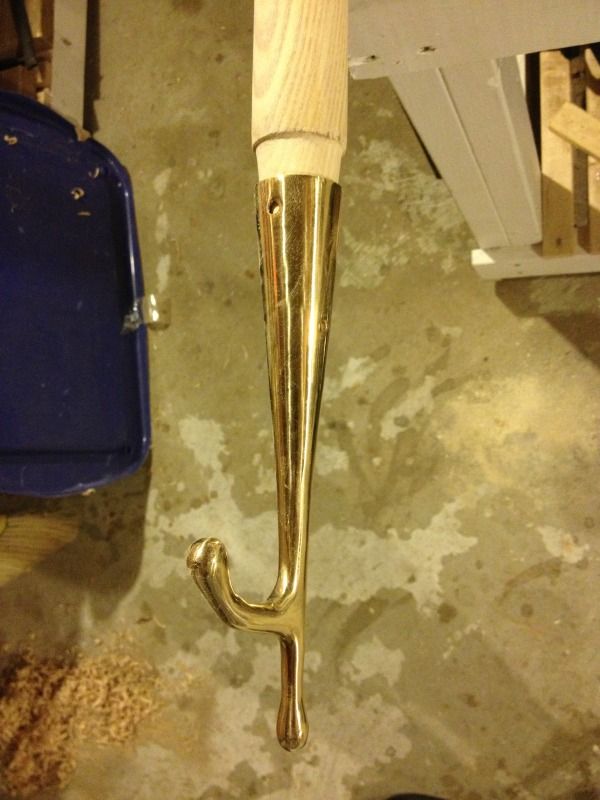
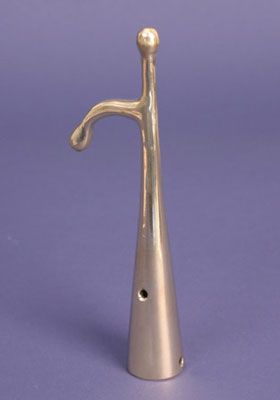
Here is the boat hook head, it comes from the WoodenBoat Magazine Store:


Here is the ash handle I bought way back when. You can see that the end that originally took the shovel head was too long and has been cut down and also is not steep enough of an angle to fit the boat hook casting.


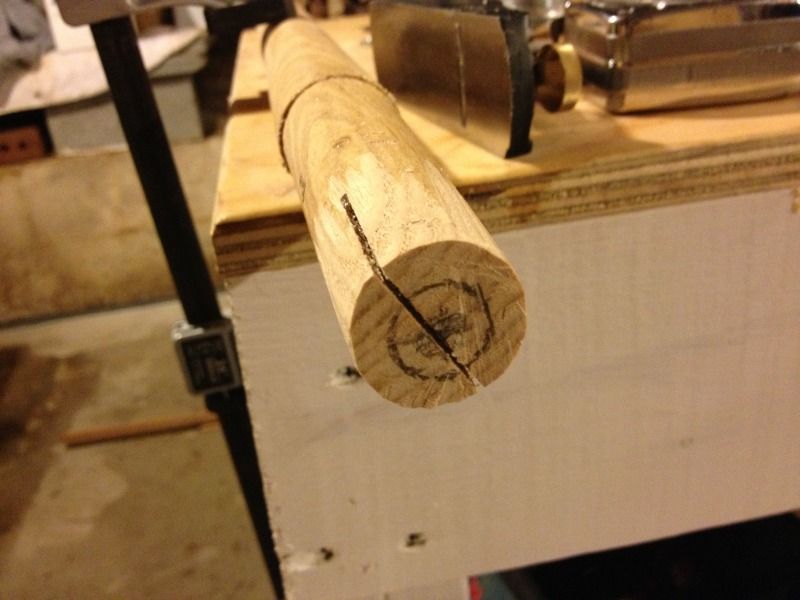
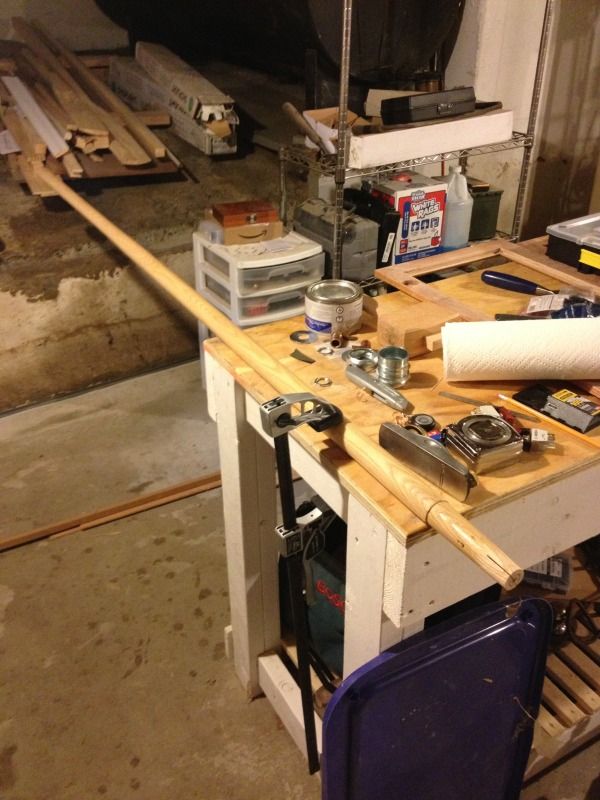
Here I have already started to take some passes with a block plane, but it's pretty close to the original diameter. The center is marked on the end as are a couple of concentric circles to give me a gauge as I start cutting it down to keep it centered.


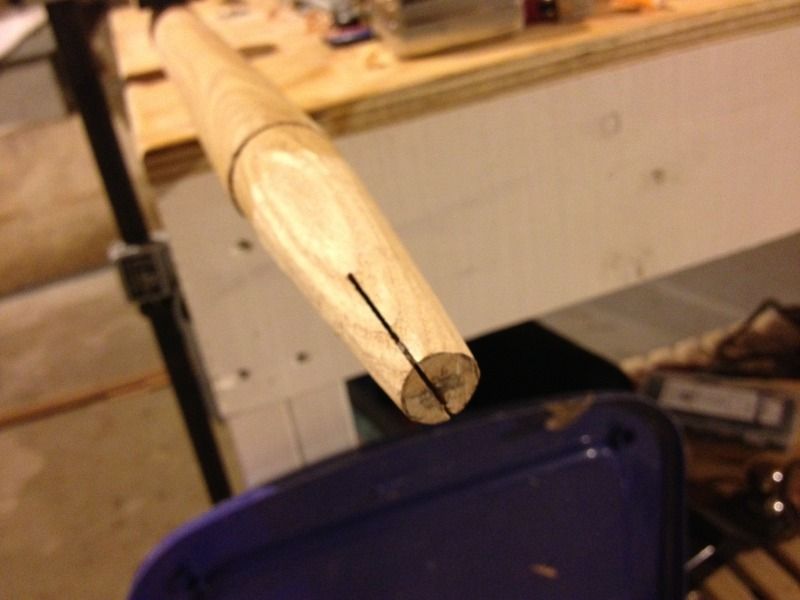
Down to the first circle, getting closer to the existing shoulder which is where the top of the boat hook casting will sit eventually.


Getting closer... The dark spots are from running a pencil on the inside of the casting before test fitting, gives you a sense of where it's touching. The inside of the casting isn't uniform and the closer it fits the stronger it will be.

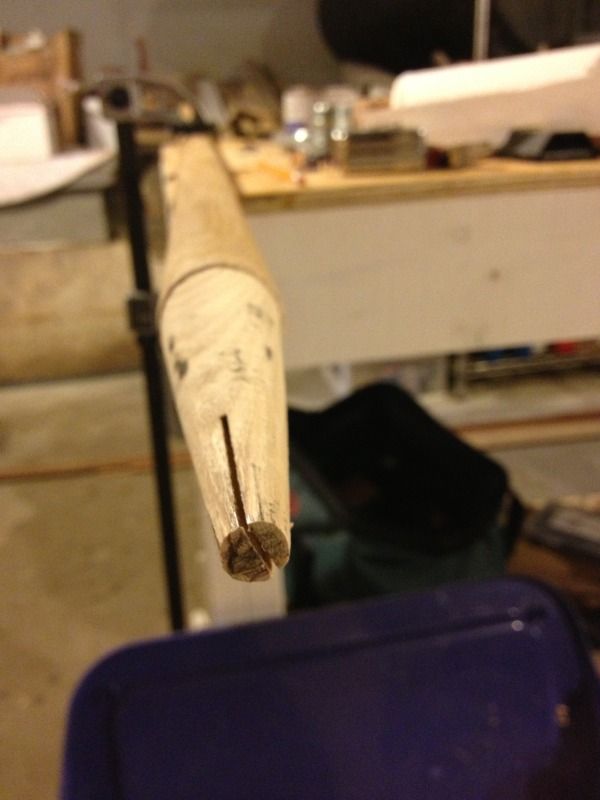
Now we're getting pretty close. Taking down the high spots moves it up toward the shoulder about an 1/8th of an inch.


Next the holes are drilled from each side and lengths of 3/16 copper rod are cut to fit each hole so that an 1/8th of an inch or so is sticking out. The corners are beveled to make it slightly self aligning and then hammered into the holes to form the rivets. You could use screws, but rivets are stronger, look better, and are just saltier all around. Also they are really easy to do.


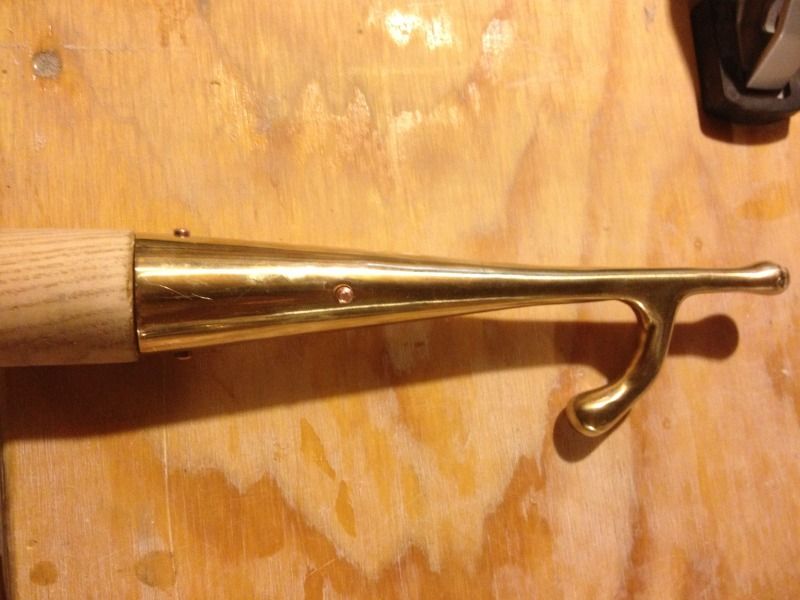
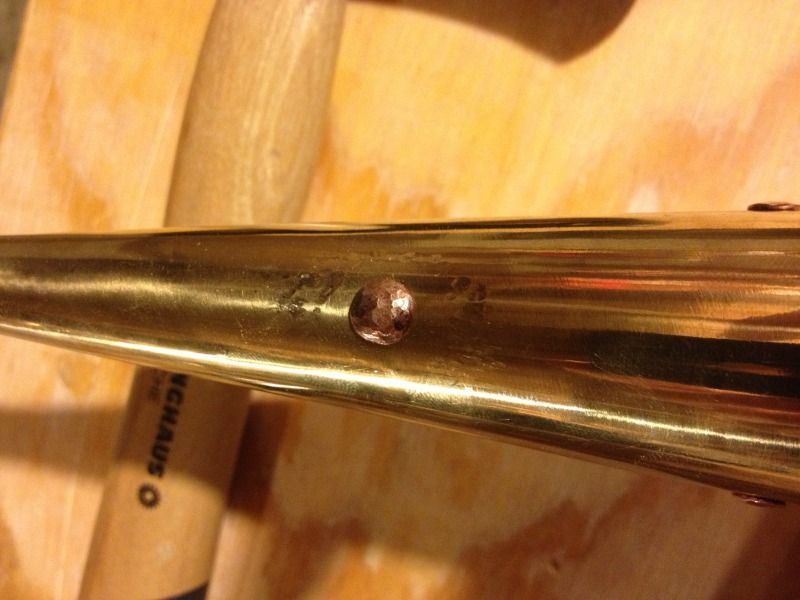
Here is one of the ends of the copper bar peened over. All it takes are light taps, I'm using a small blacksmithing hammer. The circle of divets around the rivet head are where the rounded head of the hammer is sliding down he side of the rivet head and hitting the boat hook. This is hammer movement is what gives it a domed shape and is the sign that it was done by hand.


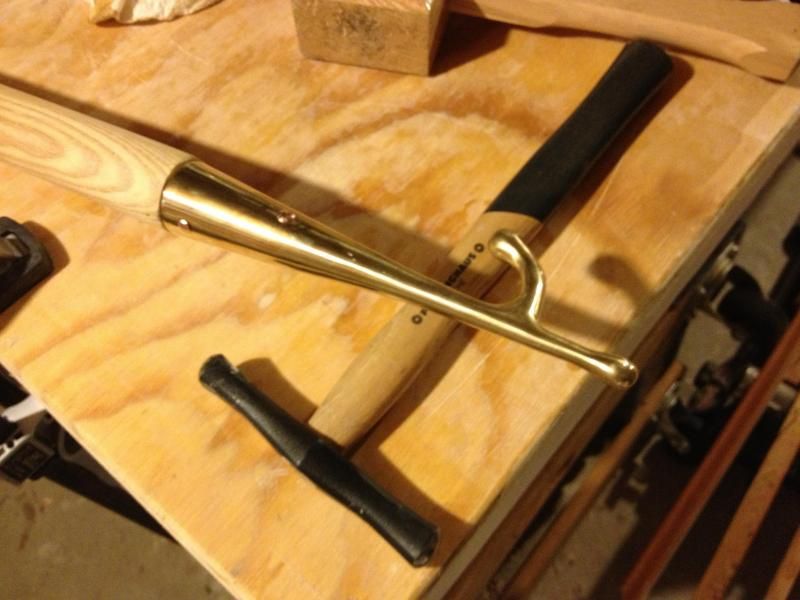
And here it is  with all four rivets peened over resting on the small planishing hammer I used to form the rivets.


Now I need to shape and sand the rest of the handle, apply a few coats of varnish and put some fancy ropework on it and it will be ready for a few decades (hopefully) of service.
Monday, July 15, 2013

Welcome to the new blog

I'm happy to announce that I am consolidating  all of my project blogs and forum threads into this one ongoing blog. Now you can follow my progress or brows the documentation on all of my various  projects - past, present, and future - in one spot on the web.

Looking forward to posting some new updates soon!


Saturday, February 2, 2013

Back to Work!

Alrighty Folks,

Finally sucked it up and got back to work on the Hitia. Its a little bit tight in the garage space, but with the help of my latest recruit, Tyler, we were able to keep working on the front beam and paint the inside of the second hull.

Here's a picture of the beam as it sits right now:


And here is one of the inside of the second painted hull:


We left some unpainted space for the floors and for the eventual installation of the hatches. I was hoping to be able to start working on glassing the outside rather than painting, but it was too cold to work with that much epoxy and I didn't want to do a sloppy job with the fiberglass cloth. So I opted to paint the hull instead, and set up the flood lights and the radiator next to the beam to help it cure up. Then I got out of there because the paint fumes were giving me a headache.

After lunch I came back and was especially glad I didn't glass the hull. I had over done it with the heaters and lamps and blew out the power. I couldn't get in to the room housing the fuse box, so I had to leave the beam as she was. Hopefully that quick hardener works in those low temperatures as advertised!

If anyone has any experience working with epoxy in low temperatures (about 40 degrees F) I'd appreciate any tips.

Anyway, its a bit ghetto, but I'm glad to be back at work on the Hitia. Hopefully the groundhog was right and we're headed for an early spring and some warmer days!