Saturday, May 12, 2012

The big glue day - Part 2

Earlier in the day we put down two layers of epoxy around the keel and stems, the first layer raw and the next mixed to a runny consistency with milled fiberglass. These layers were to seal down in all the nooks and crannies before adding the fillets to make sure there are no voids. Now that these layers are cured and our lunch break is over it's time to get epoxying again. Doesn't look like we are going to get through both hulls like we thought and turns out we didn't even get the one hull fully filleted.

We had trouble with bugs and leaves falling out of the tree the areas we weren't currently working on were covered with plastic.


I miss read the plans when drilling out plywood fillet smoothing tools and mistook a radius for a diameter and so the first attempts at hull fillets were half the proper size. Compare the ones on the right which is what we started doing, with those on the left which are correct. Glad we caught our mistake early!


The stems take up a huge amount of epoxy to fill but end up very strong and solid. We made the mistake of applying all this fillet in one go which caused the epoxy to get very hot. In the future we will build up to thicknesses like this in multiple passes.


By the time the sun was going down we had only made it through half of one hull. Not the kind of progress we were hoping for if this boat is going to take us sailing this season.


The big glue day - Part 1

The big day of gluing is finally here. The temperature is up and no rain in the forecast means it's time to get busy on our gluing ordeal. With any luck we can get all the rounds of gluing in one after the other in one drawn out process and then be done with it.

First the hulls need to come back out of the basement one more time and get set up at working height.


The aft stems were never stitched and so I attempted to do that while also pulling the panels into alignment. There is so much tension in the hull panels from the twisting that I couldn't get the stitches to hold so I went with screws instead which worked out much easier and pulled the hull panels in tight with the stem. This photo is after the gluing surfaces got a coat of raw epoxy to soak down into the nooks and crannies so that is where the small drips are coming from.


Now is also the time to check that everything is straight and level. With hardly any adjusting the hulls were perfectly lined up.


The gaps along the keel and stem are epoxied with a milled fiberglass and silica mix. These batches were mixed pretty loose so that they can settle into the gaps and make sure there are no voids.


More of the first glue round along the keel ...


Now we wait until this layer sets up and then the big fillets along the keel and bulkheads will follow. After the fillets dry if there is any daylight left we will epoxy in the fiberglass tape over the keel fillet.

To be continued ...

Friday, May 11, 2012

Attaching the mast step

Wharram seems to like interesting mast steps, and the Hitia 17 is no different. The mast as feet that lock it to the beam fore and aft and "locating chocks" that locate the base of the mast laterally. The front block also prevents the mast from rotating and the middle portion gives a curved initial contact point for the foot of the mast to hook onto as the mast is rotated up into place.


So here is the plan for the front block, I have made it a bit wider than the sketch which I think looks better and will give more epoxy surface area to prevent shearing along the glue joint.


Now the mast step doubling block and the block are epoxied on. The sequence here was fillets, doubling block then mast foot block.


The block liked to slide around particularly with the clamps on the angled faces. It took some adjusting but eventually it sat centered and flush with the top surface.


Now that the epoxy has cured it's time to make sure the proportions and shapes look right.


Overall I'd say the mast step is looking pretty good and I seem to be getting the hang of the fillets. The second round worked out much neater than the first though you can see that i need to go back and clean up some of the excess.


We're still struggling to find a free day with good weather to do the hulls, but they are poised and waiting should the opportunity arise.

Thursday, May 10, 2012

Continuing on the main beam

A quick update on the main beam. The bottom was glued on and cured over night.


The compression blocks pretty much assure that it the top and bottom are parallel, though in some cases there was some room for adjustment based on small changes in the clamping location particularly on the ends.


And here is the main beam all glued up and man is this thing sturdy. I'm feeling better about these beams being the only thing keeping us out of the water.


Now we just have to keep up the sequence: glue, wait, fillet, wait, glue, wait, fillet, wait ...

Wednesday, May 9, 2012

Carving the mast step block

Another rainy day working in the basement instead of outside, but I made some progress on the mast step for the main beam. The top of the main beam is doubled up under the mast step with a block that tapers on each end "to a pleasing shape" according to the plans. I marked a shape that looked good on a cutoff and got to shaping. At first I thought I would bring the edges to a point, but then decided to leave the edge flat at about an inch wide.


I've recently found how much I like working with an old draw knife I picked up a long time ago and this was another good use for it. It's 14" along the blade and 24" between the handles so a bit big but very handy.


In no time at all the blank was worked down to shape and then planed to the lines.


The next step was to taper and bevel the edges to lighten up the appearance of the mast step block. The top edge of the bevel was drawn on freehand to miss the blocks that form the step so that they have a flat mounting surface. The rest was trimmed down by eye with the draw knife.


Here it is getting pretty close to the final shape, but not quite even. This was all with the draw knife so far.


A bit more work with a sanding block and it was done and ready for a test fit. The short piece didn't want to take the bend but eventually settled in nicely. I'm happy with how the tapered ends turned out and how they flow with the curve of the beam.


That's it for now on the mast step until the bottom of the beam is glued on. This beam is getting pretty close to done, two more to go.

Tuesday, May 8, 2012

Starting the main beam

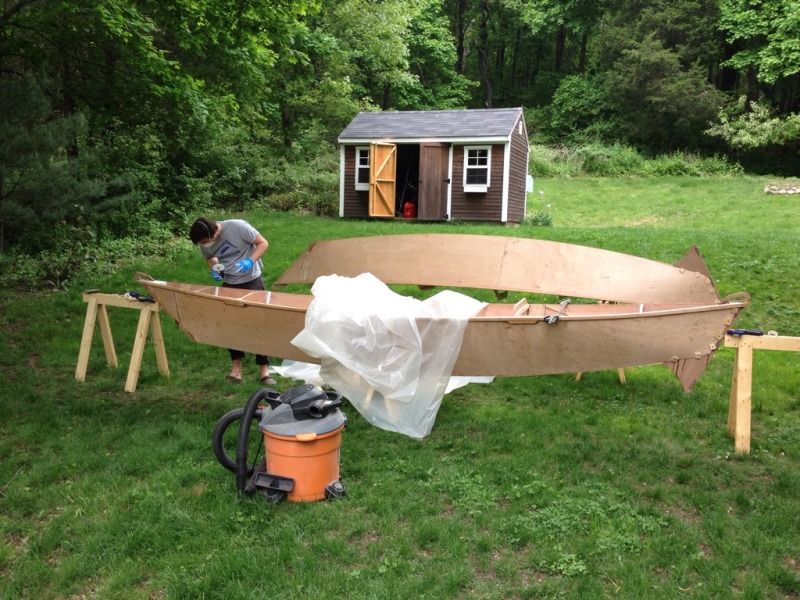
Today we found ourselves with a free day to spend working on the boat and then it rained non-stop. The weather is always gorgeous when one or the other of us is busy, but we can't let that stop us getting out on the water. Since we are confined to the basement we decided to work on the beams and save the hulls for another day.

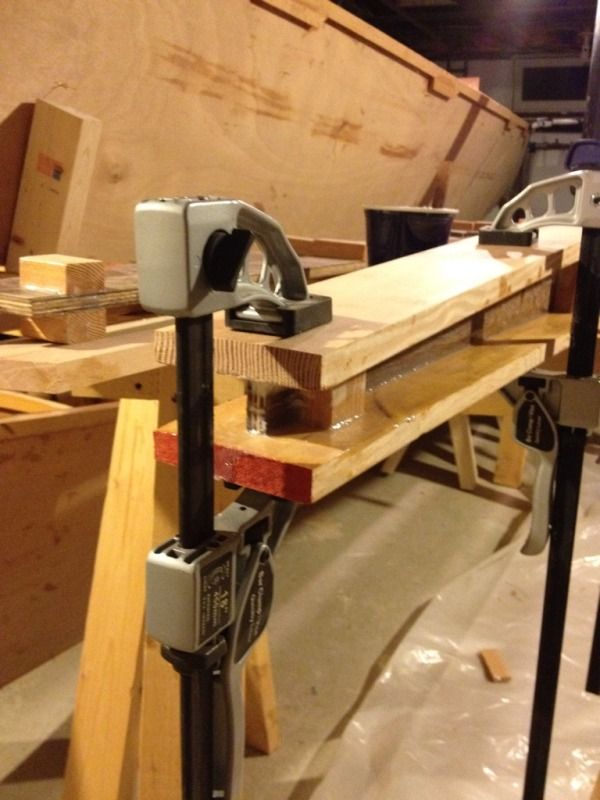
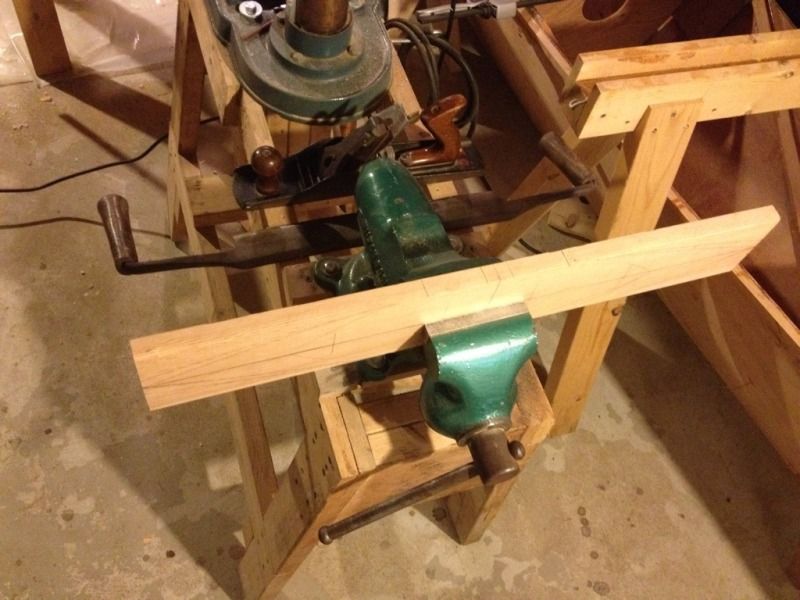
The compression support blocks were trimmed pretty close when we glued them, but needed some adjustments so that the top and bottom boards of the I-beams would sit level. We are trying to keep all of the saw dust generating activities out of the basement but it was raining so this was our compromise. The saw-rasp evened things up pretty quickly


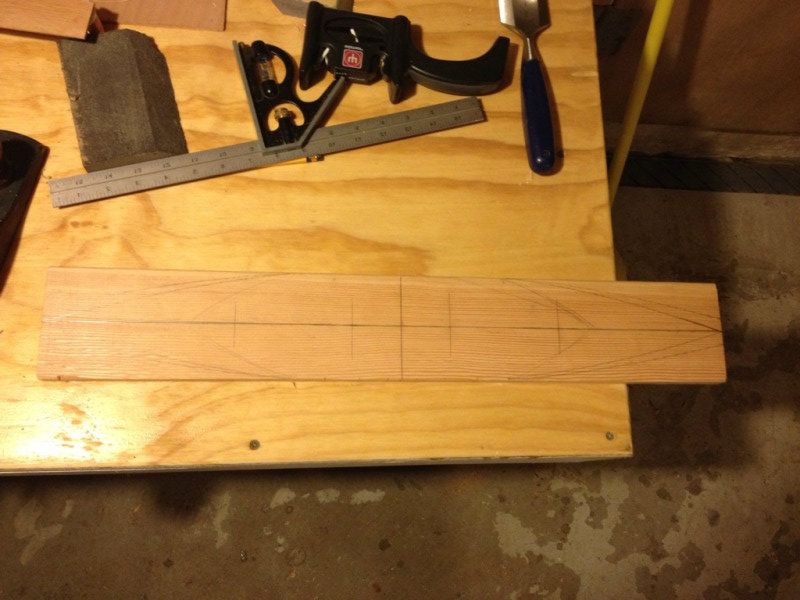
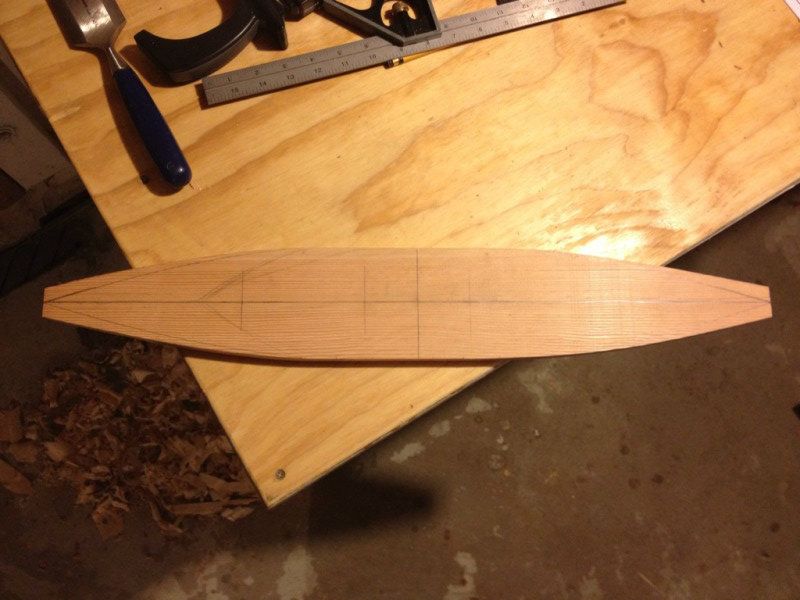
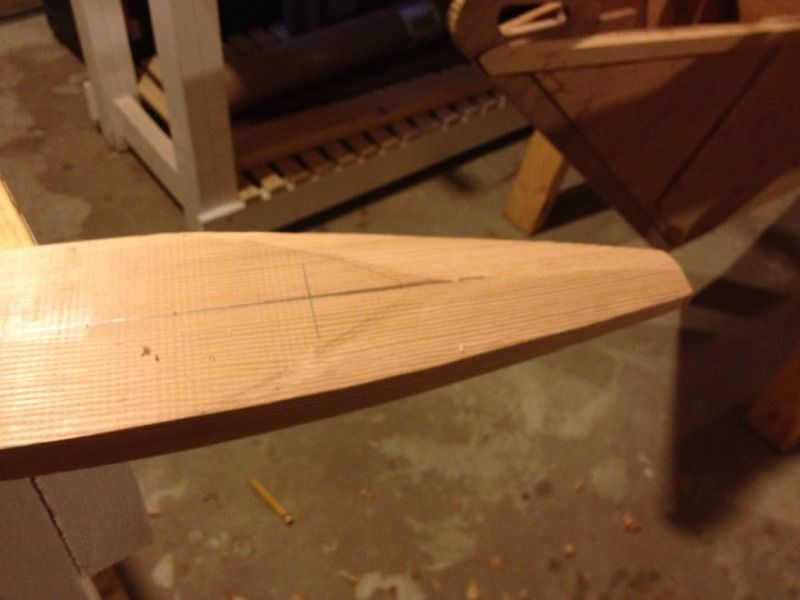
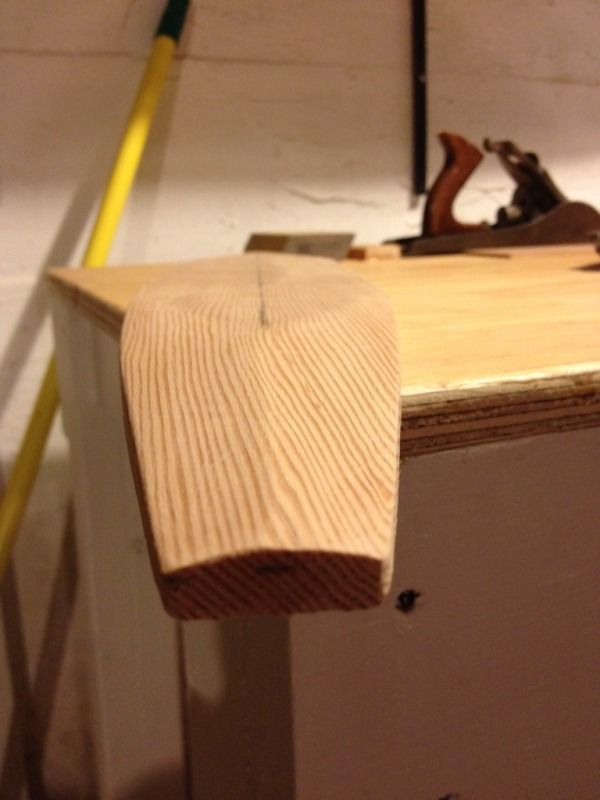
 We took advantage of a brief break in the rain to sand the epoxy coated faces of the center beam pieces. There was some concern with the metric conversions that we may have made the beams too narrow so we double checked while measuring for the top board of the main beam. It is actually an inch long which means we'll get that much more room when sailing.

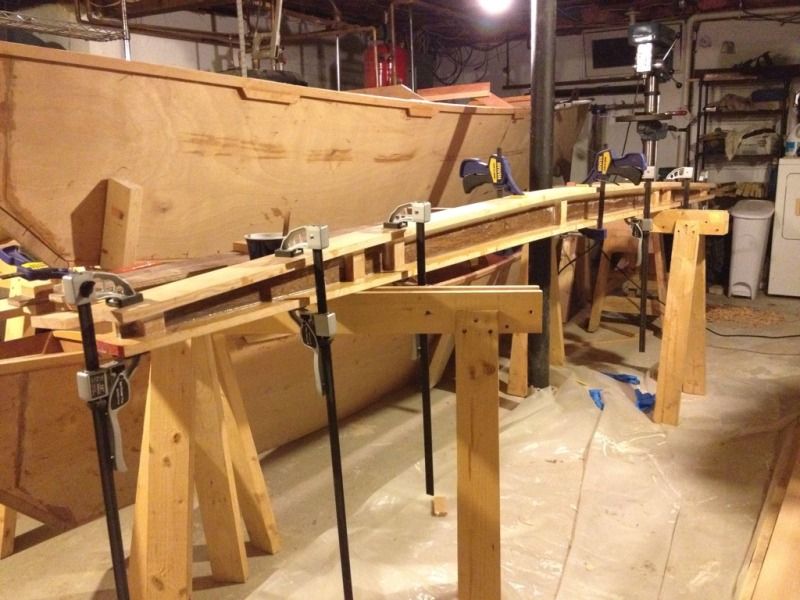
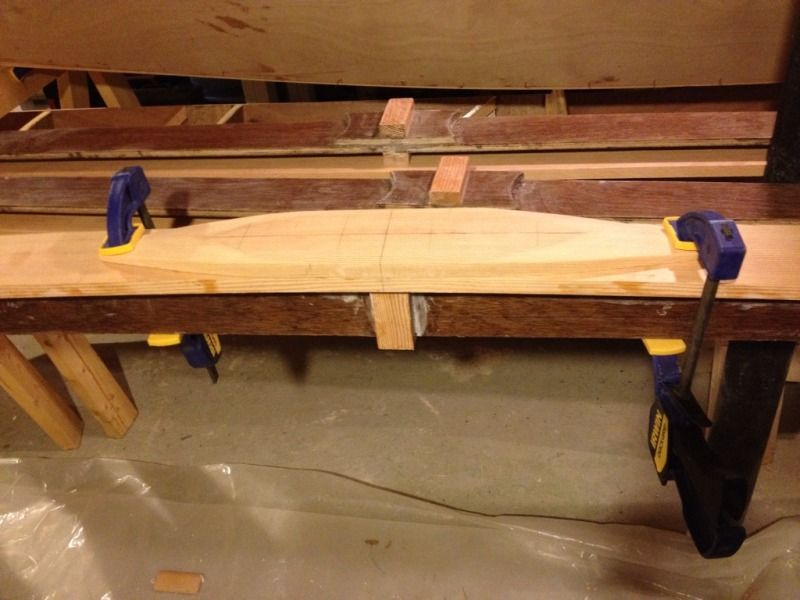
In the dry test fit it looked like we could get away with four clamps and use the stiffness of the board to close all the gaps in a fair curve.


In reality it took 7 clamps, good thing we only epoxied up one at a time! This was about the time Cam said, "If we just had more space and more clamps, think about how much we could get done!"


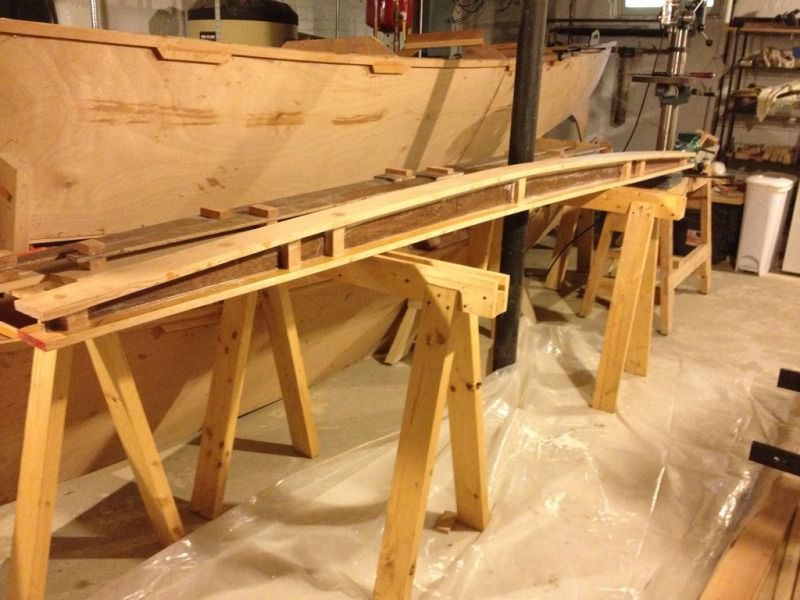
Sighting down the beam makes sure that the it is straight and centered. Right after this photo we adjusted the closest part a bit to the right as you can see that it is a little off.


After a few hours it was time for more fillets. Here is the glue joint smoothed out with our finger.


The middle two sections get a 1.25" radius fillet.


The outside sections step down to a 5/8" fillet which you can just see in the corner of this picture. Probably could have done the fillets once both boards are on but it seemed easier to do now while there was better access. For the next ones I'll wait till the clamps are out of the way, it's hard to keep the epoxy off of them.


One half of one beam down, can't wait for the weather to clear so we can move outdoors. That will solve the space issue, I'm not sure I'll ever have enough clamps though.