Showing posts with label All Boats. Show all posts

Wednesday, August 7, 2013

Making a bronze boat hook - Part 1

This is one of those old projects that have been kicking around for a few years, waiting patiently to get back to the top of the list. I bought a bronze boat hook head and ash handle a few years back to make gift to my father in law and got extras to make one for my self as well. I made his, but never got around to making one for myself until now.

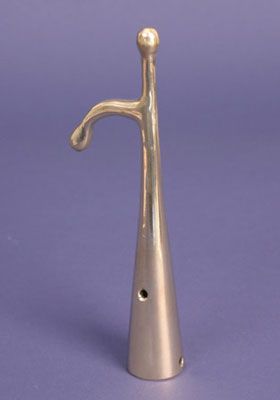
Here is the boat hook head, it comes from the WoodenBoat Magazine Store:


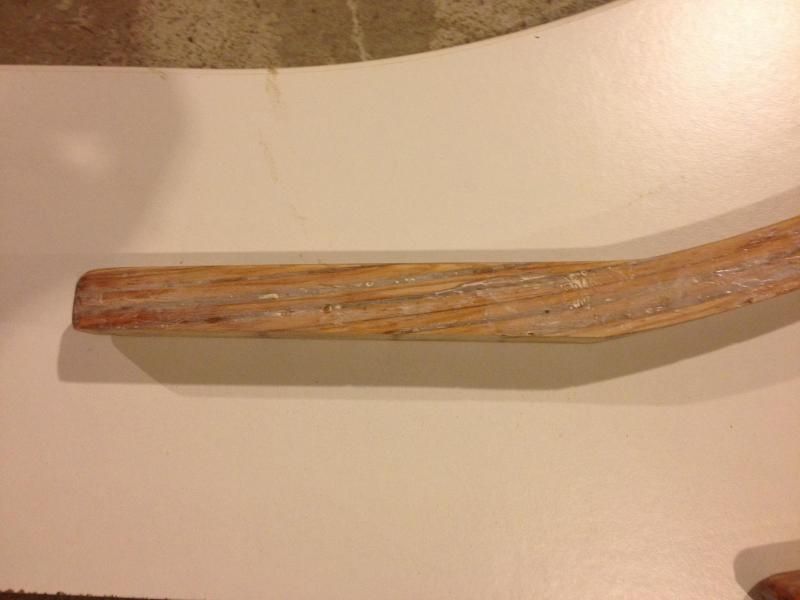
Here is the ash handle I bought way back when. You can see that the end that originally took the shovel head was too long and has been cut down and also is not steep enough of an angle to fit the boat hook casting.
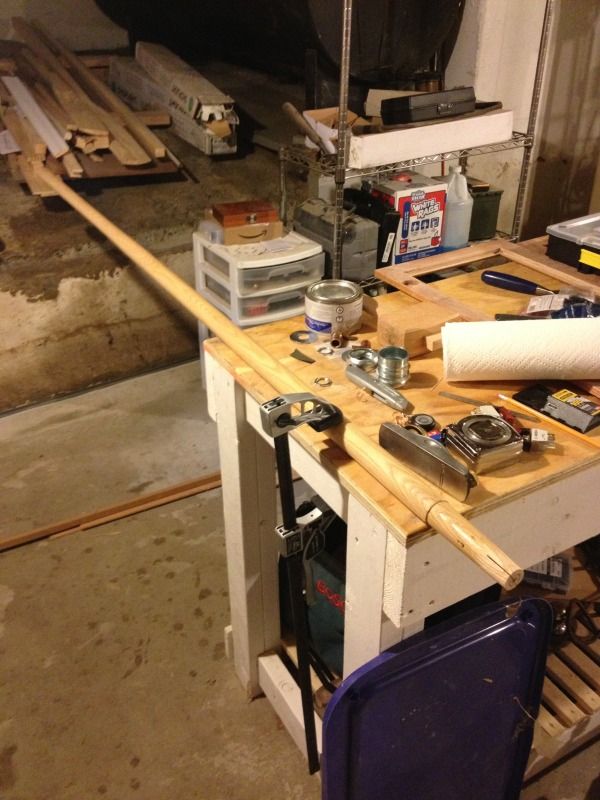

Here I have already started to take some passes with a block plane, but it's pretty close to the original diameter. The center is marked on the end as are a couple of concentric circles to give me a gauge as I start cutting it down to keep it centered.
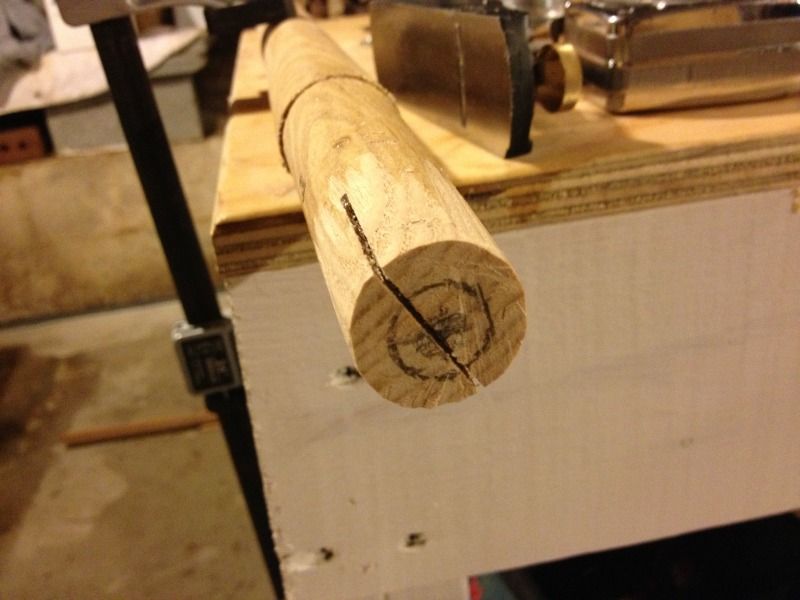

Down to the first circle, getting closer to the existing shoulder which is where the top of the boat hook casting will sit eventually.
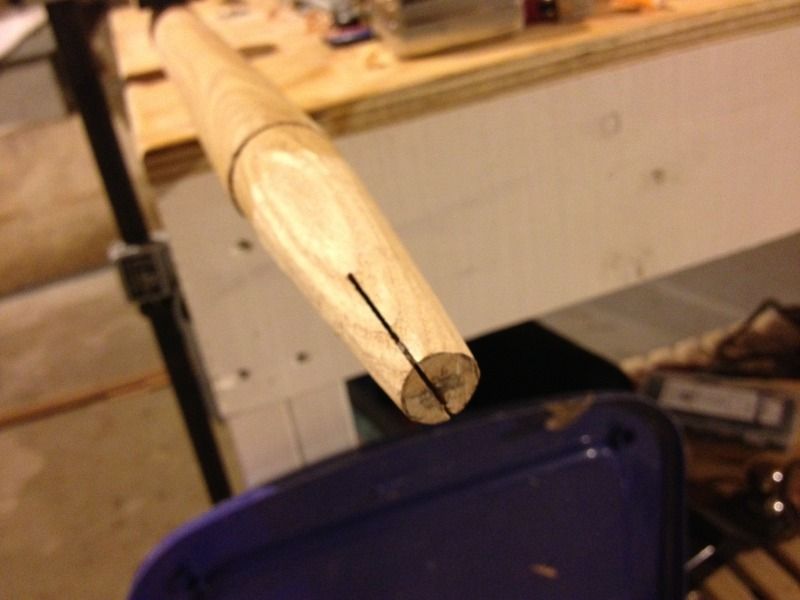

Getting closer... The dark spots are from running a pencil on the inside of the casting before test fitting, gives you a sense of where it's touching. The inside of the casting isn't uniform and the closer it fits the stronger it will be.
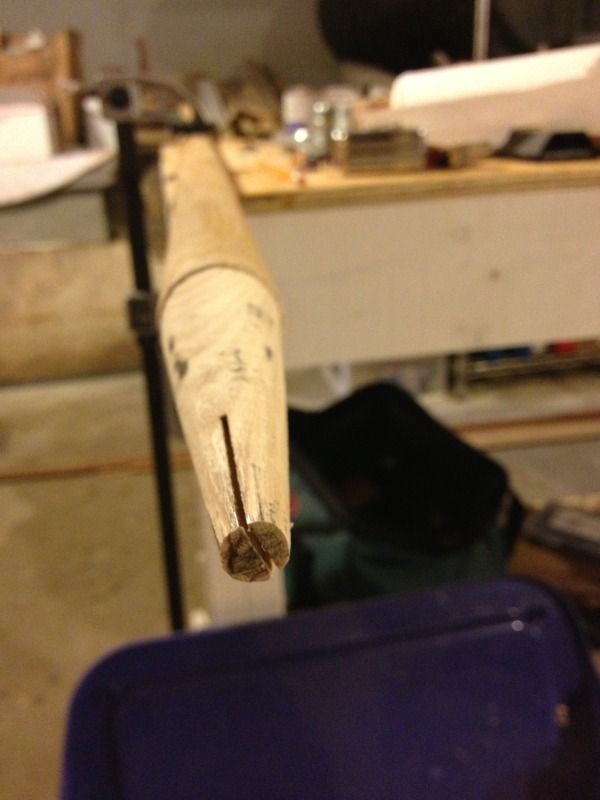
Now we're getting pretty close. Taking down the high spots moves it up toward the shoulder about an 1/8th of an inch.
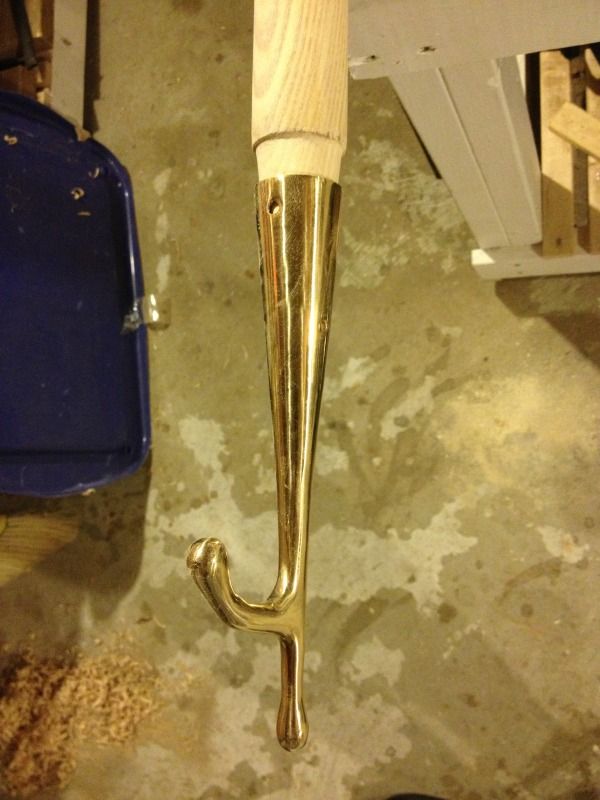

Next the holes are drilled from each side and lengths of 3/16 copper rod are cut to fit each hole so that an 1/8th of an inch or so is sticking out. The corners are beveled to make it slightly self aligning and then hammered into the holes to form the rivets. You could use screws, but rivets are stronger, look better, and are just saltier all around. Also they are really easy to do.
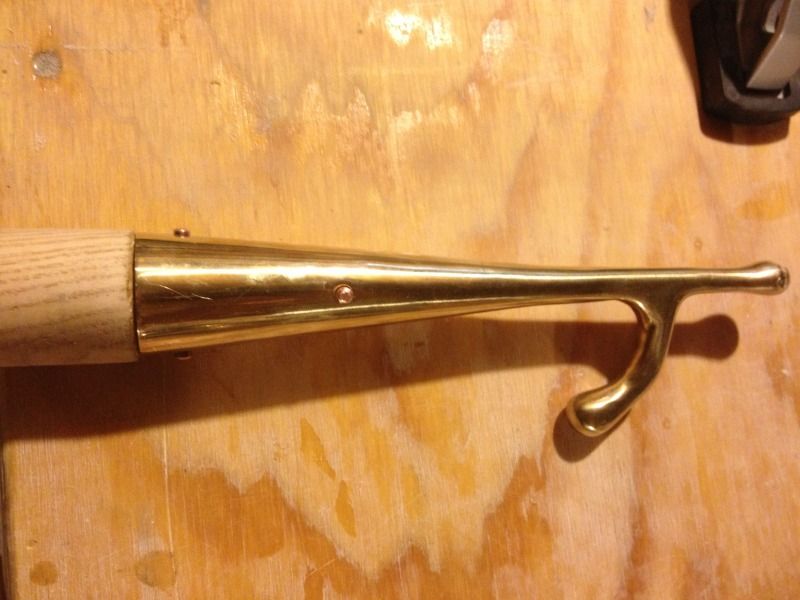

Here is one of the ends of the copper bar peened over. All it takes are light taps, I'm using a small blacksmithing hammer. The circle of divets around the rivet head are where the rounded head of the hammer is sliding down he side of the rivet head and hitting the boat hook. This is hammer movement is what gives it a domed shape and is the sign that it was done by hand.
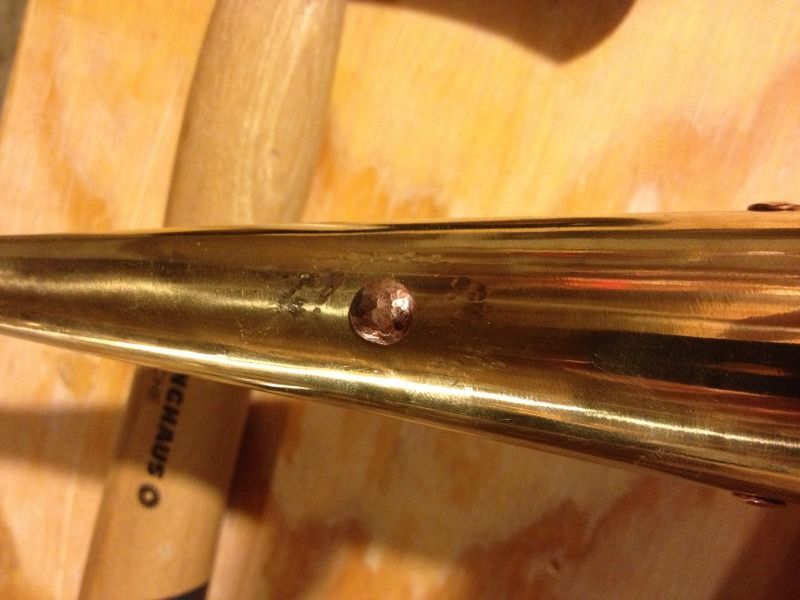

And here it is  with all four rivets peened over resting on the small planishing hammer I used to form the rivets.
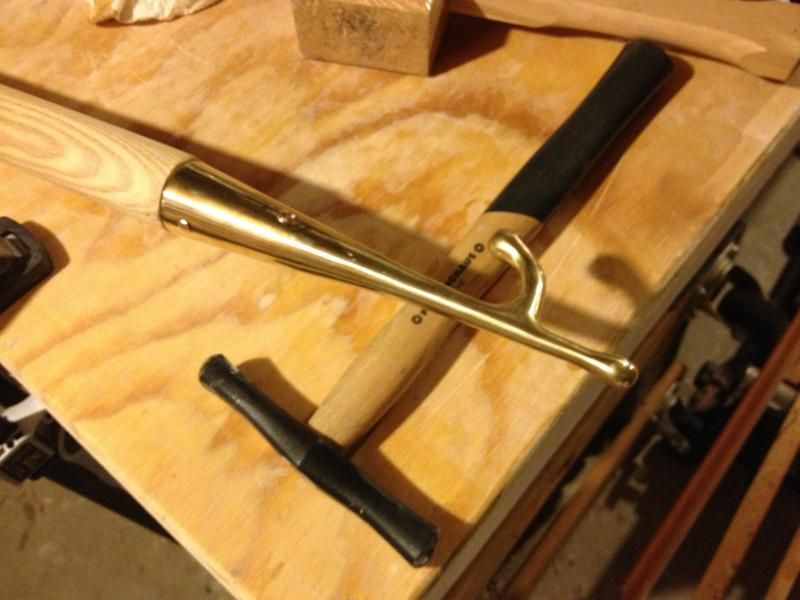

Now I need to shape and sand the rest of the handle, apply a few coats of varnish and put some fancy ropework on it and it will be ready for a few decades (hopefully) of service.

Saturday, February 2, 2013

Back to Work!

Alrighty Folks,

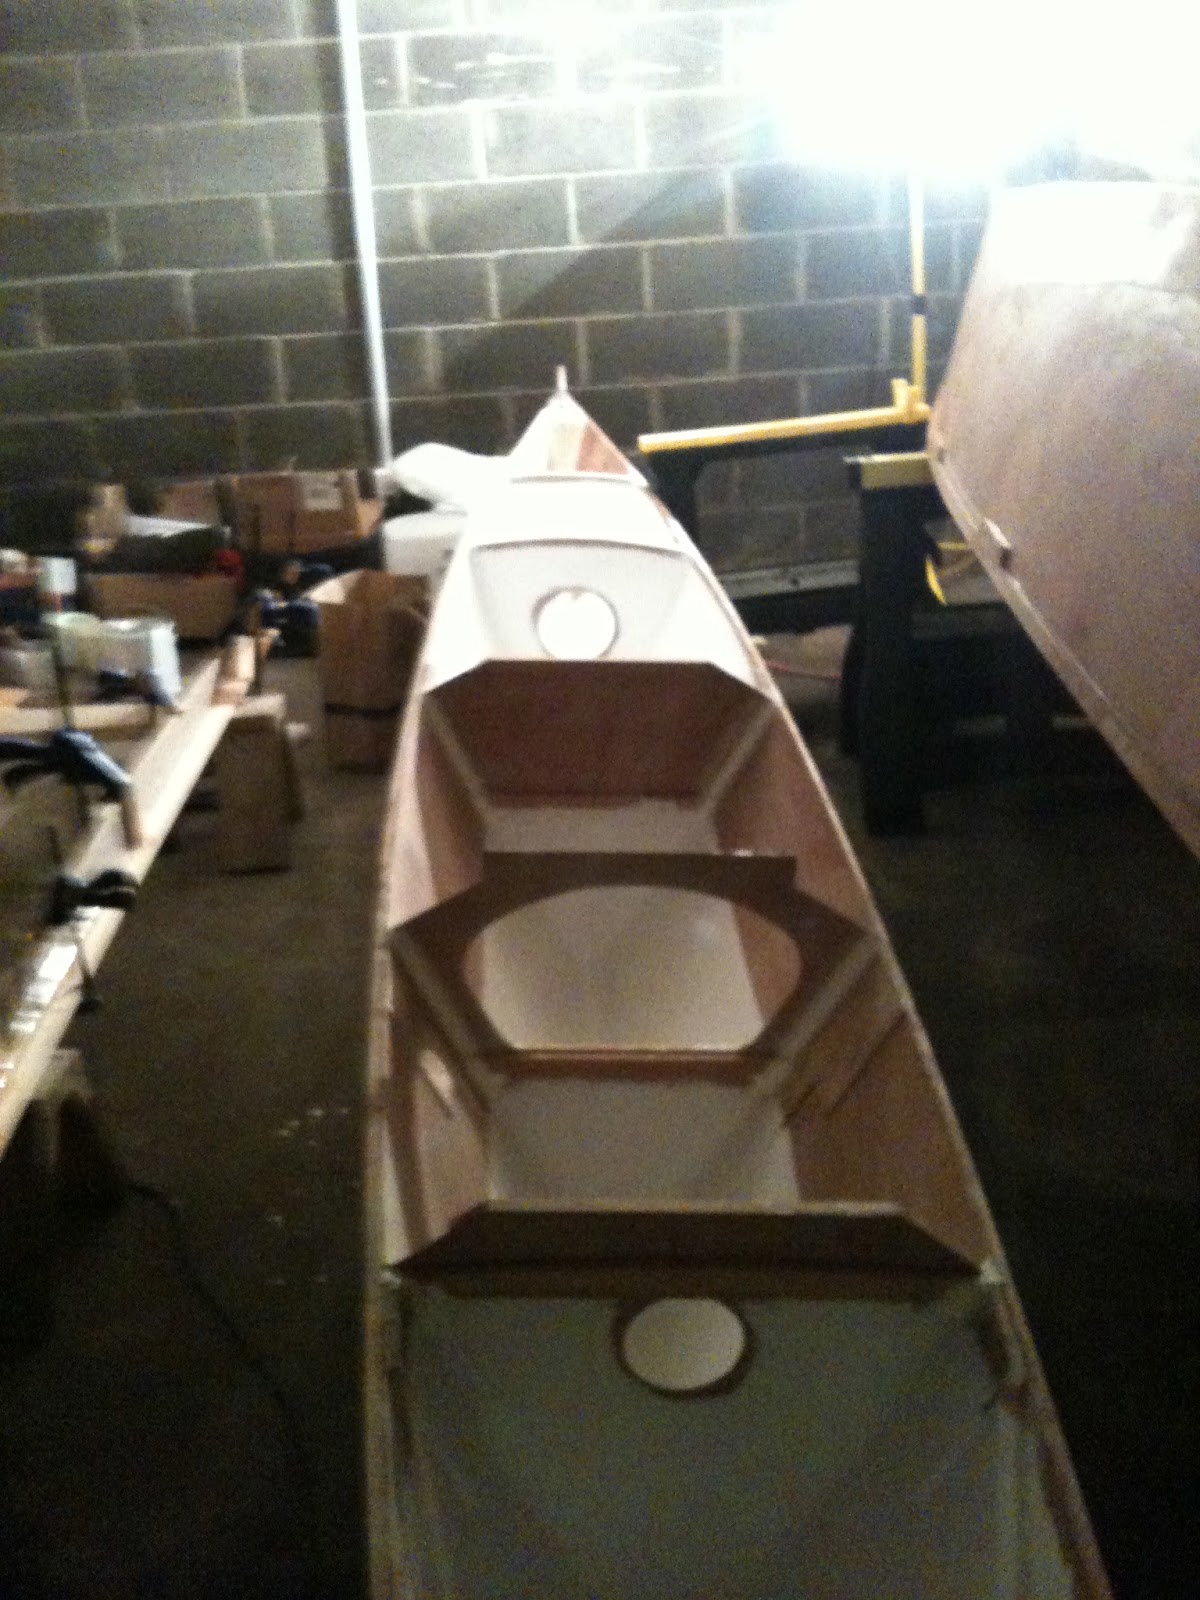
Finally sucked it up and got back to work on the Hitia. Its a little bit tight in the garage space, but with the help of my latest recruit, Tyler, we were able to keep working on the front beam and paint the inside of the second hull.

Here's a picture of the beam as it sits right now:


And here is one of the inside of the second painted hull:


We left some unpainted space for the floors and for the eventual installation of the hatches. I was hoping to be able to start working on glassing the outside rather than painting, but it was too cold to work with that much epoxy and I didn't want to do a sloppy job with the fiberglass cloth. So I opted to paint the hull instead, and set up the flood lights and the radiator next to the beam to help it cure up. Then I got out of there because the paint fumes were giving me a headache.

After lunch I came back and was especially glad I didn't glass the hull. I had over done it with the heaters and lamps and blew out the power. I couldn't get in to the room housing the fuse box, so I had to leave the beam as she was. Hopefully that quick hardener works in those low temperatures as advertised!

If anyone has any experience working with epoxy in low temperatures (about 40 degrees F) I'd appreciate any tips.

Anyway, its a bit ghetto, but I'm glad to be back at work on the Hitia. Hopefully the groundhog was right and we're headed for an early spring and some warmer days!

Wednesday, December 12, 2012

The move to Jersey

Finally, I have the boat moved. I've ordered some clamps and a few other things and now I'm just waiting on some electric wiring to be completed in the garage and I'll be underway.

Back in CT the boat was looking particularly derelict. Here is a photo of the sorry state I found her in.


Here's another of the Hitia loaded on to the back of a dump truck. $30 toll fee going over the GW bridge!


Once the wiring is complete and I can see, I've got a bit of sweeping and a lot of organizing to do then I'll be back at work on the boat once again. Thanks to Jim Osowicki for his help with loading and the use of his truck!

Monday, December 3, 2012

A Quick Update...

So I have secured some garage space over in Hackensack, NJ close to where I work. The space is about 19' x 12' so it should accommodate the boat, tools and whatever else I'll need. It might get a little tight once I'm all set up, but if I can work in Kevin's basement, then this should be a breeze!

Kevin and I got together over Thanksgiving weekend to talk about the future of the boat. He has agreed to take on the remainder of the mast work, tiller arms, and maybe some of the cleats and other small stuff. I'm hoping to have the boat moved in by this weekend, but if I can't borrow a truck, at the very least I'll have the beams and epoxy and whatever else I can stuff into the back of my Jetta.

Photos and more to come!

Monday, November 26, 2012

Floor Installation

Following the move, Kevin and I both realized the incredible determent of having the boat stored halfway between Boston and New York City. With that in mind, and having the overwhelming itch to keep going and finish that which we have started, I began looking into storing the boat locally, in New Jersey, where I'll be able to get to it during the week and make more progress.

Without the use of Kevin's tools and space, and awesome clamps, I'll be moving forward with a limited set of tools and equipment (and experience). I'll be making most of the posts from here on out. Just gonna take small nibbles out of the project and watch it evolve, one step at a time. 

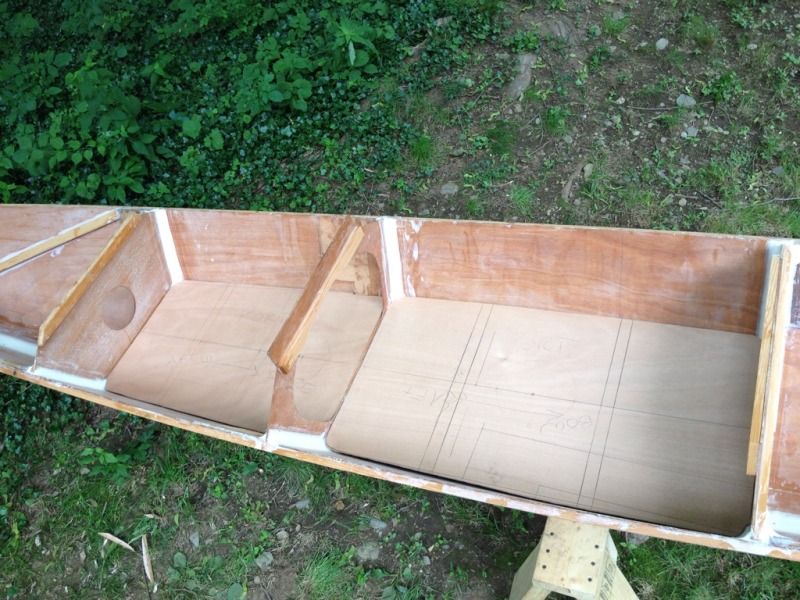
Here is a picture of the partially completed floor installation:


The jugs and varnish are there to add weight and help seal down the floor. I used a compass to trace the holes and cut out the circles using a jig saw. This will be finished up with a layer of fiberglass for added strength. 

The other hull still needs its final side of glass, below deck painting and floor installation. After that I'll be finishing the up the beams and sealing the hulls. 

Wish me luck!

Wednesday, August 8, 2012

Fiber glassing the hulls

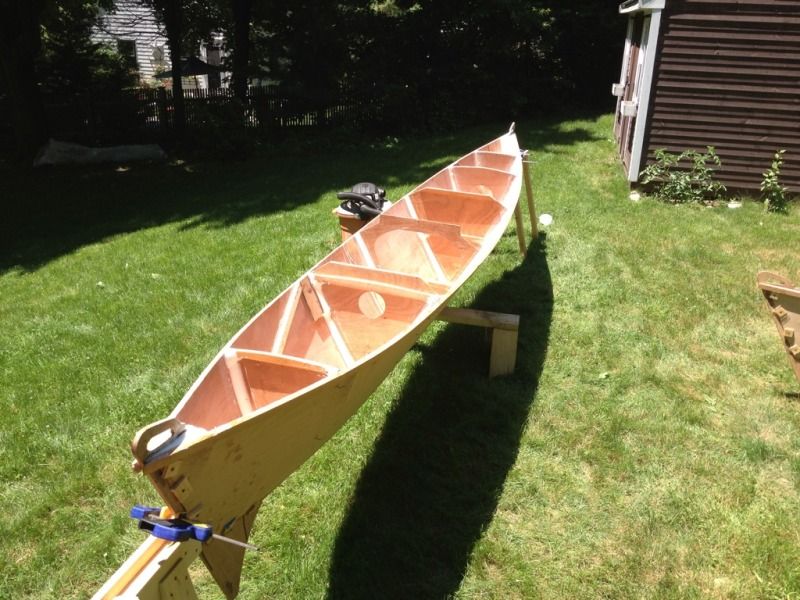
Now that the hulls are assembled they won't fit back into the basement any more. It's been ok to keep them outside so far but the sunshine won't last forever so we are moving up the fiber glassing job to protect them while they are out in the weather.

The paint job looks a bit messy up on the saw horses but all those areas won't show.


All the stitches are out and the keel has been rounded over so we can put a piece of glass tape along the keel joint. This area is going to get the most abuse pulling the boat up on beaches so it gets a triple layering of fiberglass. The first layer is this tape and then the two side pieces will overlap over keel as well. We also put a bead of epoxy down to build up the radius and add more protection to the wooden keel strip.


Next we unrolled the 4oz fiberglass over the size of the hull and tacked it in place some epoxy where we couldn't hold it with tape.


Then we finally got down to spreading on the epoxy. We had been dreading the fiber glassing job and what would happen if we messed it up but it really wasn't that bad.


The fiberglass cloth does want to wrinkle as it laps over the curved edge of the keel but we kept at it and got all the wrinkles spread out.


The fiberglass also wraps up onto the skeg  and smooths out the transition. This area is probably going to require some filler and sanding later but is looking pretty good.


We also had to notch the cloth around the lash pad supports. We ended up just glassing down to the edge and trimming with a razor blade which made a pretty clean edge.


Then we just had to keep moving back between the two hull as each fiberglass job cured.


Sunday, July 29, 2012

Stem adjustments

The goal of every project is to learn from your mistakes - and so it is with this canoe build. It's time to laminate the aft stem and see if I'm any better at estimating the spring-back to get the right stem profile. By the time I get to the second canoe maybe I'll have the hang of it down.

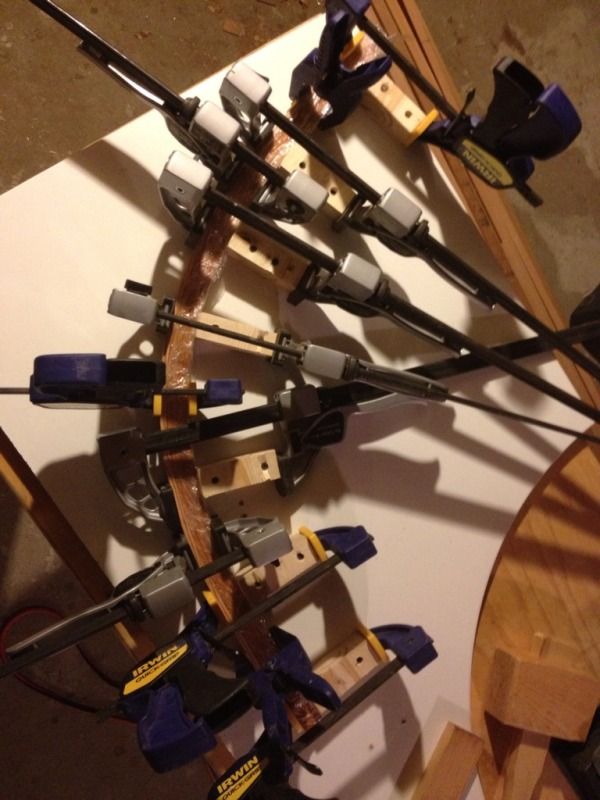
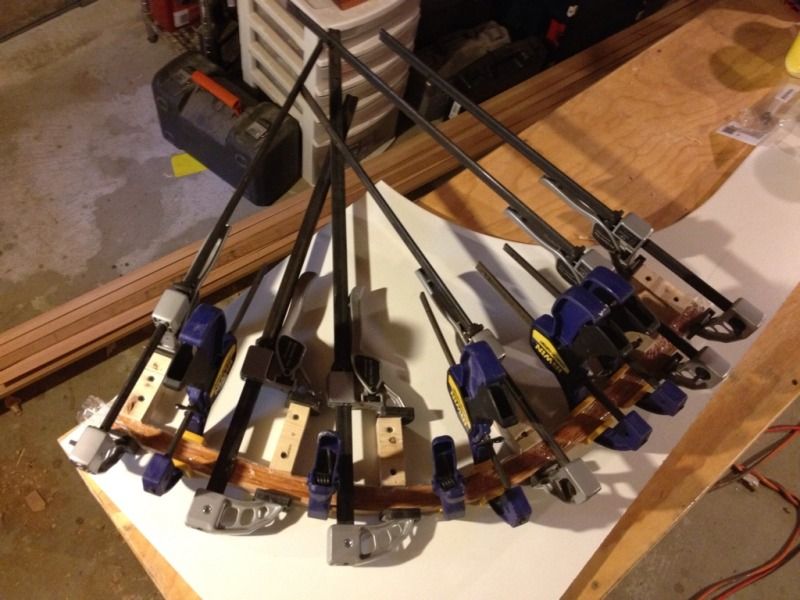
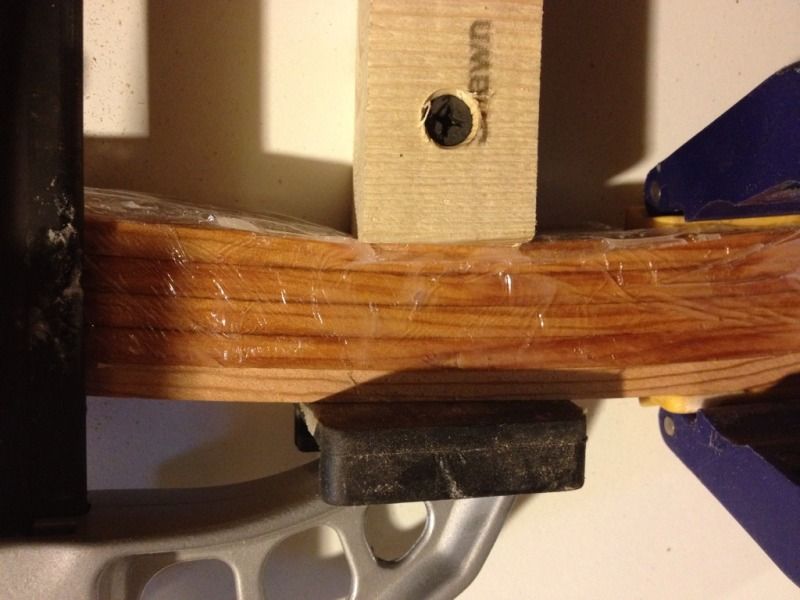
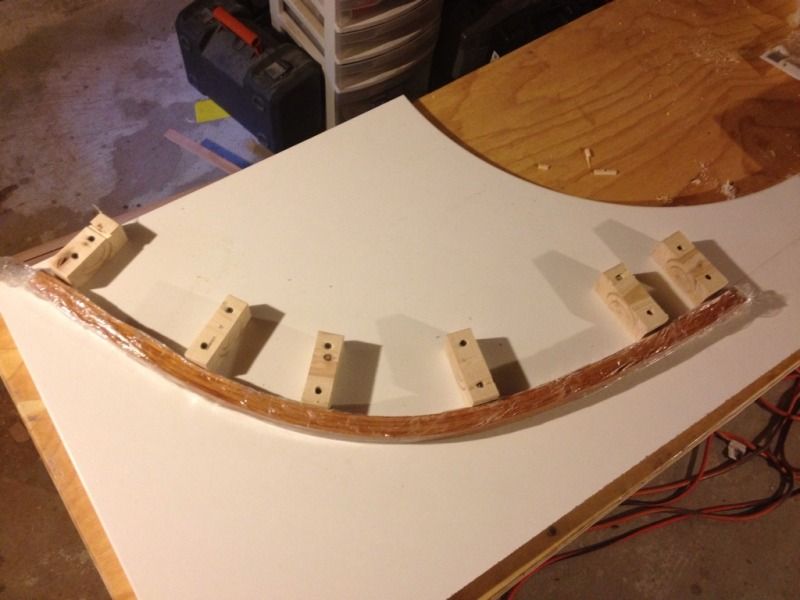
So on we go to gluing up the aft stem. I used more clamping points to better capture the curvature of the stem and also made sure to maintain the curvature through past the eventual end points. I still wish I had more clamps but it turned out fine and there were not gaps in the glue joints.


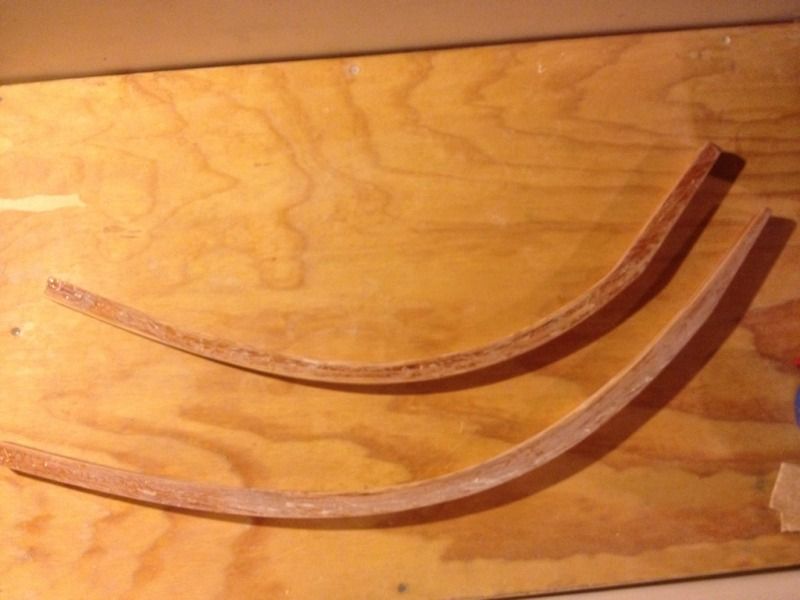
So what were the results you ask? Better, but not perfect. In the last installment the fore stem came out alright structurally but I overestimated the spring-back and that made the curve a bit too sharp. The aft stem is close, but the after moving it around to find the position that matches the drawn profile the best the area that connects to the keel is too short and will need to be lengthened. Mr. Oughtred draws such a beautiful boat it would be a shame to change the stem profile even slightly because of lamination errors so I'll be planing these stems down until they match the plans as perfectly as possible.


First up is the fore stem (the bottom one) and you can just barely see that at point of greatest deviation from the plans I had to take off almost a whole lamination layer thickness. This was then added back on the back side using a strip that was tapered on its ends to roughly match the amount removed. The result is a front face that matches the plans and fairly constant thickness. Almost like I did it right the first time!


Next it's time to adjust the aft stem. This one started much closer and only took a bit of cleaning up, but then it came time to beef up the too-short connection with the keel. It worked out that I could take the section that was cut off to from the bottom keel mating surface and glue it back on the top side of the stem. It looks a bit clunkier than the fore stem's keel connection but the aft end could use a bit of extra support since this joint carries the stresses from the rudder. I'll probably still taper it a bit more just so It's prettier to look at as every little detail counts in a small open boat like a canoe.


Well that's as far as I can get using the scraps that are laying around the shop so I'll have to actually invest in some materials soon to start building the strong-back and station molds that form the building jig.

Saturday, July 14, 2012

Let's get laminating

I decided to start with the MacGregor partly because it is the more versatile of the two canoes, but mostly because I already had 1" strips of Douglas fir lying around which is the right width for the MacGregor stems.

I marked the inboard edge of the stem on an old desk top by laying out the plans and using a sharp screw point every few inches. You can then take a pencil and darken each hole to make them easier to see. The strips on hand were a bit thicker than in the plans so I tried to leave a bit more allowance for spring back. I'm not sure how it's going to turn out but i'm hoping its close enough to be usable.


Each lamination is just under 1/4" thick which makes the four layers together about 7/8" thick, a bit short of the 1" target. I was thinking the epoxy in the joints would add some of that width back but they were pretty tight. I may be adding some more material to get the shape right once the stem is off the forms anyway, otherwise I'll consider it a bit of weight savings. The un-epoxied strip on the outside is to help keep the tension even along the outside strip, this seemed to help them make the bend easier.


The next day the clamps come off and there is less spring back than I was expecting. That means I'm going to have to plane of some of the thickness in the middle section to get the shape just right and probably laminate another strip on to make it strong enough.


Here is the spring back near the keel - about 3/16".


Here is the spring back near the stem- about 1/4".


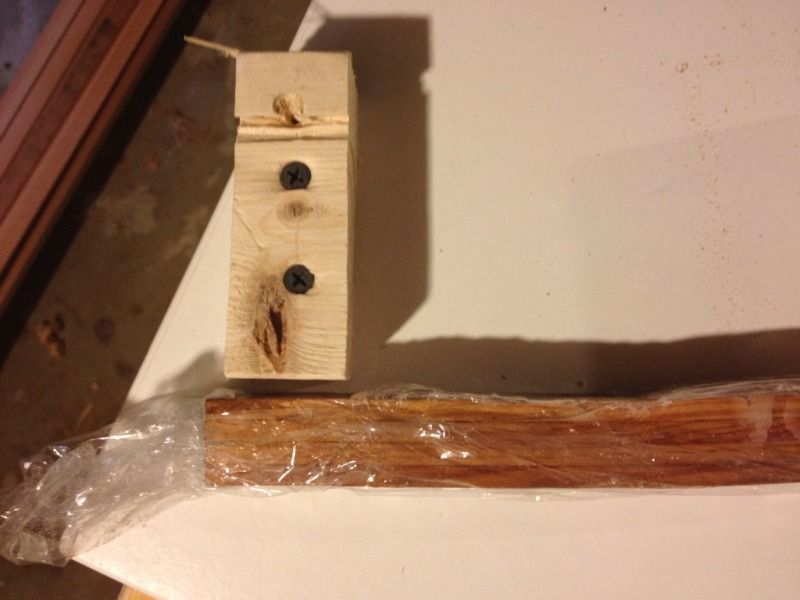
All in all a success, but I'm going to try and guess the spring back better for the aft stem and see what this one looks like once its planed down to match the plans exactly. The other thing I'm going to do differently is round the edges of the 2x4 pieces so that the corners aren't pressed into the inside face of the stem.

Monday, July 9, 2012

Painting and keel fairing

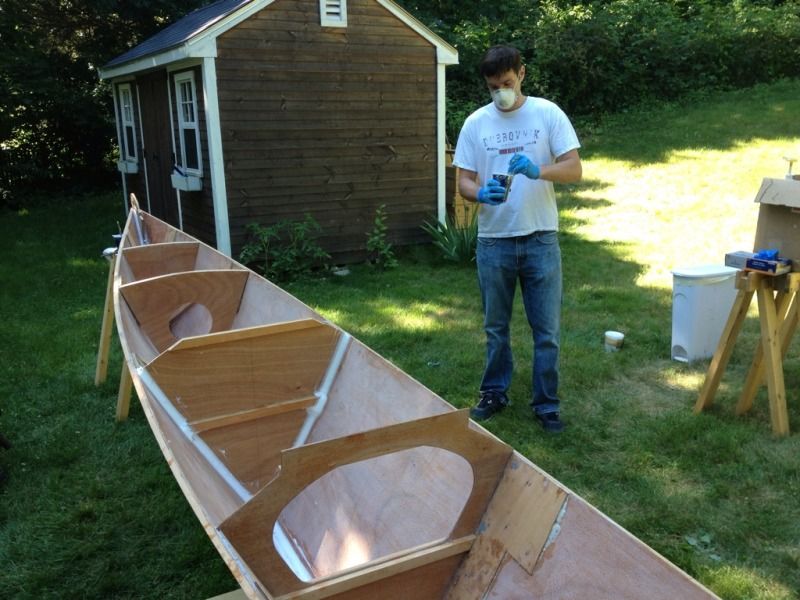
Building a boat involves a lot of firsts, and today was the first time we applied paint to the boat. We're using bright white Easypoxy for just about everything that isn't varnished until we sort out a final color scheme - likely white and grey. The outsides will be rolled and tipped, but for the insides we're just brushing.


The sections under the fore and aft decks is fair game for paint at this point as is the area under the seats. These are going to be too hard to get to once the decks and floors are glued on so we're painting them in advance.


We could have just left it with an epoxy coating but it seems prudent to protect the wood as well as possible in case any water works its way into the bilge. The paint is such a bright white it's hard to look at in the sunlight and kind of hard to photograph too. It should be fine for the topsides but it's giving us second thoughts about using it for the deck.


Once the paint dried a bit we flipped the hull over and started fairing around the keel to prep for fiberglassing. All the gaps around the keel are filled with thickened epoxy as well as fairing around the skeg.


The stem is also faired but we stopped short of where the rigging will attach using a heavy duty u-bolt. We put a smaller fillet at the u-bolt location to make room for the backing plates and will blend it into the rest of the stem fairing later.


The last bit of fairing was to tie the stem into the ends of the sheer stringers. Once the epoxy dries we can sand the corner down to make a nice curve.


We also used the extra bits of epoxy to fill the screw, staple and stitching holes. With a bit of sanding the hull should have a nice smooth surface for the fiberglass to lay over. We left some air bubbles in the keel fiberglassing that needed filling so it would be nice to prevent that on the hulls if we can.

Monday, July 2, 2012

The Plans Arrive

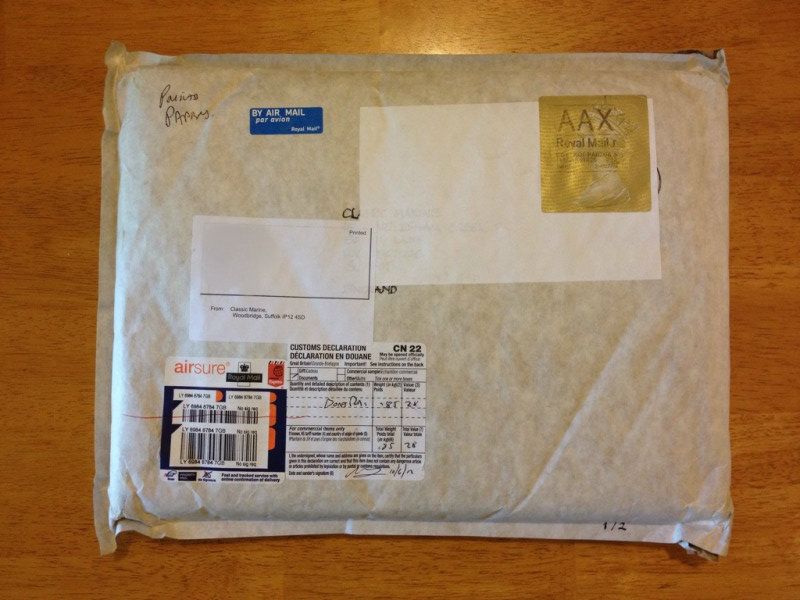
The plans for my two future sailing canoes arrived today from England. Inside the envelope were two smaller envelopes, one with plans for a MacGregor and the other plans for a Wee Rob, both designed by Ian Oughtred.


Opening up the packaging and gently unfolding the pages to get a glimpse of all the wonderful building details is like being a kid on Christmas morning again. These are small but very carefully designed boats and I'm looking forward to the challenge of building something that lives up to the aesthetic potential of the designs.

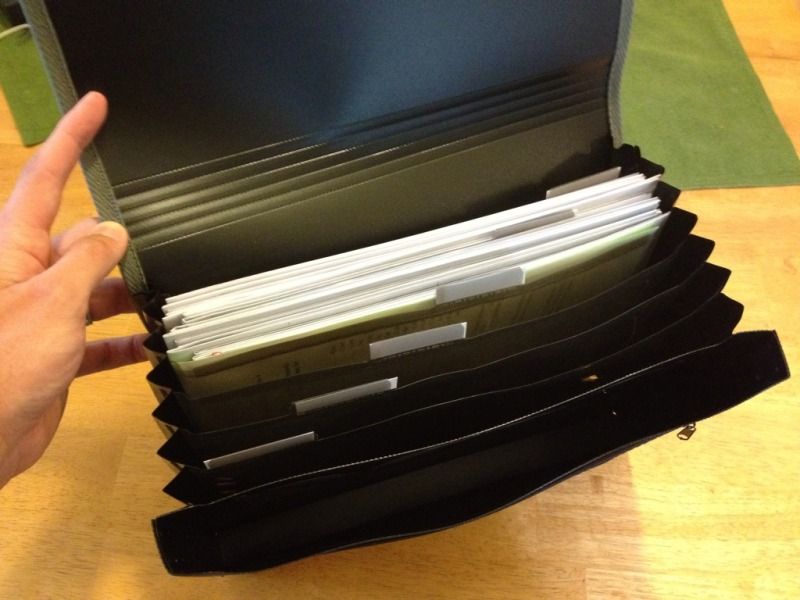
The Wee Rob plans were all printed on blue print type paper and fit nicely into a new folio I bought to keep this project organized and keep the plans in good condition. The MacGregor plans had one blue print type sheet and the rest were on large photocopy paper. This wasn't a problem of itself, but the paper was a euro dimension and didn't fit when folded. My solution was to refold and then cut off the blank margin to get back to the original drawing paper size. 


Now both plans fit nicely in the folio and will have a chance of surviving the rough and tumble life of the boat shop (i.e. my basement). I have a separate section dedicated for keeping track of receipts and that leaves four more sections for future builds!

I'm not in a position to get started on the building just yet, but can't wait to start bringing these beautiful plans to life.

Tuesday, June 19, 2012

Cutting the decks and floors

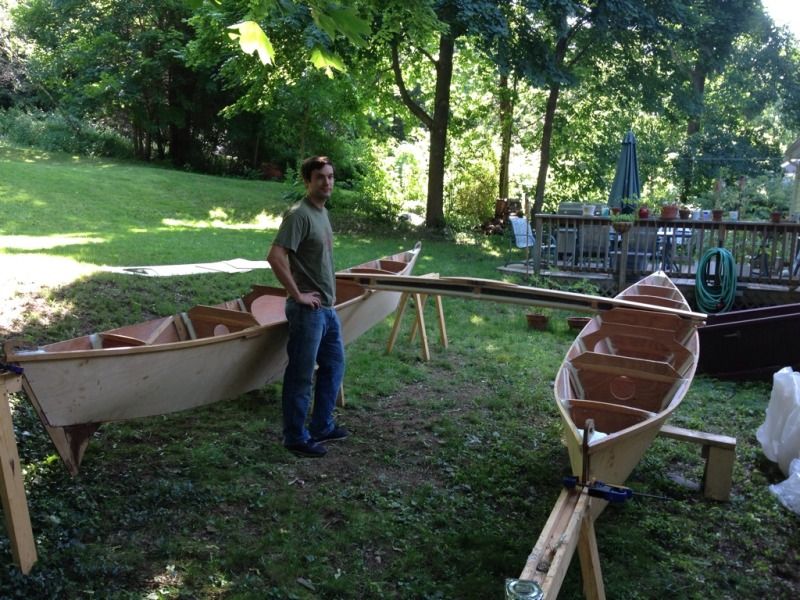
Another free day so we're keeping the momentum going. The hulls were already set up at their proper distance to get a sense of scale so we couldn't help but throw the main beam on to see how it looks. But enough daydreaming, today we are making the floors, fore decks, aft decks and side decks.


The first order of business was bringing out the scraps of plywood and seeing what we could get out of each piece to best use the material we had left. We knew after cutting all the bulkheads twice that we wouldn't have enough to finish, but we would like to buy as little extra as possible.

The first pieces cut were the floors. These two floors should be almost the same length according to the plans, but bulkhead 5 which forms the aft face of the aft most floor is about 5" too far forward. Not sure how this happened but we're going with it and will change some of the details on the hatches to make it all look right. The mast will be in the right place and that's what counts so hopefully we don't miss the extra seating space too much. In the end I don't think anyone will notice.


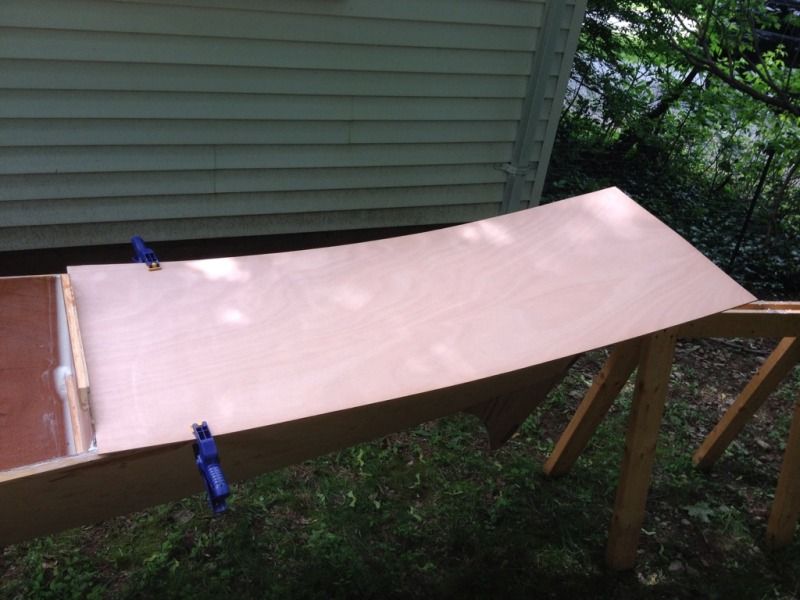
Here is our process for making the main decks. We start with a piece about the right size and put a straight edge up against the bulkhead. Clamps hold it tight against the bulkhead and centered across the hull.


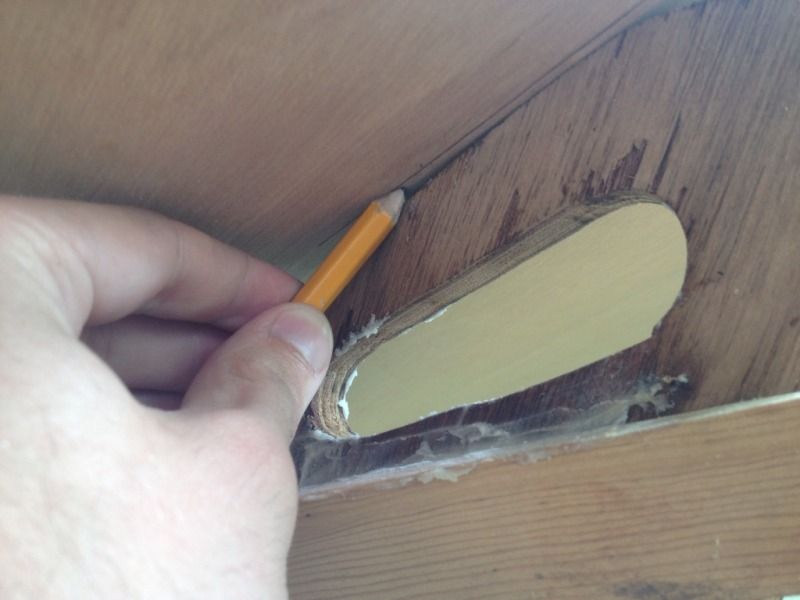
The stem location is marked on the underside holding the edge of the pencil point flush with the plywood.


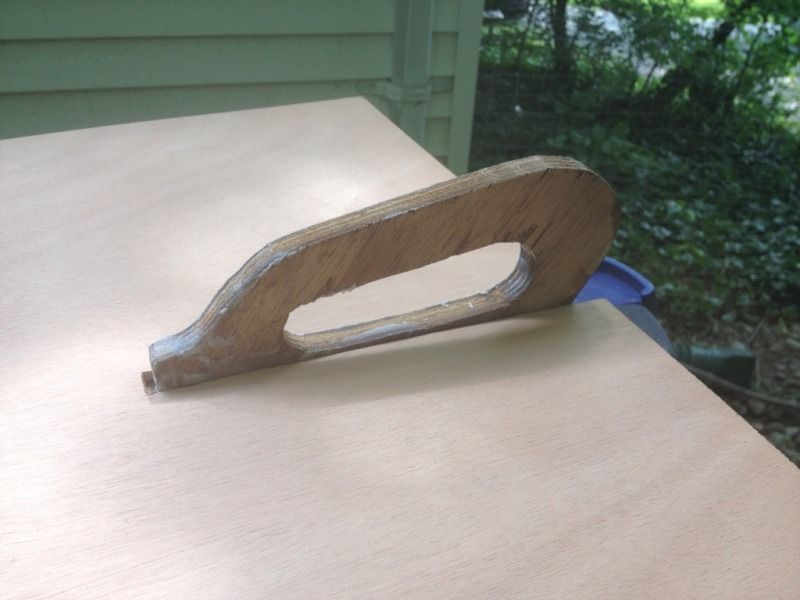
Then cut out the slot and fit it over the stem handle. Next it's pretty straight forward to mark the edges of the hull and trim it down with the jig saw.
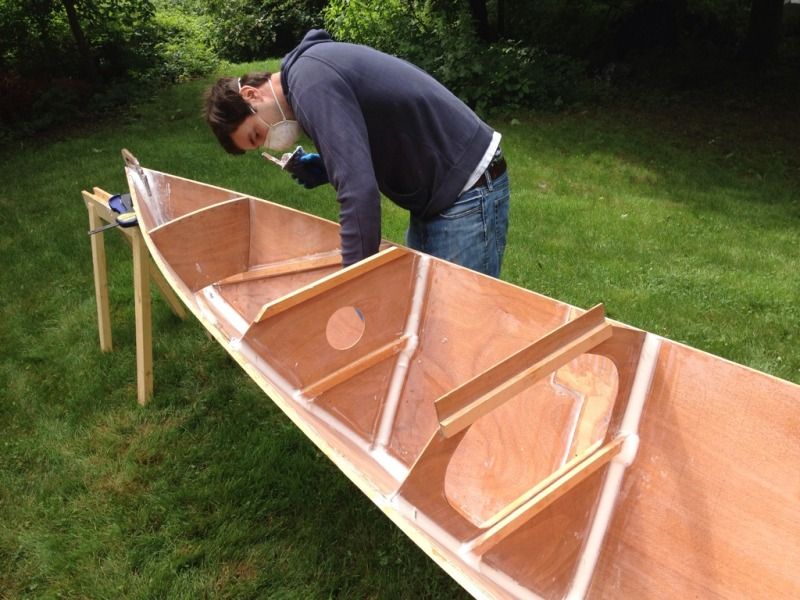
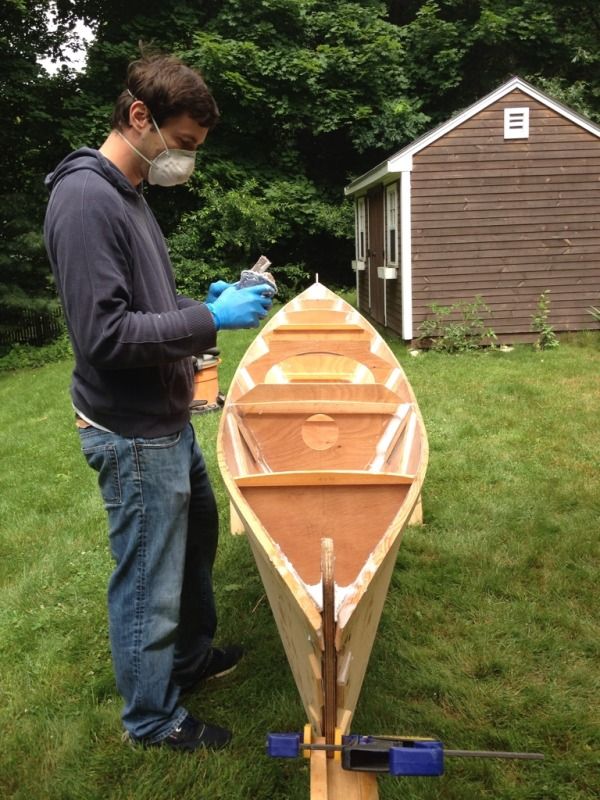

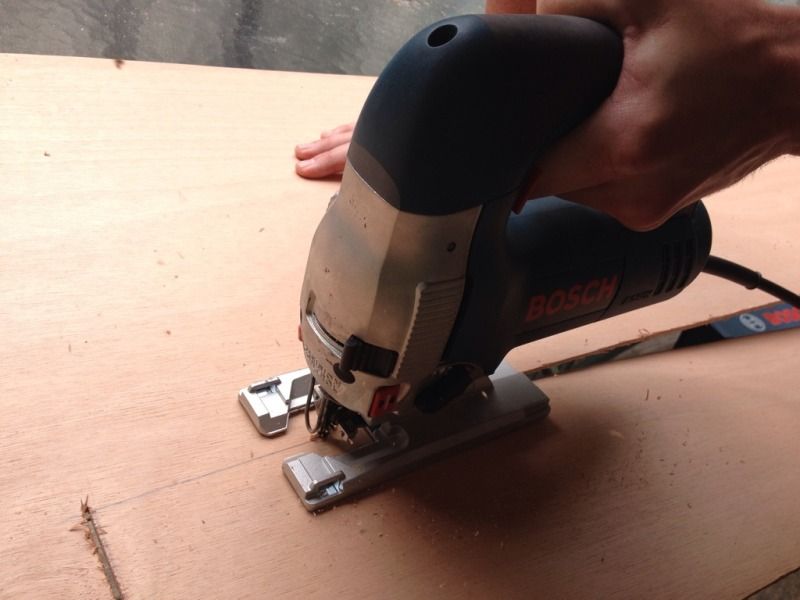
Speaking of the jig saw, this is my new Bosch saw which got quite a workout today. I can't believe we made it this far without one and this one is very heavy duty which helps with making nice smooth cuts.


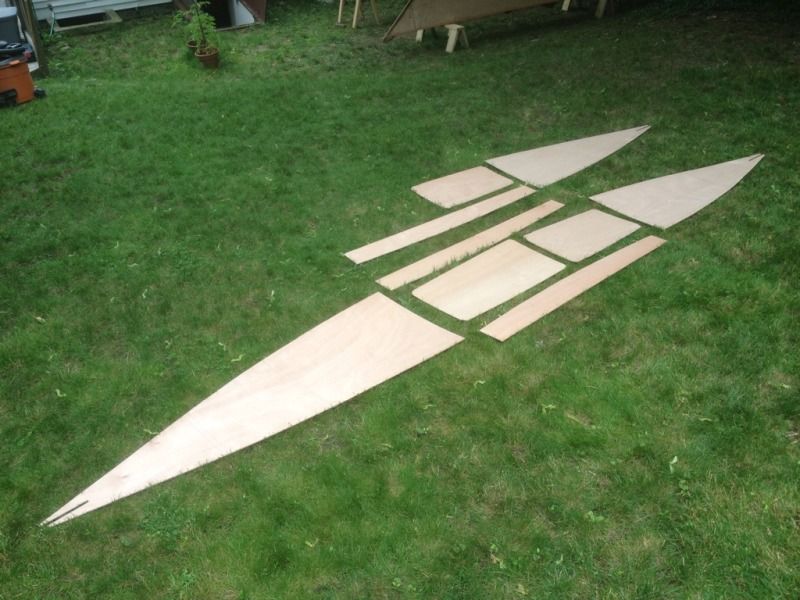
So after all that jig sawing this is what we have to show for it: noth aft decks, both aft floors, three side decks, one front floor and one front deck.


Next up: more epoxy coating, gluing on more fir stringers and back to the lumber store for another sheet of Okoume plywood. Pretty soon we'll be painting the interior and under sides of the decks to get them ready for glue and fiber glassing over the floors.

Thursday, June 14, 2012

The even bigger gluing day

It's been a long time since we were able to work on the boat and it was time for a big push. The last big push only accomplished about a quarter of what we set out to do. But the days have gotten much longer and today we weren't going to stop until all the fillets were in both hulls and all the keel joints were fiber glassed.

The first hull was already half filleted, so the remaining fillets went pretty quickly. Part of the speed increase was because we moved our epoxy mixing station outside near where we were working to cut down on trips to the basement.


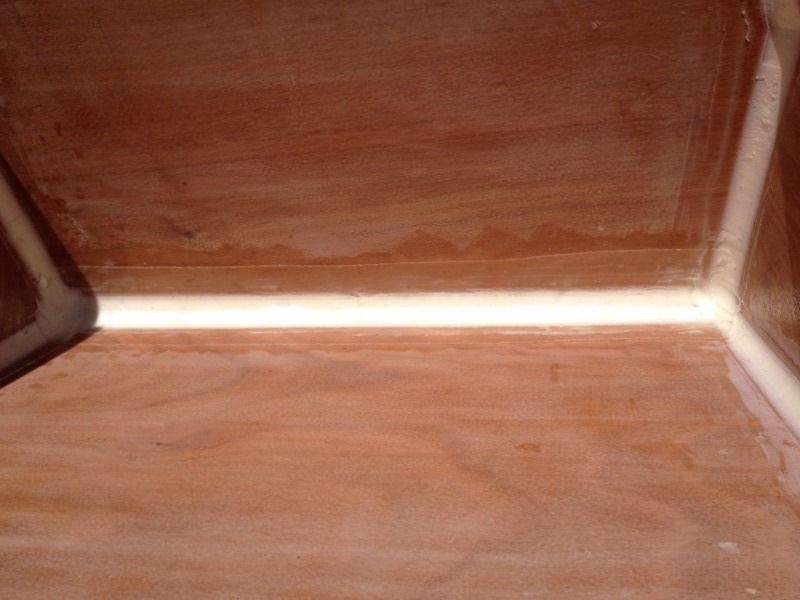
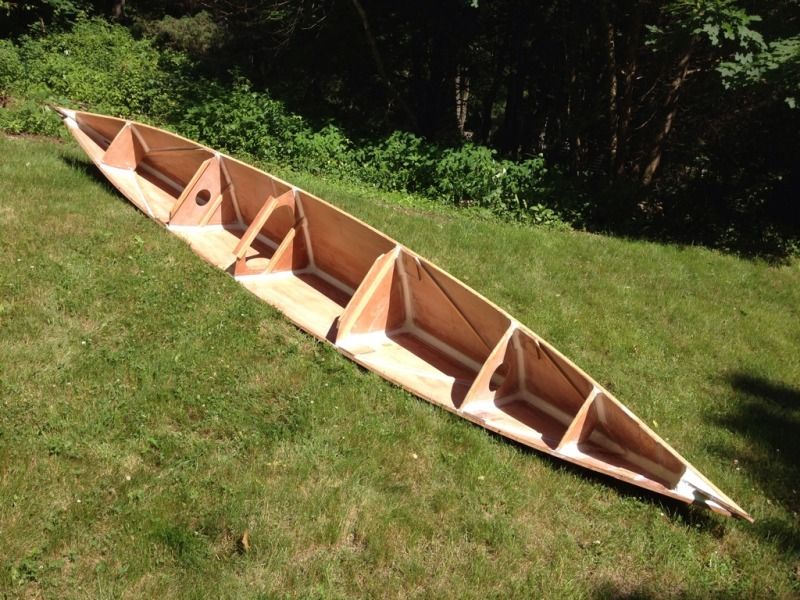
Before we knew it the first hull was fully filleted and ready for fiberglass.


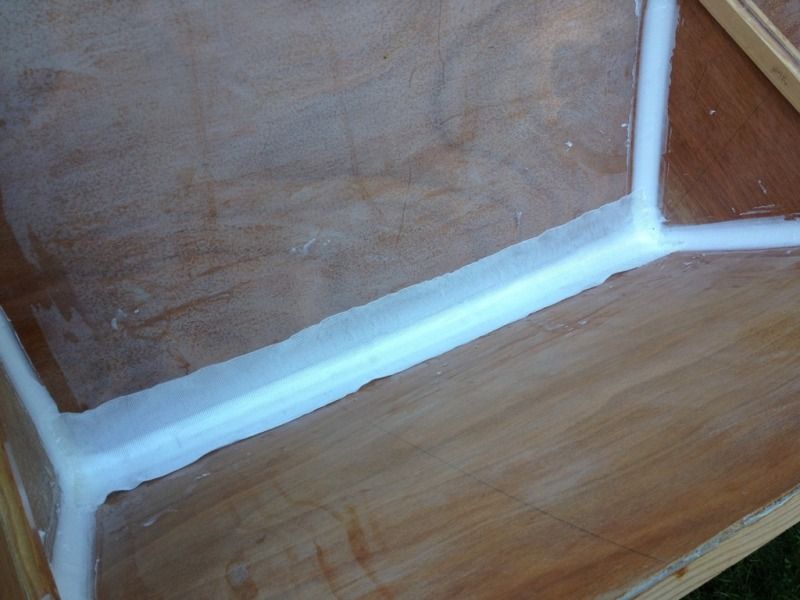
Most of the keel joints were fresh so we were able to press in the fiberglass tape while the epoxy was the consistency of a firm gel. This made smoothing out any bumps or edges easy and let the fiberglass sit nice and smooth against the fillet without any sanding.


Then we brushed on epoxy with a 2" chip brush and worked the tape with a gloved finger like a squeegee. All in all this was much easier than we thought it would be. The only trouble was a bit of unraveling at the ends when we were a bit rough with the tape.


By lunch time the first hull was filleted and taped and curing in the sun.


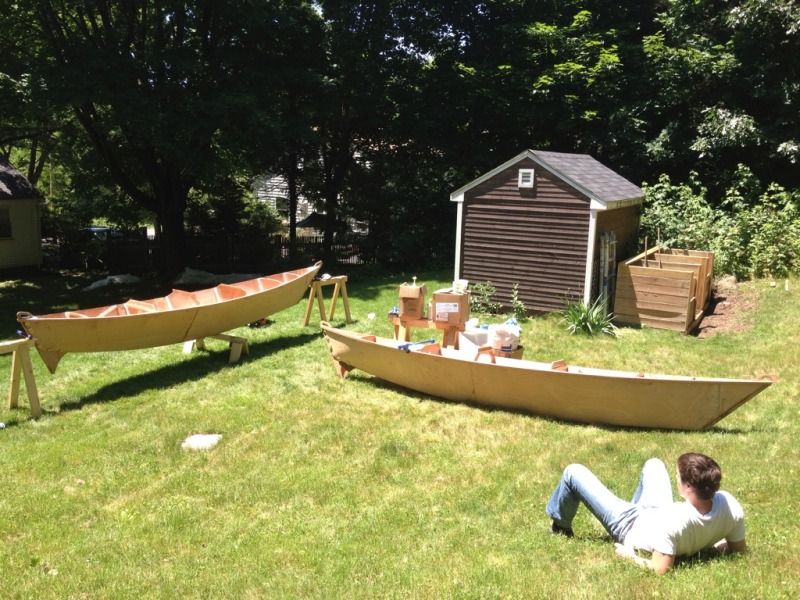
So we could take a small break, looked out over our work and get psyched up for the next round. The second hull had no epoxy at all, and we had about 6 hours of daylight to finish it.


After lunch the first hull was cured enough to move off the saw horse and finish curing in the sun.


The second hull went just like the first with two exceptions. First, at the filleting stage we filled the stems in three to four passes to prevent excess heat buildup. Second, we worked one 'bay' at a time doing keel, then bulkheads and then glassed the keel. That way as we moved down the boat we left the previous segment complete. Here we have just completed the middle segment and are about to put another layer in the stems.


By the time we brushed epoxy on the last piece of fiberglass the sun was hanging low in the sky but we had reached our goal. We cleaned up our mess and called it a day.