One thing we have learned is that gluing one floppy thing to another floppy thing means you're going to need a ton of clamps. Not wanting to spend the money on 30 or 40 spring clamps we went with the PVC clamp method.
It started with spending way too much time cutting 1" sections of 2" PVC pipe with a pull saw, then taking a short cut and using the circular saw, then realizing you have created a 10' radius of PVC chips in the yard and then finally shop-vac'ing your lawn to get it all cleaned up. But in the end we had plenty of clamps to get the hull sides ready for stitching.
Boston has finally warmed up enough that we can work outside again which was a treat after all that gluing in the basement. The stringers are held with the clamps and a few staples from the underside to keep them from sliding around. We also glued on the doubling blocks which go at the lashing points for the beams and mast stays.
We also glued the small extension on our replacement bow panels that we couldn't glue before while we had the chance. When these are dry we don't want anything to keep us from stitching up the hulls.
Here is hull side #2 sunning and hull side #3 glued and clamped up. By this point we have given each panel a final home as to which side of which hull they will become. Only the outside face of each hull gets the supports for the mast rigging so we put the two panels with the roughest seams on the inside where they will only be seen by the fishes.
The forecast says rain tomorrow morning but sun again in the afternoon so that should be enough of a window to glue the last hull side.
Showing posts with label Circular Saw. Show all posts
Monday, March 12, 2012
Tuesday, August 30, 2011
Cutting stems and rudders
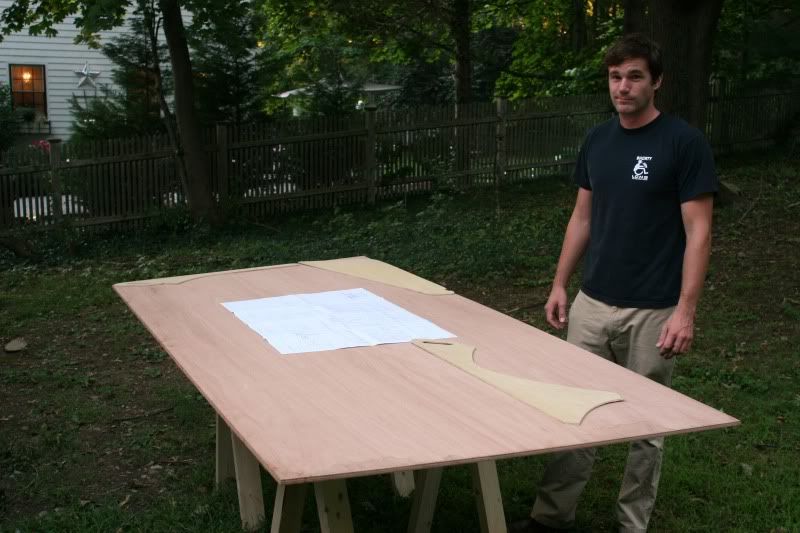
Time to keep this project moving. One of the many tasks between us and stitching up the hull sides is cutting out the stems and rudders. Having learned our lesson cutting out the 4mm panels, we layed out all the templates carefully to conserve as much space as possible and followed the plans exactly. Smile for the camera, Cam.
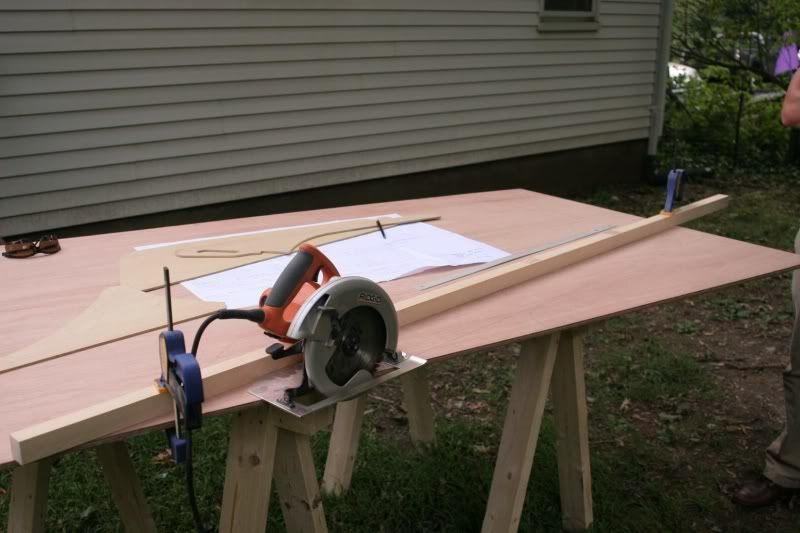
Hopefully that means we won't have any trouble in the future. Next we used a scrap board with a nice straight edge as a guide for the circular saw to put as clean a cut as possible on the rudder to stem edge while we cut it.
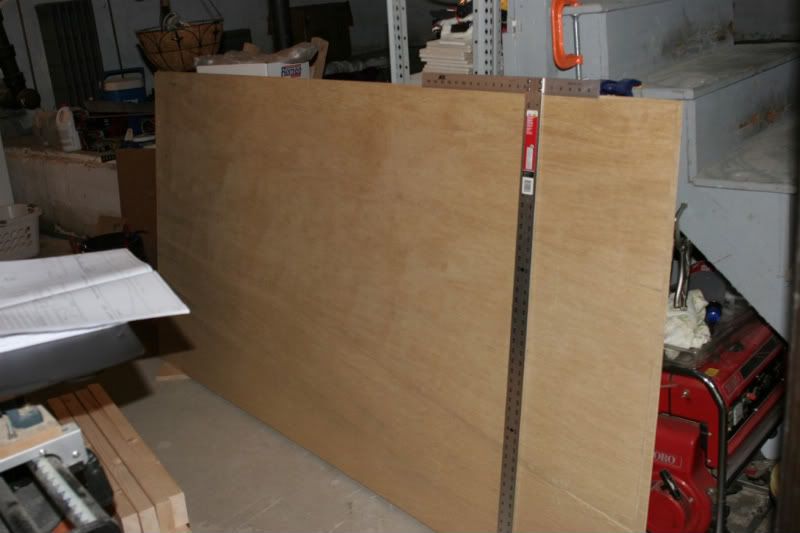
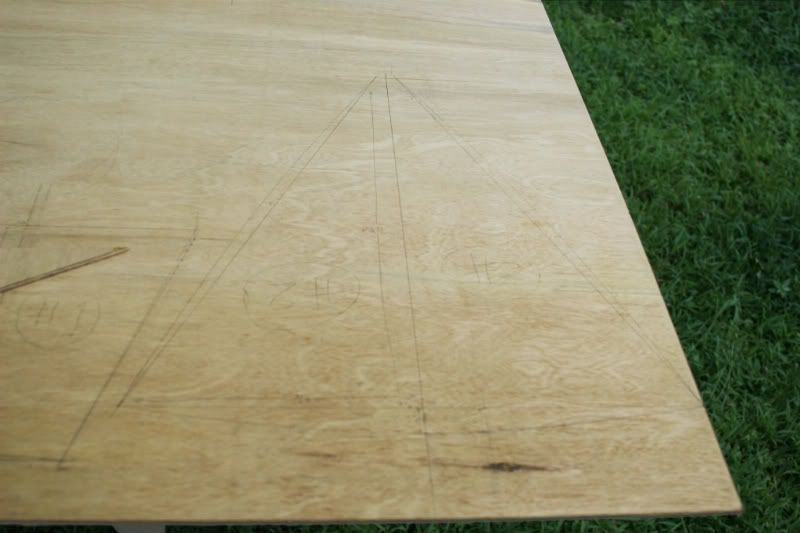
We used the same technique to cut the long edges of all four stems and both rudders. Next we cut out a rectangle that will become the backing pads for the beam lashing points. Had to double check the math to make sure we allowed for the right number of saw kerf widths but it should be just right. Next time the table saw is out we can rip it down to final width and then cut it up into our blocks.
I'd be nice to have everything ready to stitch at the end of the weekend. Not sure if that is doable but it's a nice goal.
Wednesday, August 17, 2011
Making templates
Taking a lesson from pro builders, I thought the production work with the good plywood would go faster with a router and templates. Another benefit will be using the templates to visually plan our cuts on the expensive ply so there is as little waste as possible and if we ever want to build a sister-ship, we'll have a head start.
Earlier in the week I carefully marked out the measurements for the bulkheads and beams on cheap 1/4" ply using a 4 foot drywall square. This was a lot of fun and you start to get a sense of the scale of the boat.
Tonight Cam came over and we used a scrap of plywood as a batten to draw the curved sides and tops. Admittedly, plywood is not the best batten material, but it worked out ok. Then it was time to finally make some sawdust.
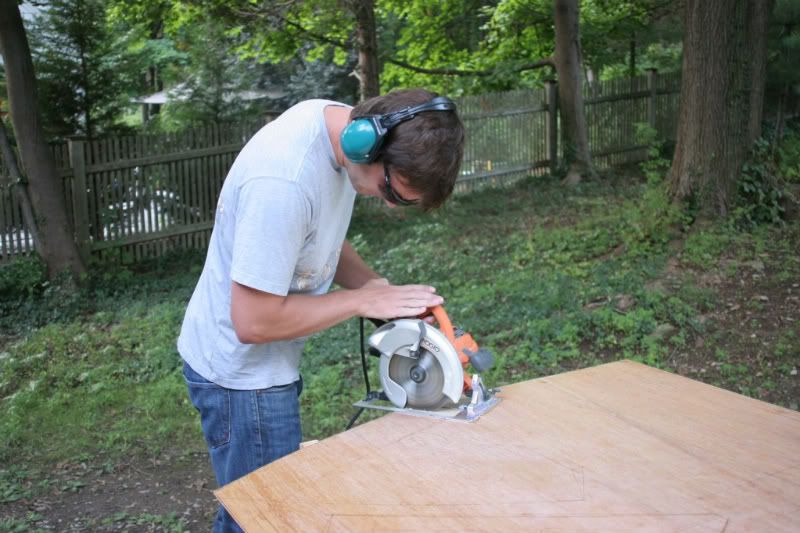
Here Cam is cutting one of the bulkhead edges with a circular saw set just a bit deeper than the plywood thickness to make following the curve easier.
With all six bulkheads roughly cut it was starting to get dark. We set up the bench sander and got one template finalized by flashlight before the mosquitoes and darkness got the better of us. Of course, we still don't have anything that will be part of the actual boat but it feels good to have finally started.
Friday evening: finish the templates
Weekend: pick up the marine ply, cut bulkheads and hull sides and start epoxy coating.
Subscribe to:
Posts (Atom)