Showing posts with label All Woodworking Projects. Show all posts

Thursday, June 28, 2012

Adirondack chairs - Part 2

Wife: "You know the fourth of July is next Wednesday right?"

Not much time left to get these chairs done! I picked up more wood from the lumber yard and got down to business.
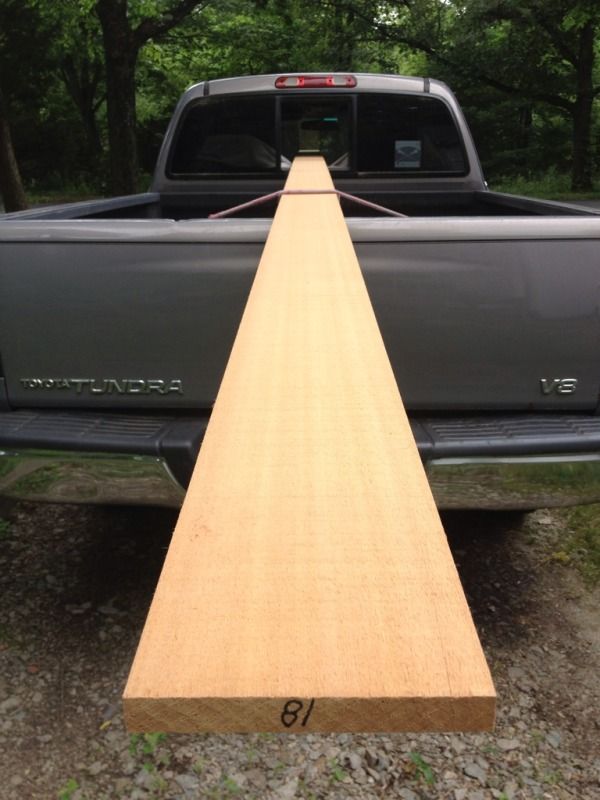

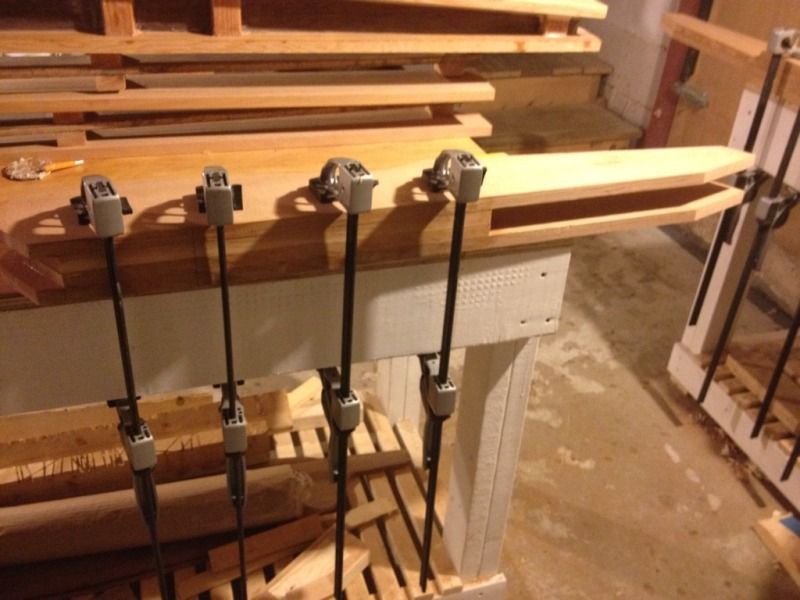
Each seat back is slightly different so the bottom slats are cut based on the seat back width for that chair. From now on I'll have to keep these together, but since one is 1/16" of an inch wider than the other I should be able to tell from the fit. Using the seat slat stock as a guide, I clamped the bottom of the chair together and drilled for the cross braces. The front brace calls for #14 x 3" stainless steel screws which seem awfully big even to me.
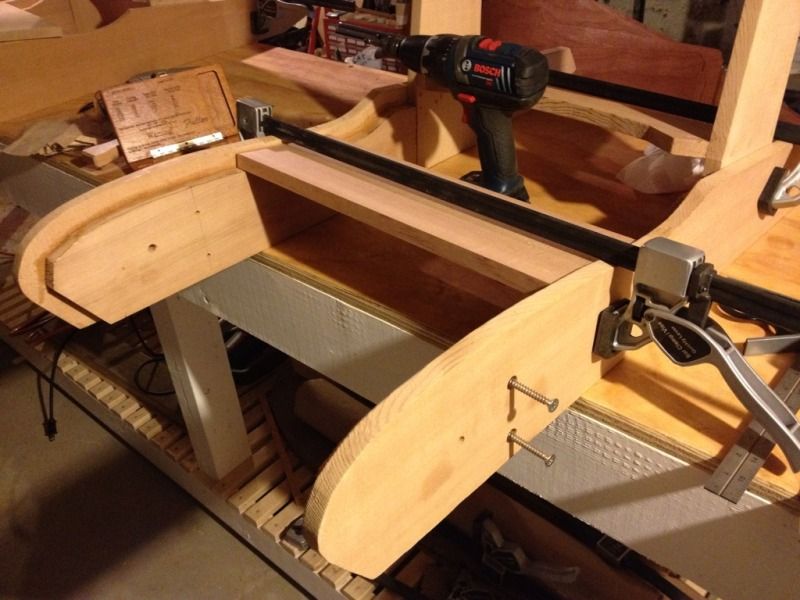

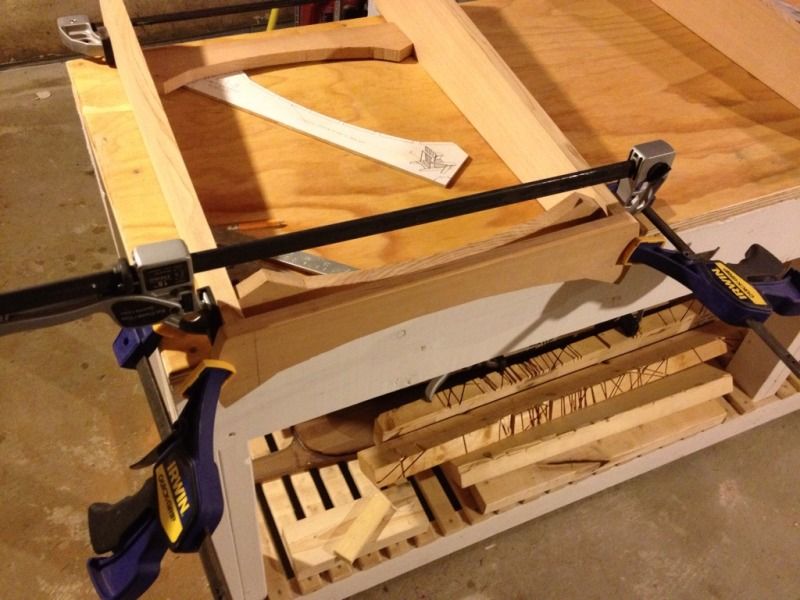
Next the back two cross pieces are clamped, glued, and screwed together. These two cross pieces do not meet at 90 degrees and so the edges of the boards need to be adjusted to fit the angle.
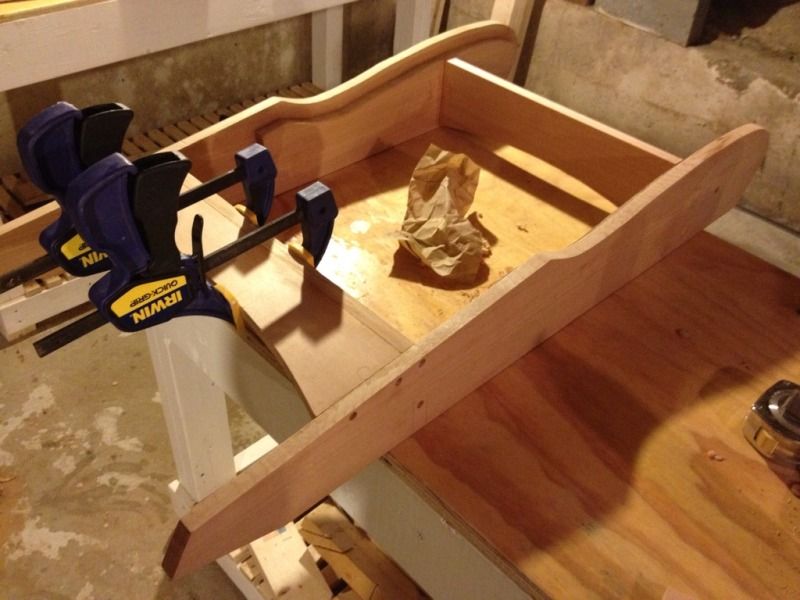

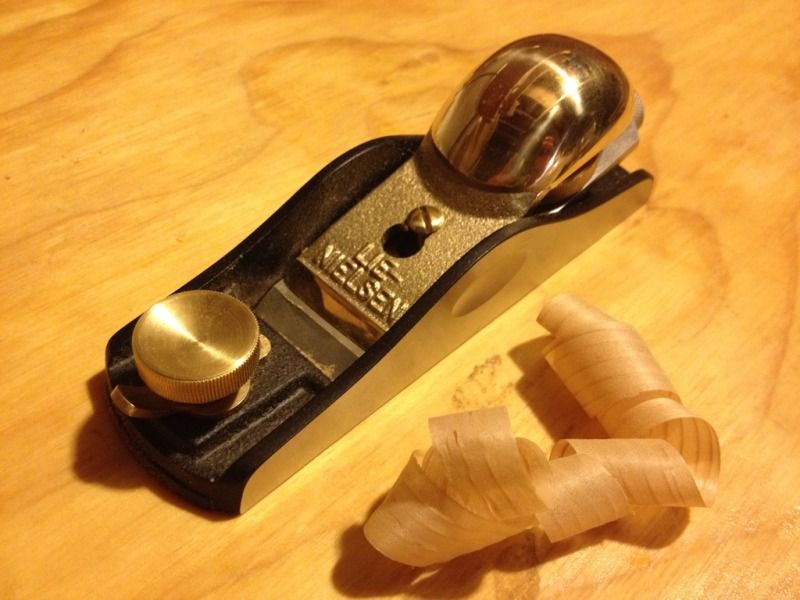
Sounds like a great job to break in my new low angle block plane which handled the job beautifully.

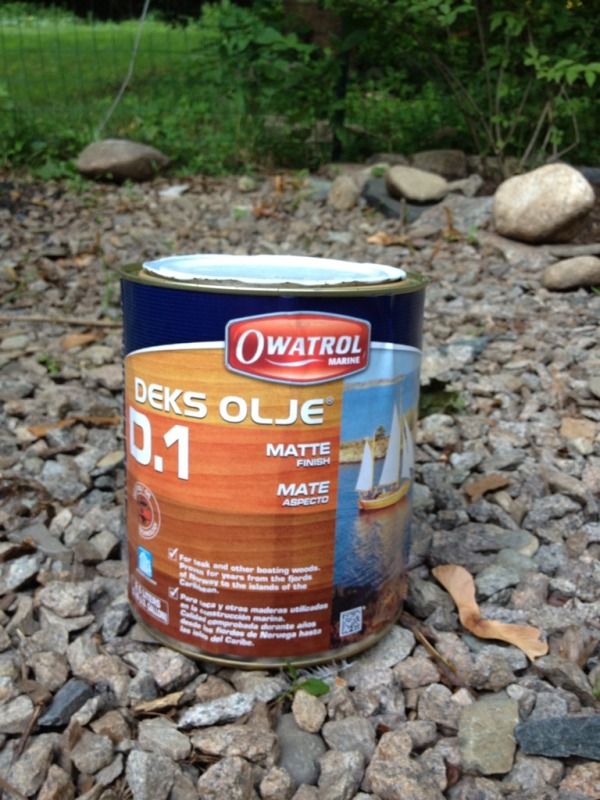
All the holes were plugged just like before and then all the assembled pieces were sanded up to 220 grit. I'm using Deks Olje for the finish. It's a Scandinavian marine oil finish that fills the pores of the wood and leaves a semi-gloss finish once the surface of the wood is saturated. Another overkill step, but I want these chairs to last a long time and if it's good enough for wooden boat hulls it should be good enough for a lawn chair!

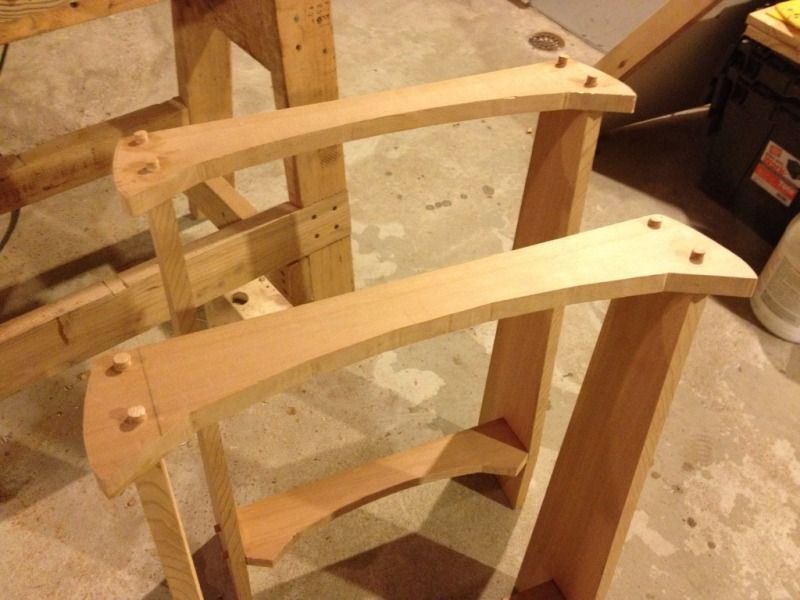
I hung up the chair bottoms from the dog run cable and brushed on the first coat. The cedar almost changes colors as you look from different angles. All the plugs have the grain oriented perpendicular to the surrounding grain so they really stand out.


Here they are after the second coat working by shop lights. From this angle the main boards appear lighter and the plugs darker.
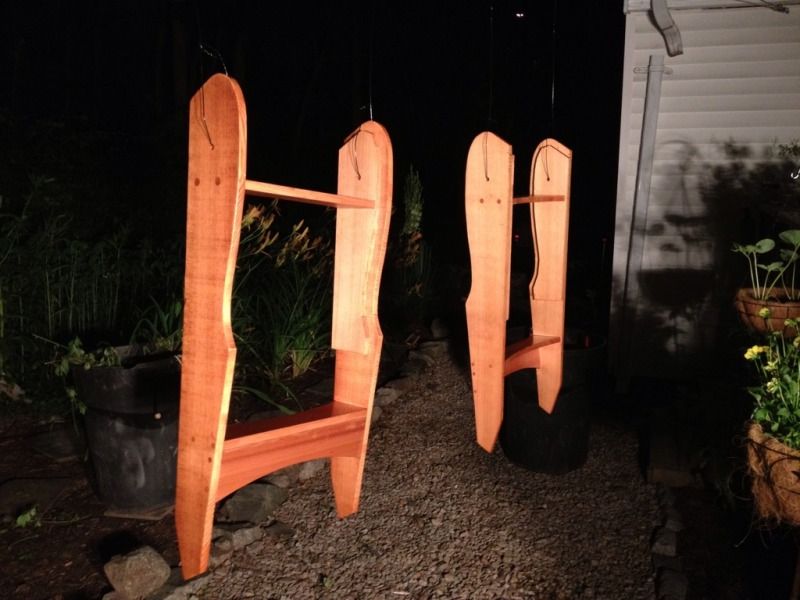

It will probably take 6 coats or more to fill up the grain and get a nice even finish so I better keep at it.

Monday, June 25, 2012

Adirondack chairs - Part 1

I would have called this post "Adirondack chairs - the beginning" but this project started almost three years ago when I got plans and hardware for a pair of folding Adirondack chairs. Sure I could have just bought some chairs but wouldn't it be more fun to make them? And wouldn't they look so much nicer than store bought?

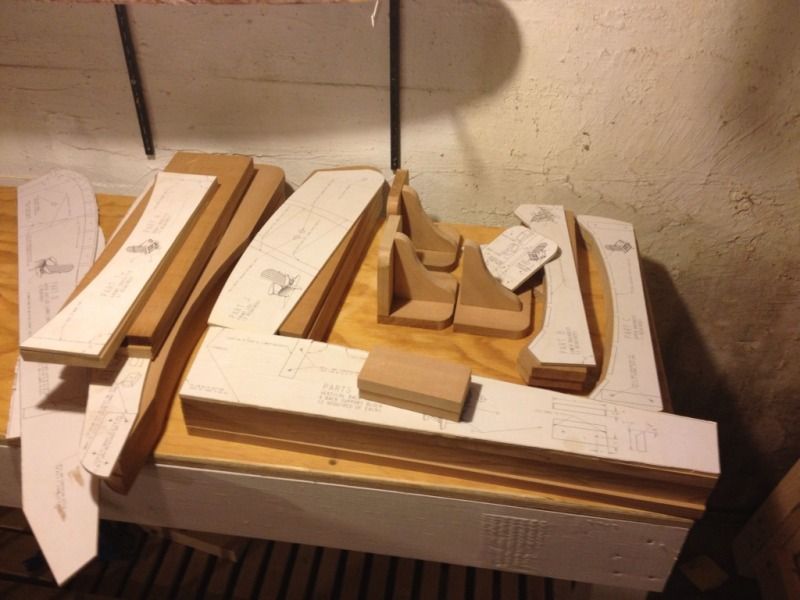
Well this project is off the back burner and will be done by the 4th of July so we can sit in them and watch fireworks. A while back I picked up some clear western red cedar boards and glued the plans onto plywood and cut out the shapes to use as templates.

I cut the WRC boards down roughly to shape back when I bought it but never finished shaping them. So the first step was to sit down with the jig saw for most of the day carefully tracing the patterns and cutting the parts.


Here is the hardware: #10 x 1 1/4",  #10 x 2", and #14 stainless steel screws plus the stainless bolts that come with the hardware kit.


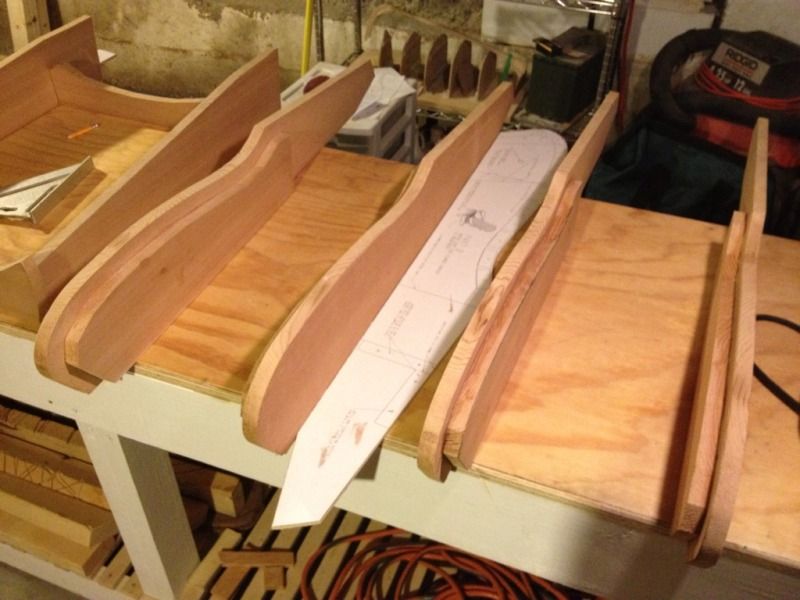
The bottom of the seat is made of boards glued up from two parts. The inner part holds the slats and the outer part is larger to cover the end grain of the seat slats


Here you can see how the seat slats will span between the two inner boars with the ends protected by the outer boards.


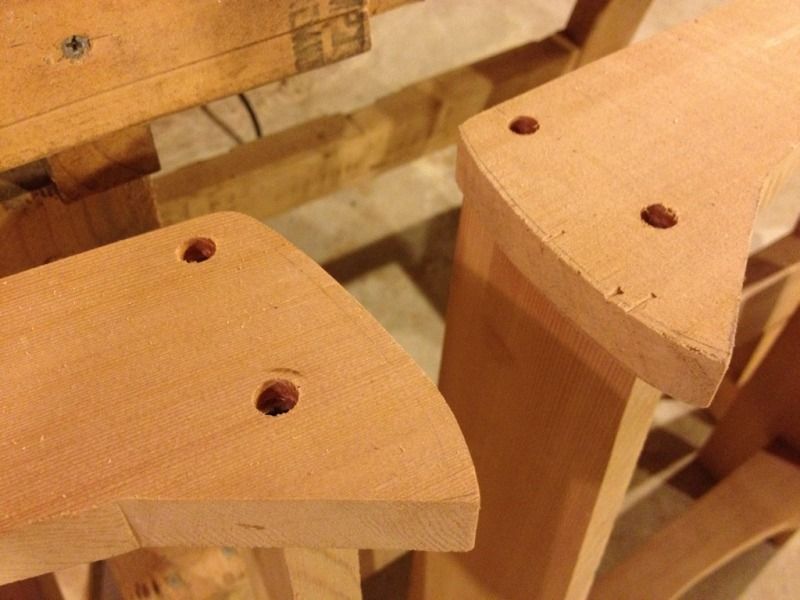
Next I started on the seat backs. The boards are clamped so that the screw holes can be drilled with a countersink bit. Then the joints are glued up and screwed together with #10 x 2" stainless steel screws.


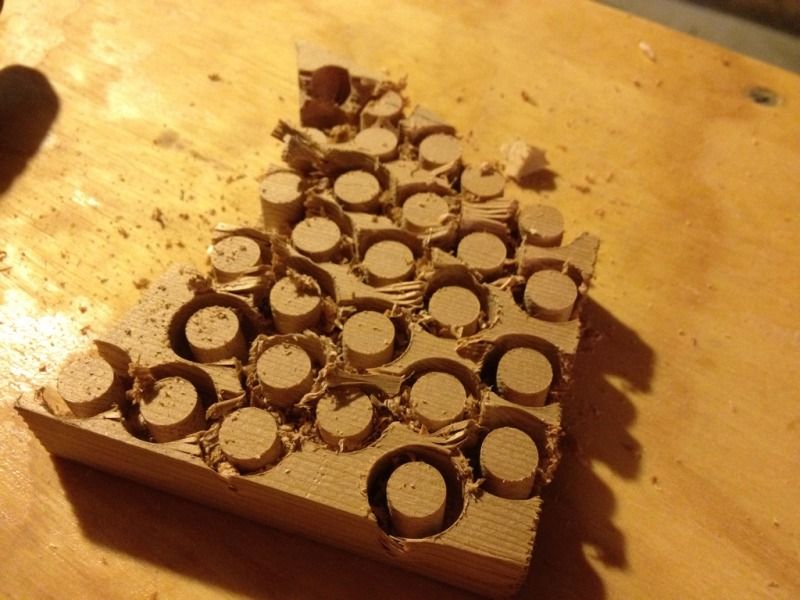
The counter sink leaves a nice hole for a plug which will clean up the look of these chairs. This is way overkill but that's the fun of making instead of buying.


Plugs come from scraps which I was careful to keep since this cedar isn't cheap and I didn't want to waste any.


The plugs get a bit of glue and then pressed into place. It's the little details like this that I hope will set these apart when they are done and help them last a very long time.


I have run out of things to work on until I buy a couple more western red cedar boards so more to come soon.

Friday, February 3, 2012

New workbenches - Part 2

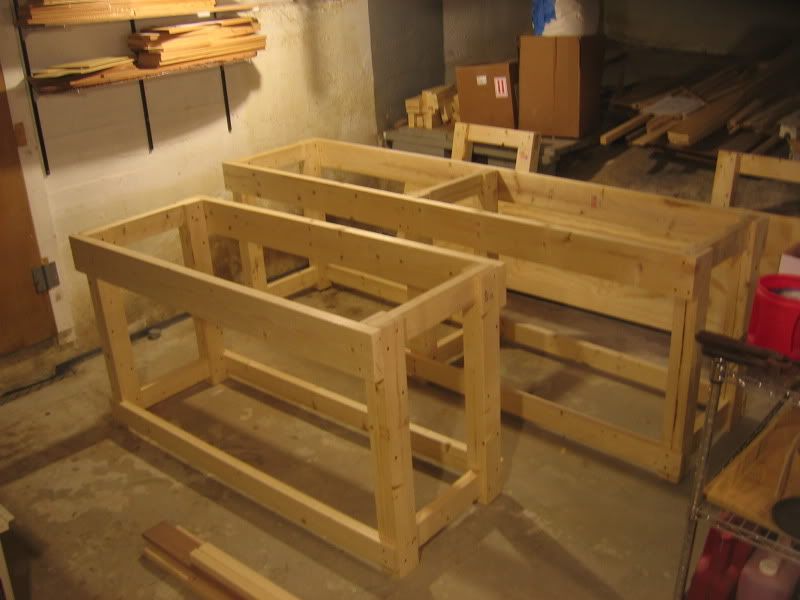
Here is where we left last time with the structure of the two benches assembled and ready for finishing touches. Both are 24" wide and 33" tall with the long one at eight feet in length and the shorter one at five feet.


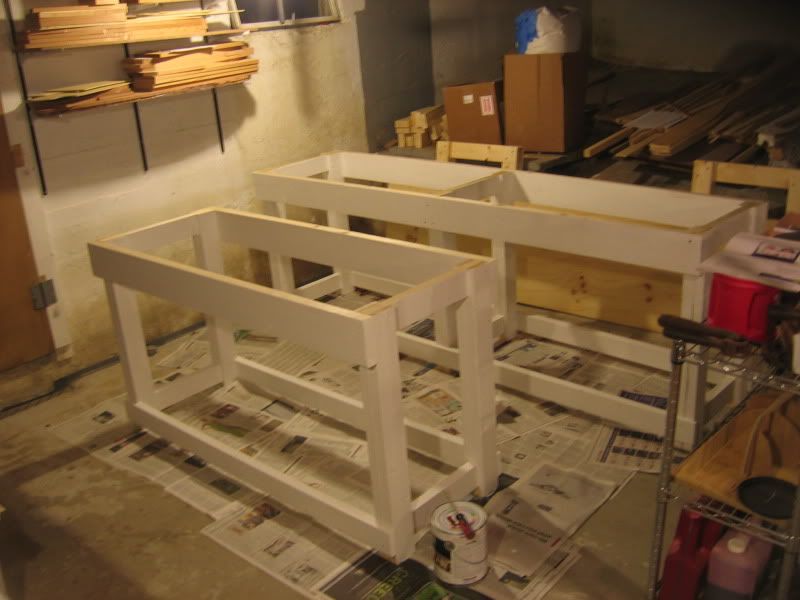
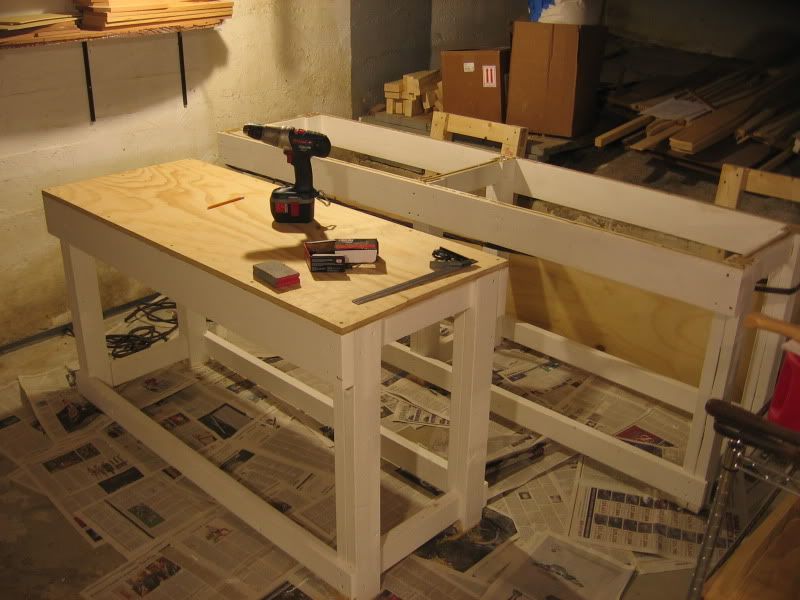
I took this opportunity to paint the structure while it was still easy to reach all the surfaces. This is the coverage after one coat of a mildew resistant white primer. I had planned on two coats but for now the coverage is pretty good and I need to get work done more than I need even prettier workbenches.


The paint had plenty of time to dry over last weekend while I was busy with a business case competition and so now it's time to finish them off. The tops are made from 3/4" A/C plywood and cut to be flush with the top boards. This way i can clamp things to the face of the top board and use it like a bench vise.


Once the top panels are cut to size and clamped in place it was once again time to break out the fuller coutersink drill bit set which is getting even more use than I imagined when I bought them. Pre-drilling keeps the plywood from splitting and sinks the screw head below the work surface. As a side benefit it also makes lining up the top easier when the top is sliding around on glue. Speaking of glue, next came a bead of PL Premium construction glue and dropping on the top.


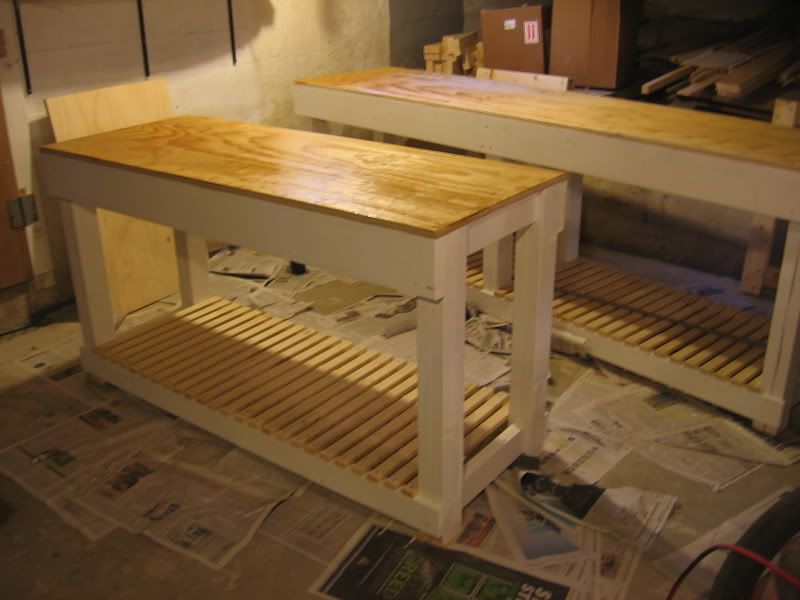
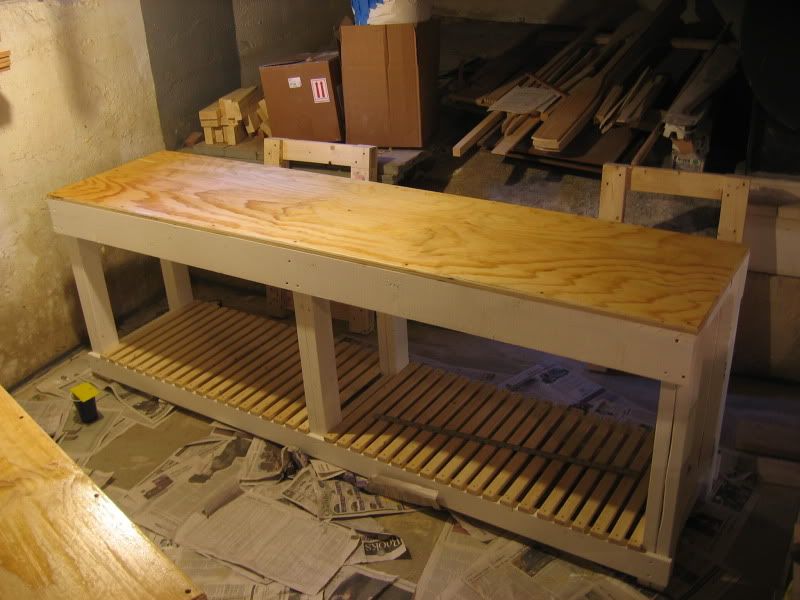
And here is the final product! The top edge was radiused with a router and then the plywood got a coat of epoxy to help the soft plywood stand up to hard use. The bottom shelf is made with 1x2 strapping spaced 3/4" between slats and fastened with galvanized nails.


The eight foot bench is now ready for making beams this weekend and when put end to end with the five foot benches (one more yet to build) will be long enough for making the mast.


Now back to working on the Hitia ...

New workbenches - Part 1

You have probably noticed that all of our work so far has been on temporary (and my wife might argue inappropriate) surfaces. Well no more working on the floor or the washing machine, we're going to build some permanent workbenches for my basement.

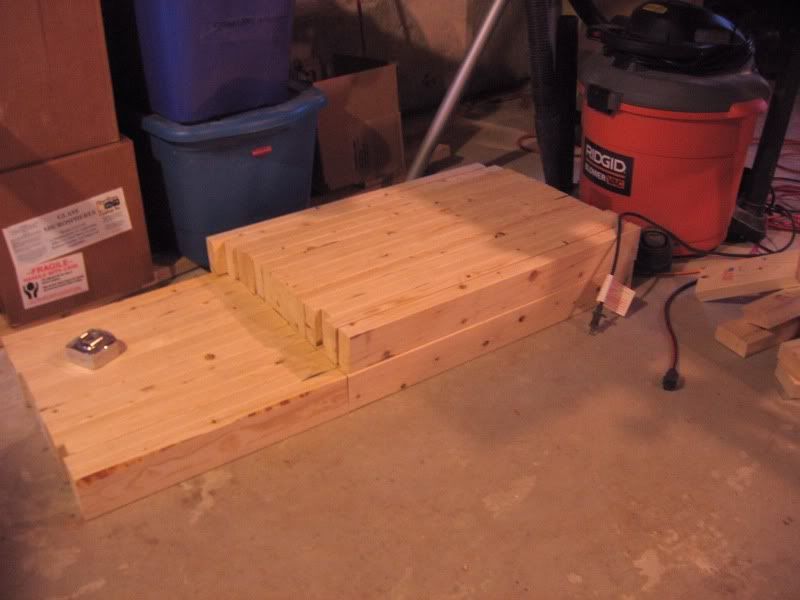
The first step was coming up with a design by browsing the web to see what other people were building. I wanted to use construction lumber and keep it fairly simple and cheap. In the end I combined several elements from each design to come up with something I liked and then worked out the measurements so the final product would be 24" wide and 33" tall. Here are enough 2x4 pieces cut to length to make three benches which can be moved around the shop.


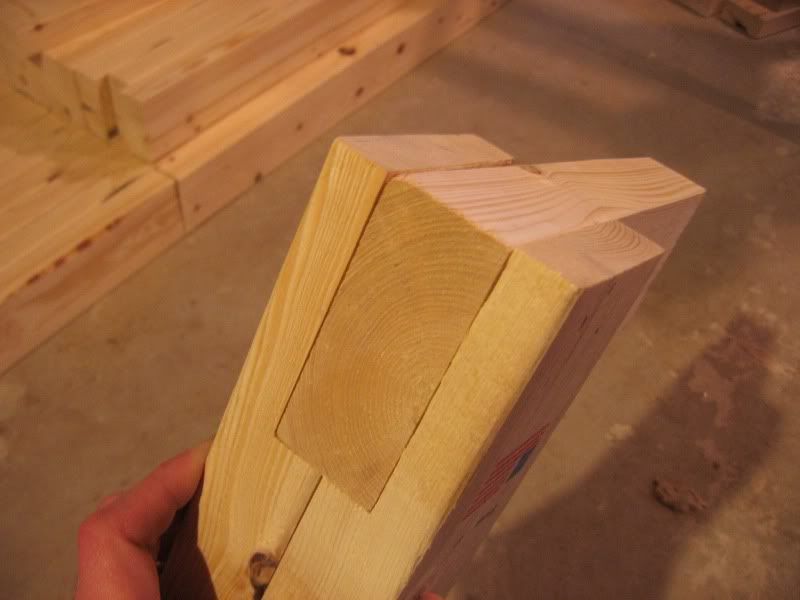
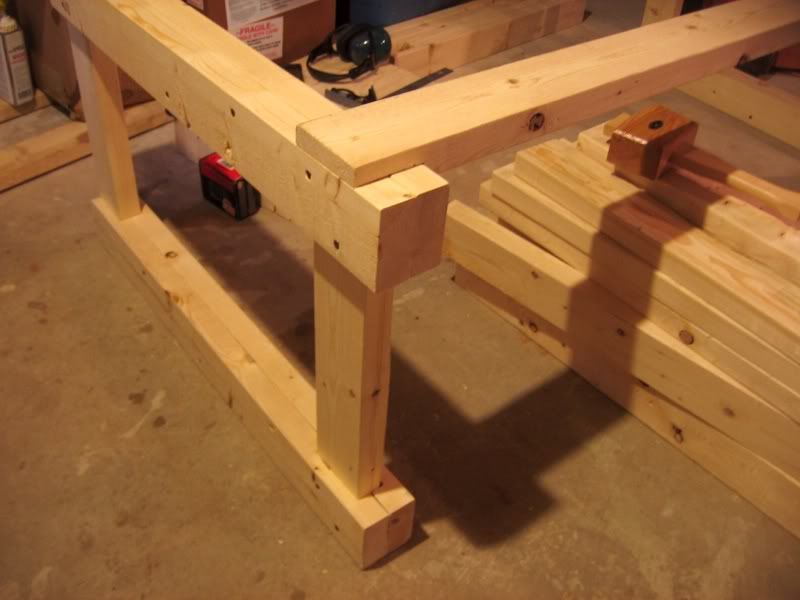
This joint is one element I borrowed from a design I found online that is pretty simple to make and very strong when the surfaces are glued in addition to screws. The two stacked 2x4s will become a leg of the workbench.


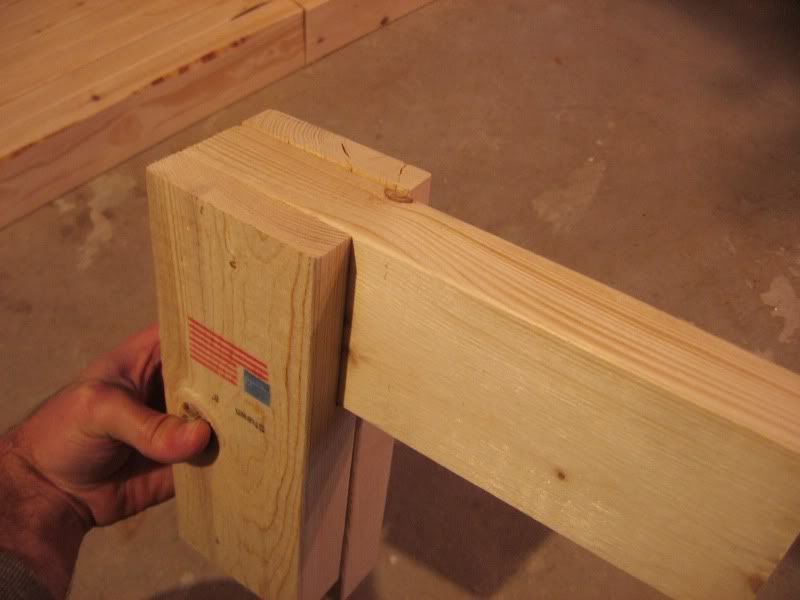
This sort of joint will connect across each pair of legs near the top and floor.


After a LOT of cutting and chiseling I ended up with seven of these pairs of legs which are the basic building block of my workbench design. The two five foot benches will use two of these while the eight foot will have three to add more support in the middle. Probably overkill but I want these to be sturdy.


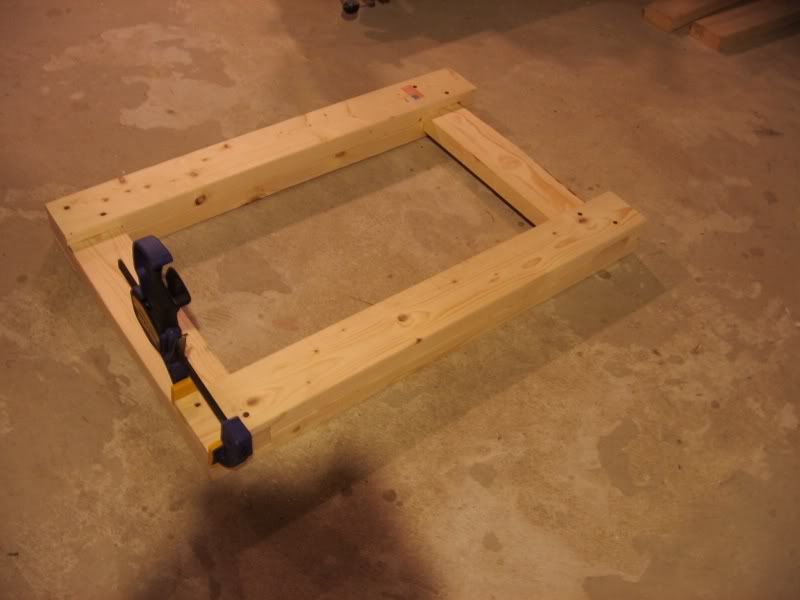
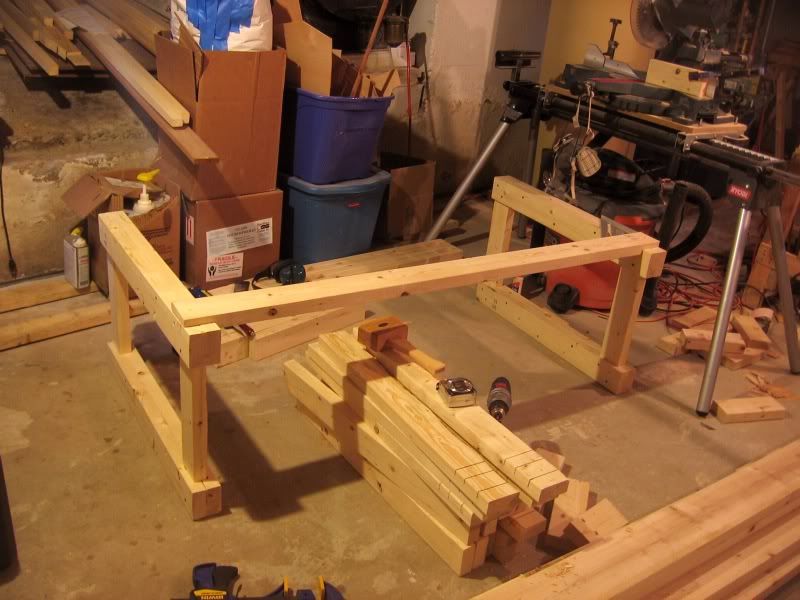
Here is one of the five foot benches coming together. The bottom cross pieces will hold the legs and also support a shelf for more storage.


I was going to just put the cross pieces on the surface but i decided to cut another lap joint to make it look nicer and also be stronger because the leg is supported by the face of the lap.

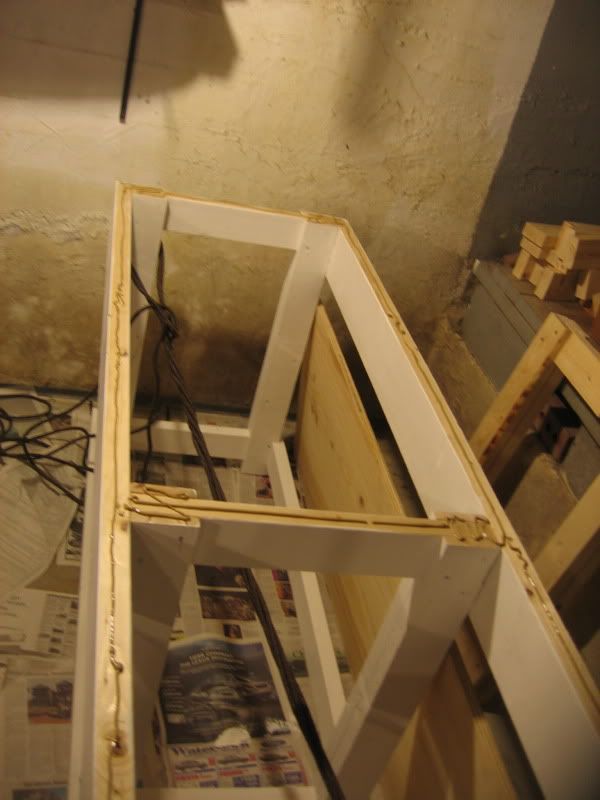
So here are the structures of the first two benches. The top supports are 2x8s which will give a good vertical surface for clamping boards to plane on edge, etc. You can see how the upper boards will hold the plywood top and the lower boards will form a storage shelf.


See Part 2 for the finishing touches ...