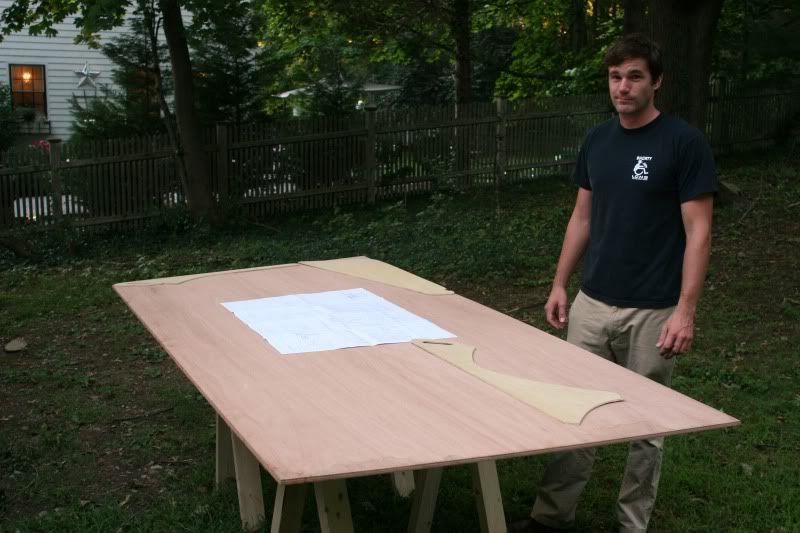
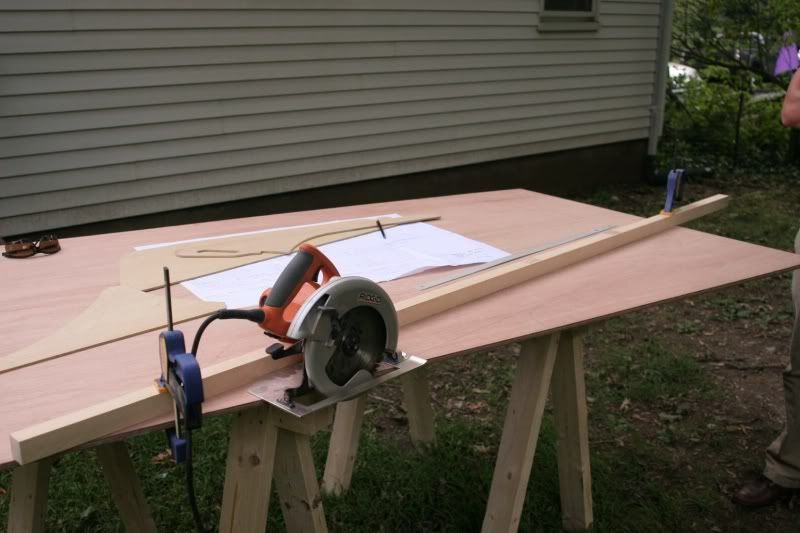
We aren't going to have the weather to epoxy the hull panels, stems, and bulkheads into their final shape until the spring, but we want to get everything stitched and ready to go before tucking them away in the basement for the winter. As soon as both hulls are stitched up and ready we will move on to the beams and mast for the duration of the winter.
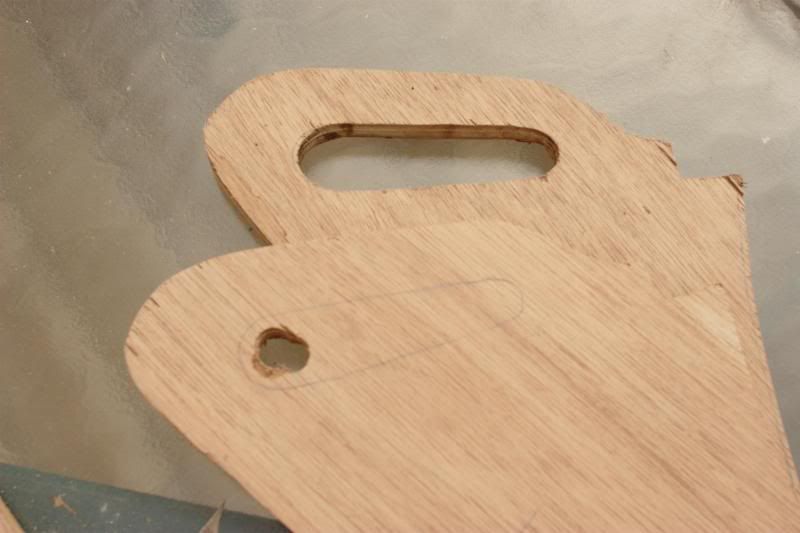
We had already shaped the profile of the 1/2" plywood stems with patterns and the router table, but had saved the handles for later. First we used the drill press to create a pilot hole for the pattern bit and then cleaned out the handle. The bottom of the handle is cut to line up with the top of the plywood deck when everything goes together. The other divergence from the plan shape was to draw the front of the handle to flow into the 1/2" tall fir stringer that goes down the middle of the fore deck.
Here is how the rudders and rear stems fit together (the rudders haven't been routed to final shape yet). Wharram uses a unique lashing method instead of pintles and gudgeons which is very clever and light weight. We picked up the idea of over drilling the lashing hole locations and filling with epoxy from Scott Williams' blog and will be doing that on our boat as well.
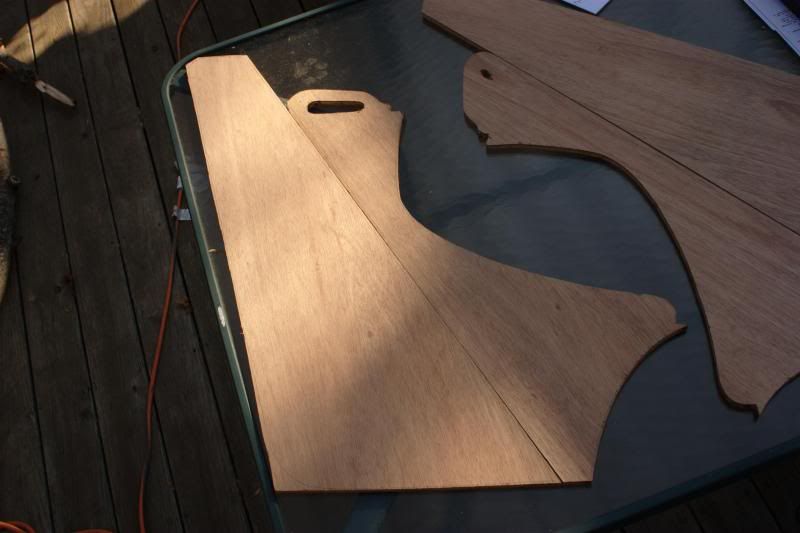
The plans don't locate the lashing points exactly so we just eyeballed what looked right and marked the center lines on both stems and rudders.
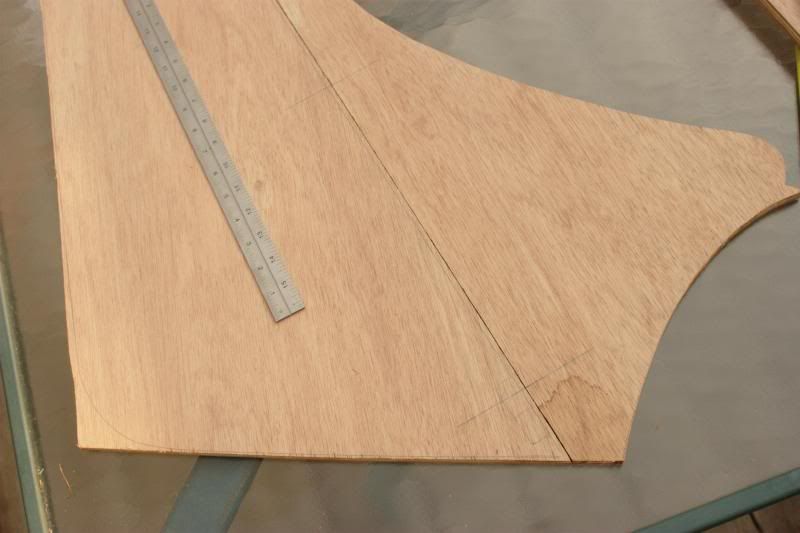
We measure back for the center of the row of lashing holes . . .
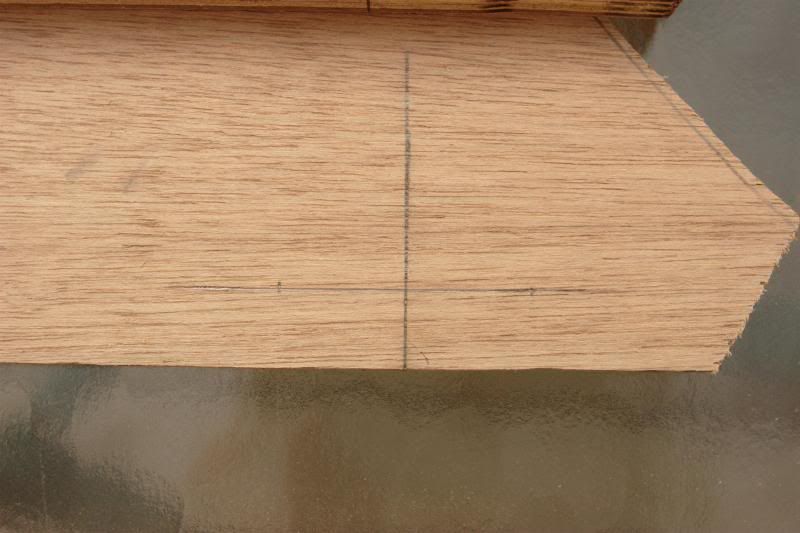
and drill out each end with a 3/8" drill bit . . .
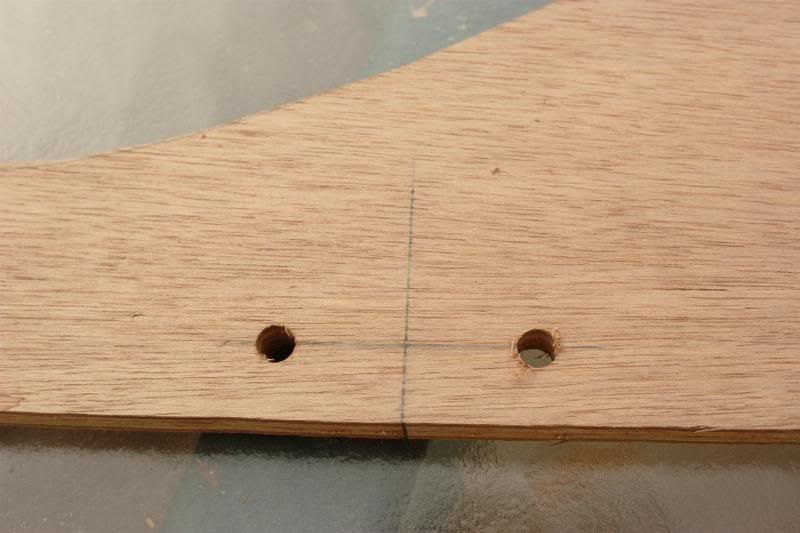
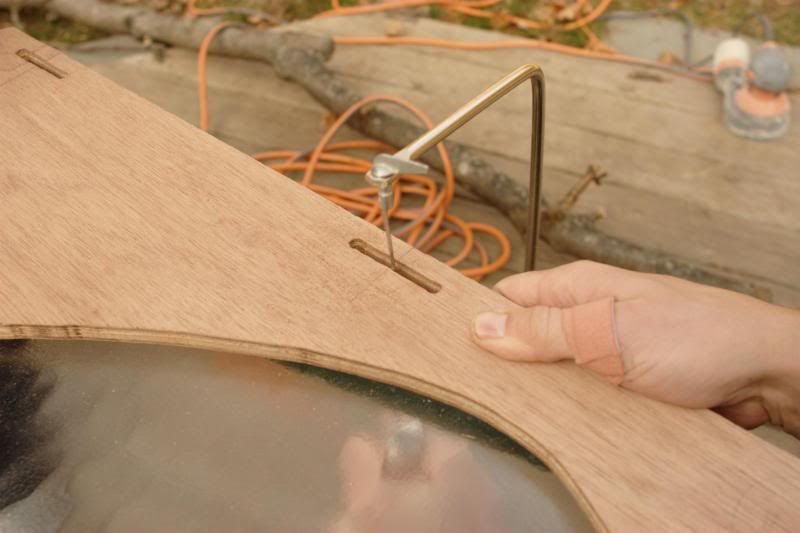
then use a coping saw to cut out the slots which are filled with an epoxy and wood flour mixture and set aside to cure. Now when we drill out the lashing holes there will be no way for water to get into the plywood end grain.