The goal of every project is to learn from your mistakes - and so it is with this canoe build. It's time to laminate the aft stem and see if I'm any better at estimating the spring-back to get the right stem profile. By the time I get to the second canoe maybe I'll have the hang of it down.
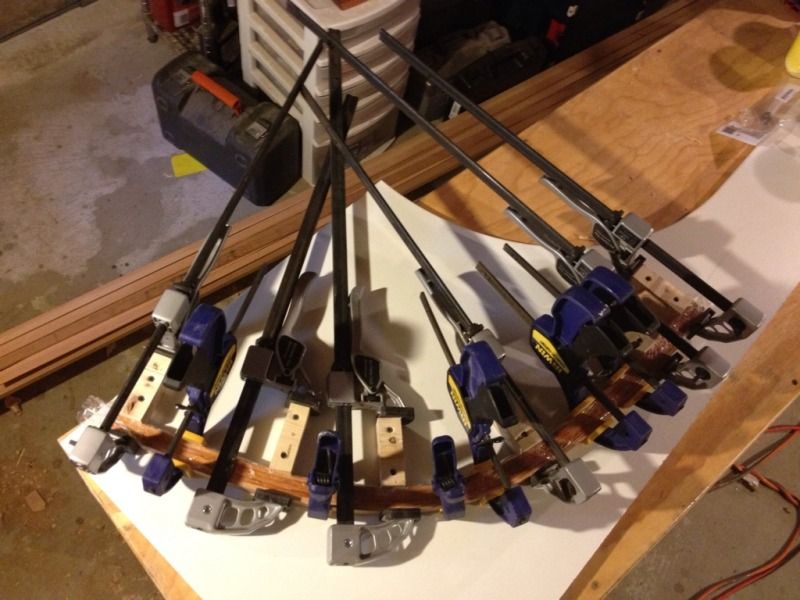
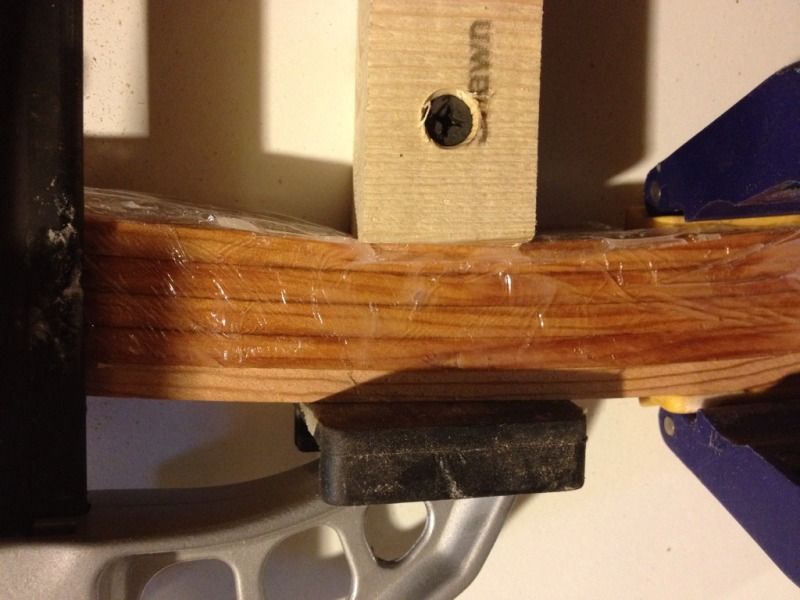
So on we go to gluing up the aft stem. I used more clamping points to better capture the curvature of the stem and also made sure to maintain the curvature through past the eventual end points. I still wish I had more clamps but it turned out fine and there were not gaps in the glue joints.
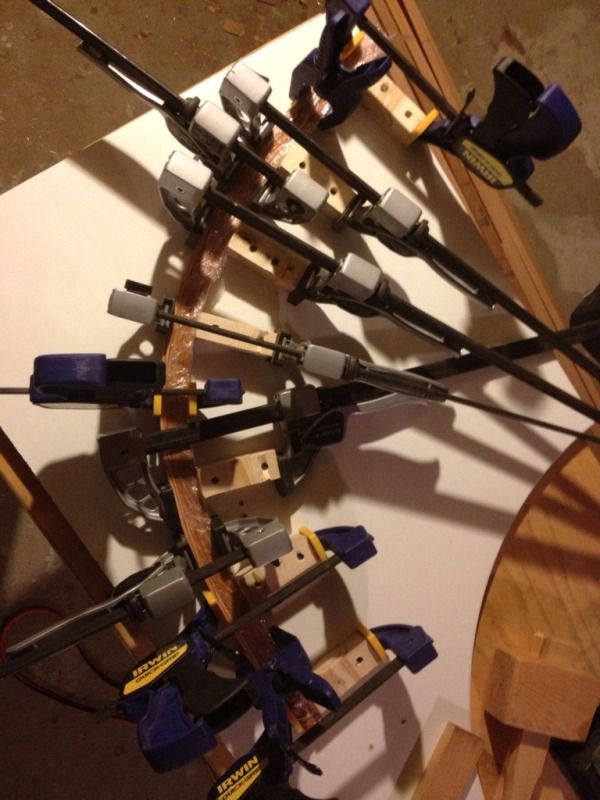
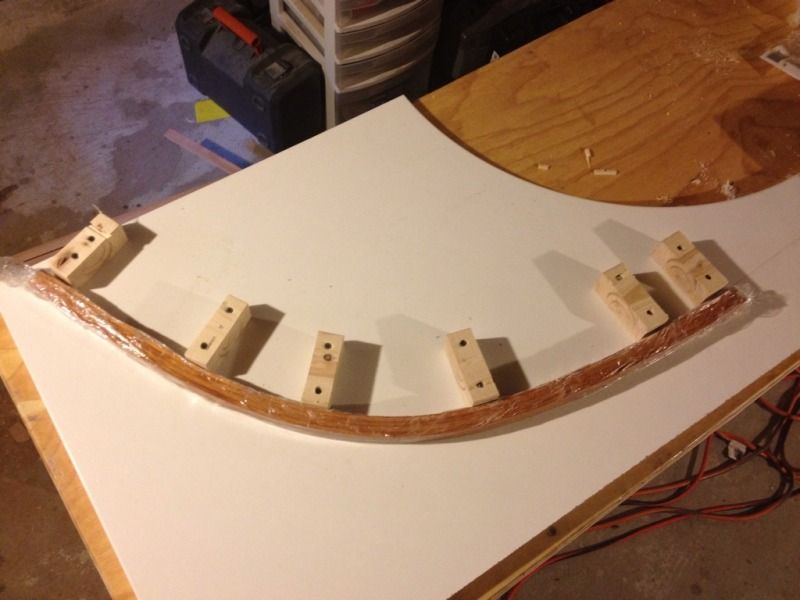
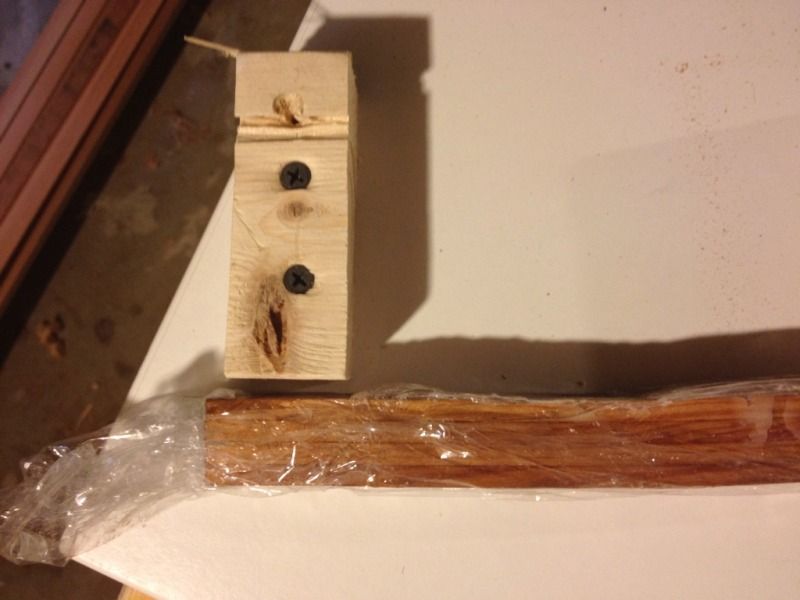
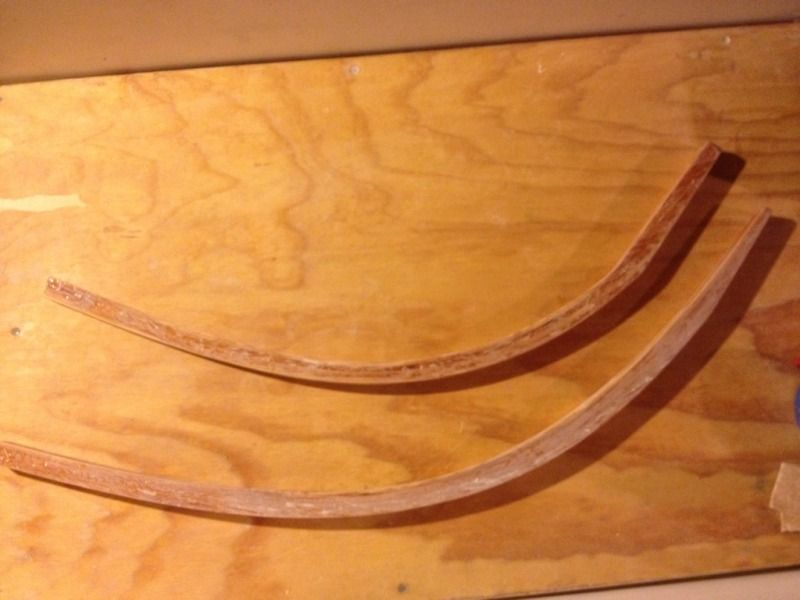
So what were the results you ask? Better, but not perfect. In the last installment the fore stem came out alright structurally but I overestimated the spring-back and that made the curve a bit too sharp. The aft stem is close, but the after moving it around to find the position that matches the drawn profile the best the area that connects to the keel is too short and will need to be lengthened. Mr. Oughtred draws such a beautiful boat it would be a shame to change the stem profile even slightly because of lamination errors so I'll be planing these stems down until they match the plans as perfectly as possible.
First up is the fore stem (the bottom one) and you can just barely see that at point of greatest deviation from the plans I had to take off almost a whole lamination layer thickness. This was then added back on the back side using a strip that was tapered on its ends to roughly match the amount removed. The result is a front face that matches the plans and fairly constant thickness. Almost like I did it right the first time!
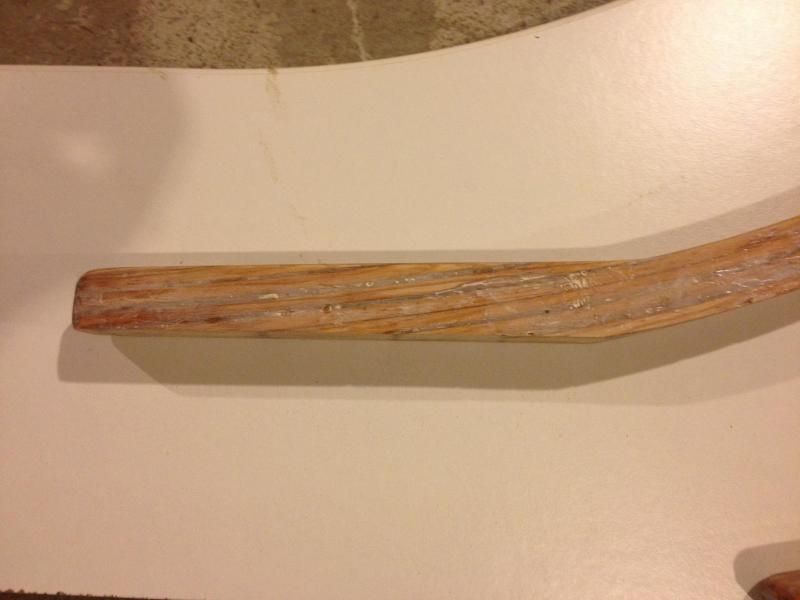
Next it's time to adjust the aft stem. This one started much closer and only took a bit of cleaning up, but then it came time to beef up the too-short connection with the keel. It worked out that I could take the section that was cut off to from the bottom keel mating surface and glue it back on the top side of the stem. It looks a bit clunkier than the fore stem's keel connection but the aft end could use a bit of extra support since this joint carries the stresses from the rudder. I'll probably still taper it a bit more just so It's prettier to look at as every little detail counts in a small open boat like a canoe.
Well that's as far as I can get using the scraps that are laying around the shop so I'll have to actually invest in some materials soon to start building the strong-back and station molds that form the building jig.
Showing posts with label MacGregor Canoe. Show all posts
Sunday, July 29, 2012
Saturday, July 14, 2012
Let's get laminating
I decided to start with the MacGregor partly because it is the more versatile of the two canoes, but mostly because I already had 1" strips of Douglas fir lying around which is the right width for the MacGregor stems.
I marked the inboard edge of the stem on an old desk top by laying out the plans and using a sharp screw point every few inches. You can then take a pencil and darken each hole to make them easier to see. The strips on hand were a bit thicker than in the plans so I tried to leave a bit more allowance for spring back. I'm not sure how it's going to turn out but i'm hoping its close enough to be usable.
Each lamination is just under 1/4" thick which makes the four layers together about 7/8" thick, a bit short of the 1" target. I was thinking the epoxy in the joints would add some of that width back but they were pretty tight. I may be adding some more material to get the shape right once the stem is off the forms anyway, otherwise I'll consider it a bit of weight savings. The un-epoxied strip on the outside is to help keep the tension even along the outside strip, this seemed to help them make the bend easier.
The next day the clamps come off and there is less spring back than I was expecting. That means I'm going to have to plane of some of the thickness in the middle section to get the shape just right and probably laminate another strip on to make it strong enough.
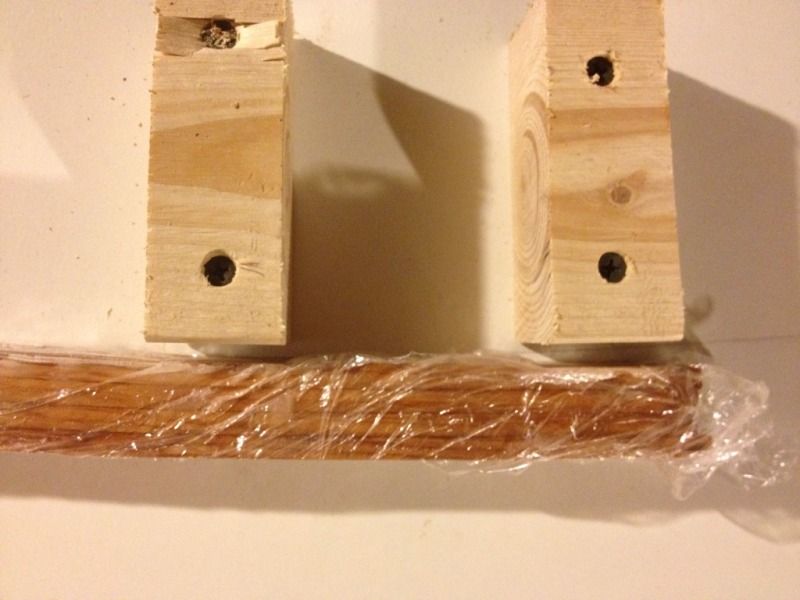
Here is the spring back near the keel - about 3/16".
Here is the spring back near the stem- about 1/4".
All in all a success, but I'm going to try and guess the spring back better for the aft stem and see what this one looks like once its planed down to match the plans exactly. The other thing I'm going to do differently is round the edges of the 2x4 pieces so that the corners aren't pressed into the inside face of the stem.
I marked the inboard edge of the stem on an old desk top by laying out the plans and using a sharp screw point every few inches. You can then take a pencil and darken each hole to make them easier to see. The strips on hand were a bit thicker than in the plans so I tried to leave a bit more allowance for spring back. I'm not sure how it's going to turn out but i'm hoping its close enough to be usable.
Each lamination is just under 1/4" thick which makes the four layers together about 7/8" thick, a bit short of the 1" target. I was thinking the epoxy in the joints would add some of that width back but they were pretty tight. I may be adding some more material to get the shape right once the stem is off the forms anyway, otherwise I'll consider it a bit of weight savings. The un-epoxied strip on the outside is to help keep the tension even along the outside strip, this seemed to help them make the bend easier.
The next day the clamps come off and there is less spring back than I was expecting. That means I'm going to have to plane of some of the thickness in the middle section to get the shape just right and probably laminate another strip on to make it strong enough.
Here is the spring back near the keel - about 3/16".
Here is the spring back near the stem- about 1/4".
All in all a success, but I'm going to try and guess the spring back better for the aft stem and see what this one looks like once its planed down to match the plans exactly. The other thing I'm going to do differently is round the edges of the 2x4 pieces so that the corners aren't pressed into the inside face of the stem.
Monday, July 2, 2012
The Plans Arrive
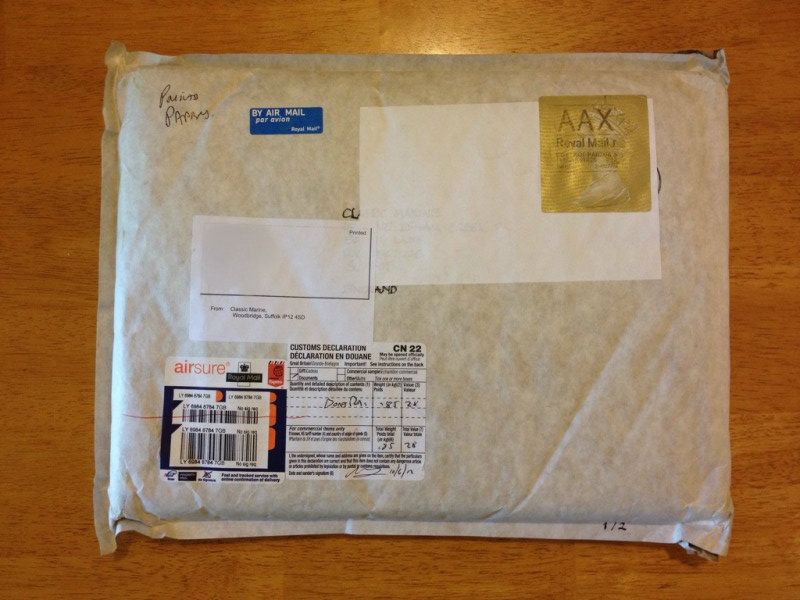
The plans for my two future sailing canoes arrived today from England. Inside the envelope were two smaller envelopes, one with plans for a MacGregor and the other plans for a Wee Rob, both designed by Ian Oughtred.
Opening up the packaging and gently unfolding the pages to get a glimpse of all the wonderful building details is like being a kid on Christmas morning again. These are small but very carefully designed boats and I'm looking forward to the challenge of building something that lives up to the aesthetic potential of the designs.
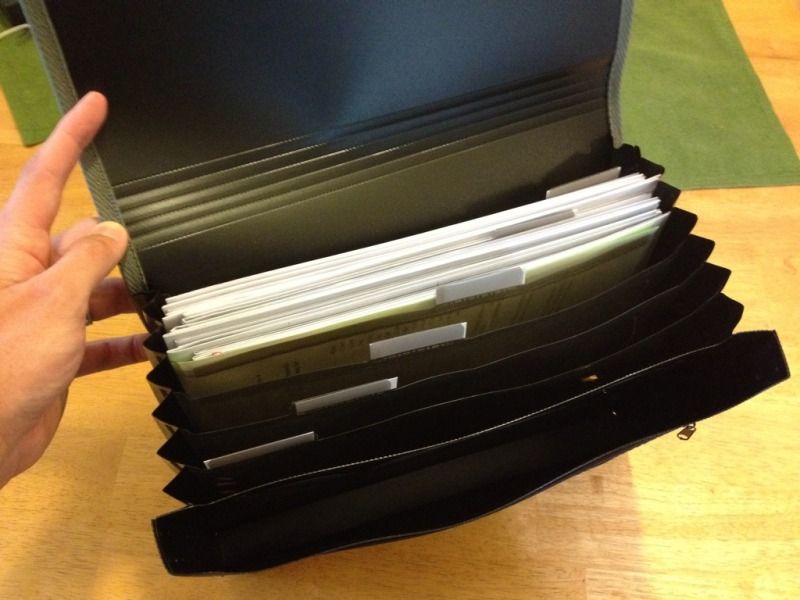
The Wee Rob plans were all printed on blue print type paper and fit nicely into a new folio I bought to keep this project organized and keep the plans in good condition. The MacGregor plans had one blue print type sheet and the rest were on large photocopy paper. This wasn't a problem of itself, but the paper was a euro dimension and didn't fit when folded. My solution was to refold and then cut off the blank margin to get back to the original drawing paper size.
Now both plans fit nicely in the folio and will have a chance of surviving the rough and tumble life of the boat shop (i.e. my basement). I have a separate section dedicated for keeping track of receipts and that leaves four more sections for future builds!
I'm not in a position to get started on the building just yet, but can't wait to start bringing these beautiful plans to life.
Opening up the packaging and gently unfolding the pages to get a glimpse of all the wonderful building details is like being a kid on Christmas morning again. These are small but very carefully designed boats and I'm looking forward to the challenge of building something that lives up to the aesthetic potential of the designs.
The Wee Rob plans were all printed on blue print type paper and fit nicely into a new folio I bought to keep this project organized and keep the plans in good condition. The MacGregor plans had one blue print type sheet and the rest were on large photocopy paper. This wasn't a problem of itself, but the paper was a euro dimension and didn't fit when folded. My solution was to refold and then cut off the blank margin to get back to the original drawing paper size.
Now both plans fit nicely in the folio and will have a chance of surviving the rough and tumble life of the boat shop (i.e. my basement). I have a separate section dedicated for keeping track of receipts and that leaves four more sections for future builds!
I'm not in a position to get started on the building just yet, but can't wait to start bringing these beautiful plans to life.
Subscribe to:
Posts (Atom)