Alrighty Folks,
Finally sucked it up and got back to work on the Hitia. Its a little bit tight in the garage space, but with the help of my latest recruit, Tyler, we were able to keep working on the front beam and paint the inside of the second hull.
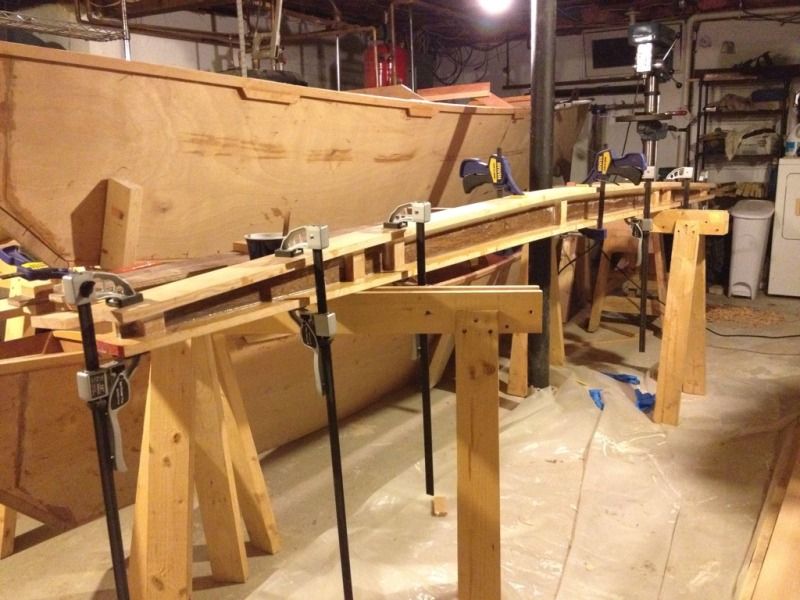
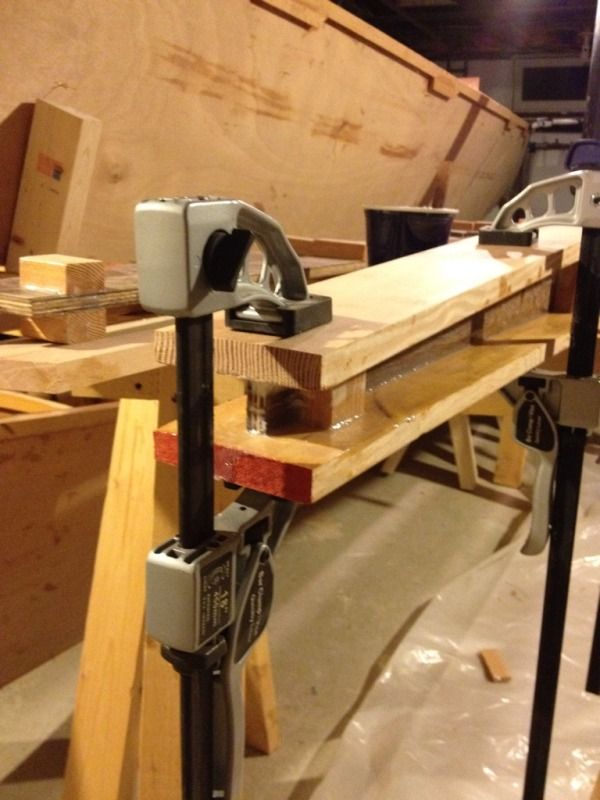
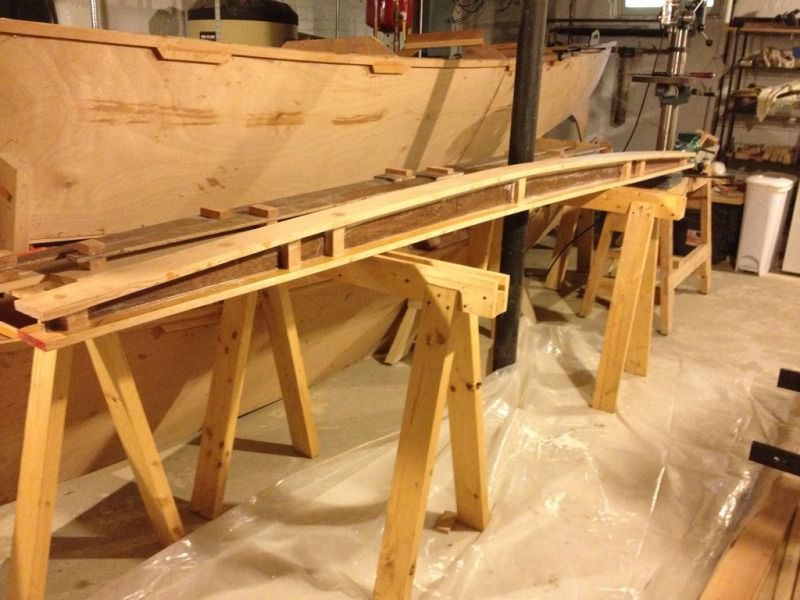
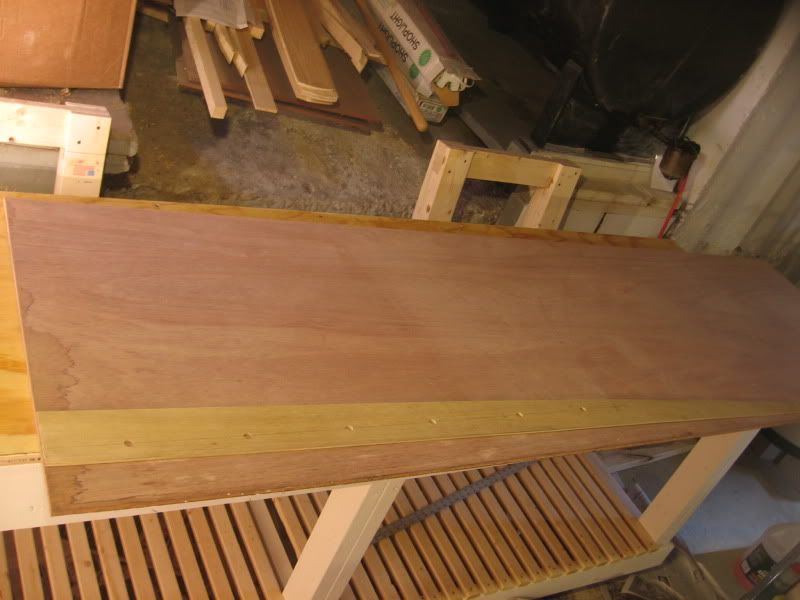
Here's a picture of the beam as it sits right now:
And here is one of the inside of the second painted hull:
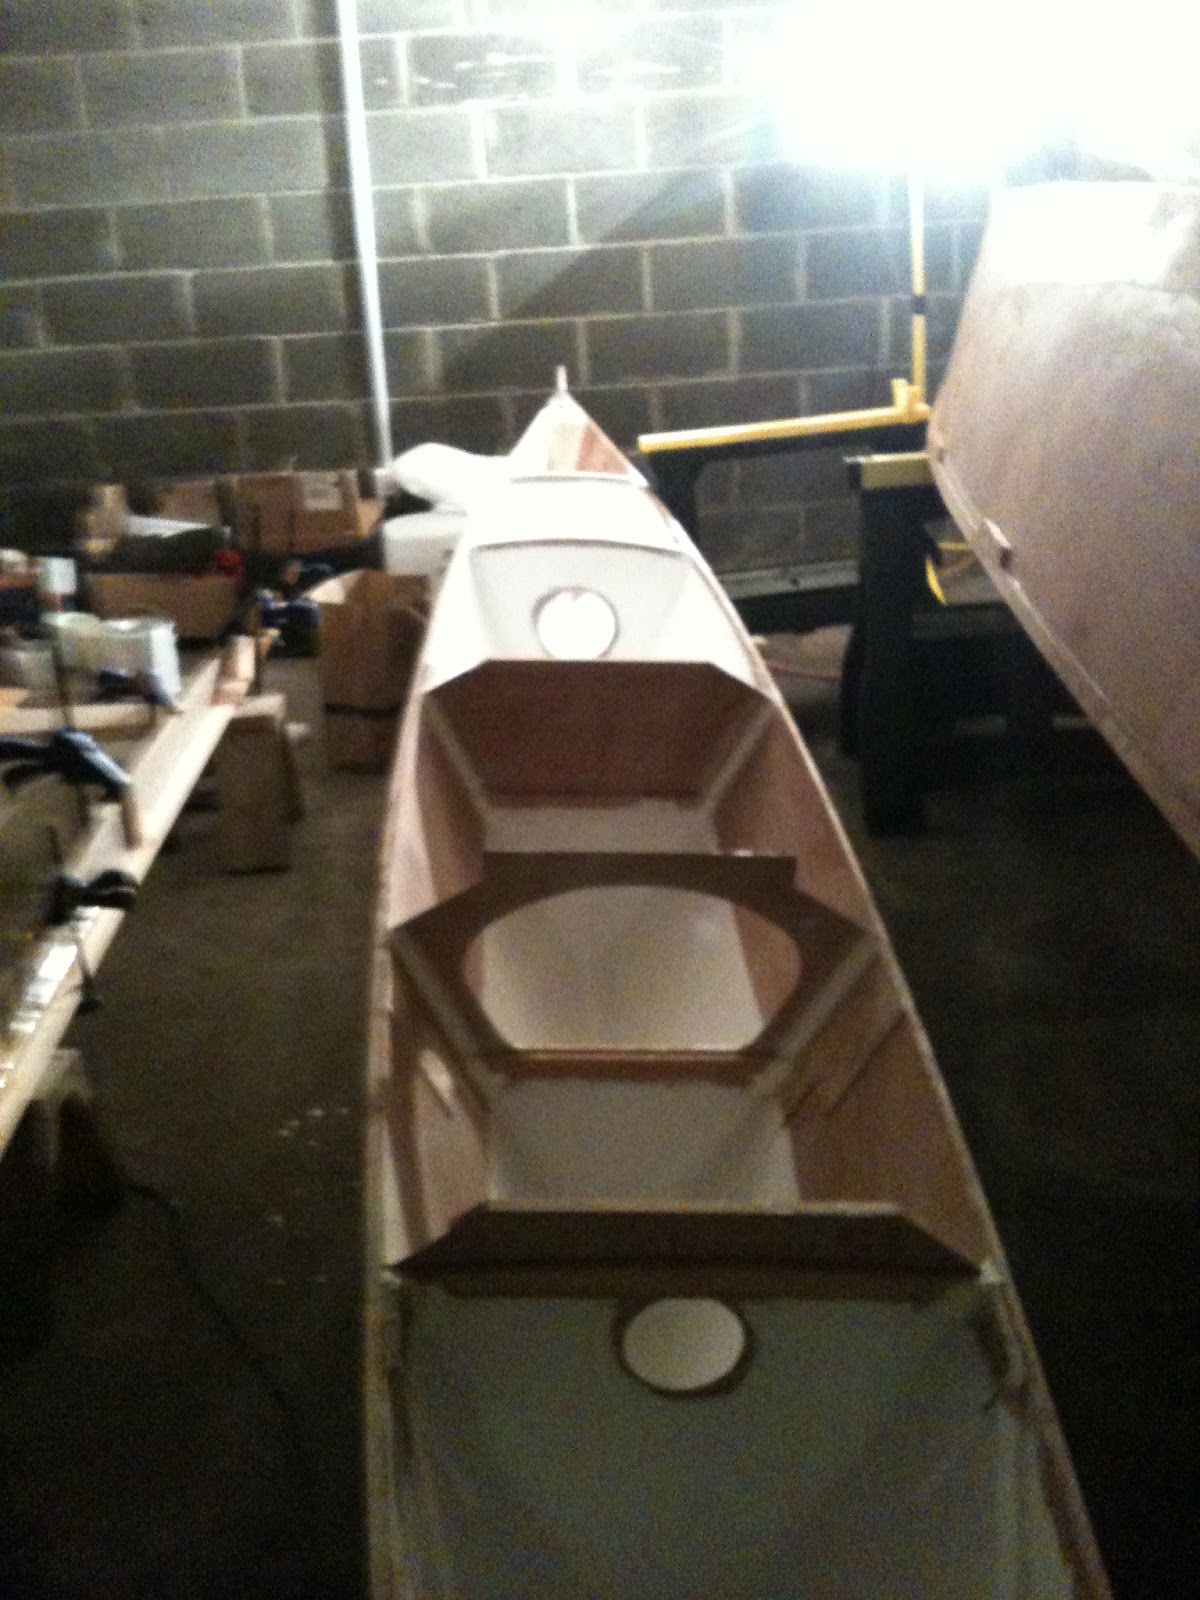
We left some unpainted space for the floors and for the eventual installation of the hatches. I was hoping to be able to start working on glassing the outside rather than painting, but it was too cold to work with that much epoxy and I didn't want to do a sloppy job with the fiberglass cloth. So I opted to paint the hull instead, and set up the flood lights and the radiator next to the beam to help it cure up. Then I got out of there because the paint fumes were giving me a headache.
After lunch I came back and was especially glad I didn't glass the hull. I had over done it with the heaters and lamps and blew out the power. I couldn't get in to the room housing the fuse box, so I had to leave the beam as she was. Hopefully that quick hardener works in those low temperatures as advertised!
If anyone has any experience working with epoxy in low temperatures (about 40 degrees F) I'd appreciate any tips.
Anyway, its a bit ghetto, but I'm glad to be back at work on the Hitia. Hopefully the groundhog was right and we're headed for an early spring and some warmer days!
Showing posts with label Beams. Show all posts
Saturday, February 2, 2013
Tuesday, June 19, 2012
Cutting the decks and floors
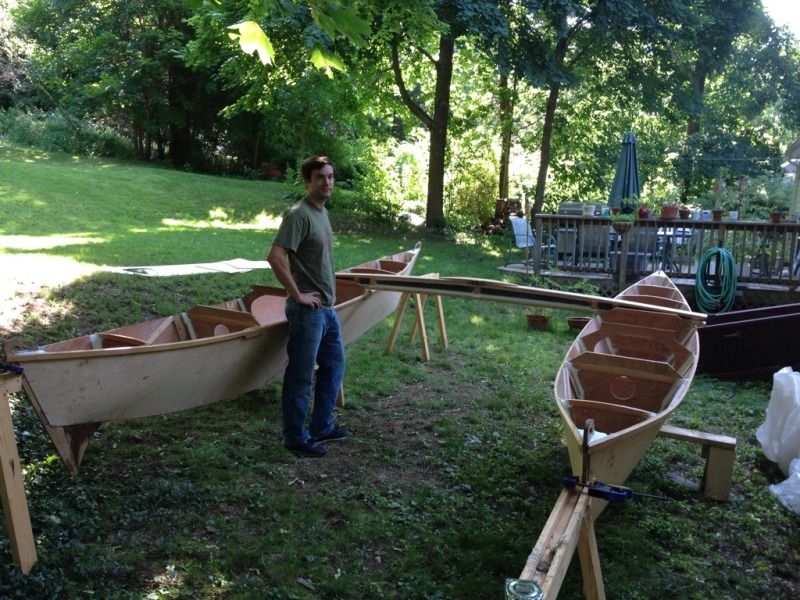
Another free day so we're keeping the momentum going. The hulls were already set up at their proper distance to get a sense of scale so we couldn't help but throw the main beam on to see how it looks. But enough daydreaming, today we are making the floors, fore decks, aft decks and side decks.
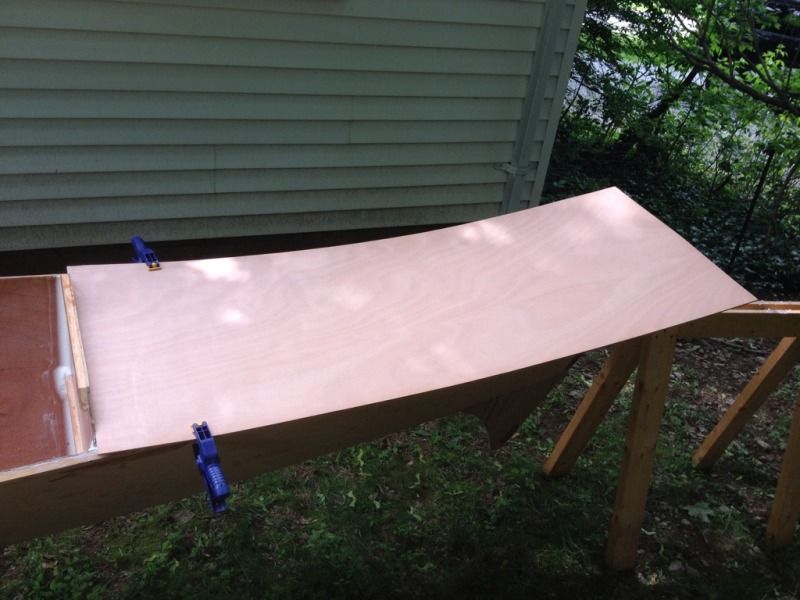
Here is our process for making the main decks. We start with a piece about the right size and put a straight edge up against the bulkhead. Clamps hold it tight against the bulkhead and centered across the hull.
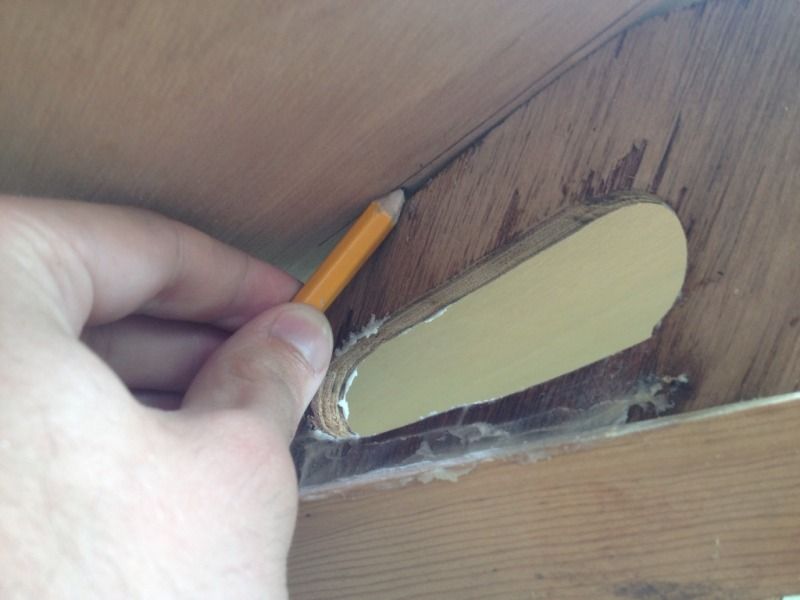
The stem location is marked on the underside holding the edge of the pencil point flush with the plywood.
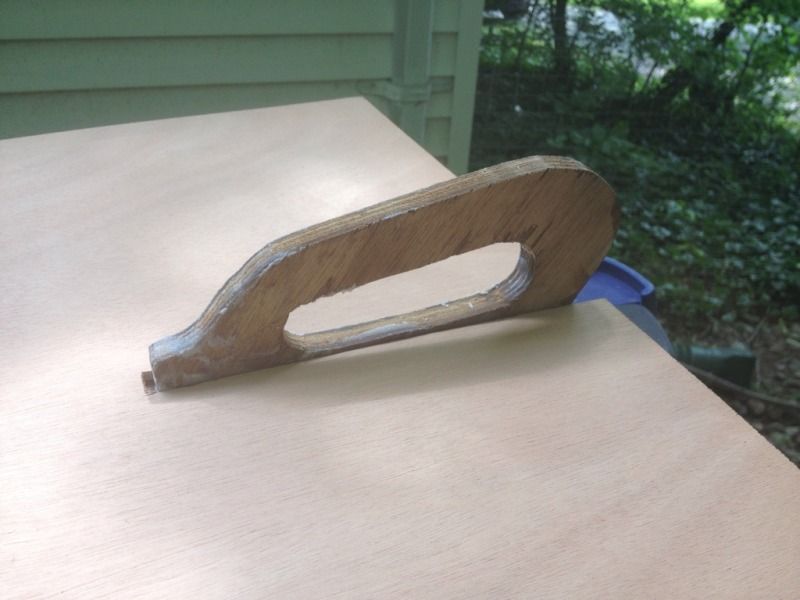
Then cut out the slot and fit it over the stem handle. Next it's pretty straight forward to mark the edges of the hull and trim it down with the jig saw.
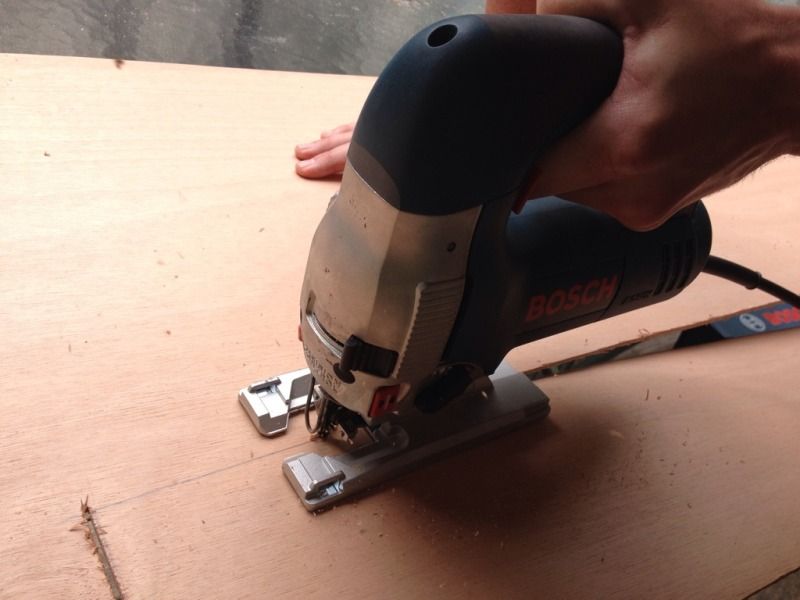
Speaking of the jig saw, this is my new Bosch saw which got quite a workout today. I can't believe we made it this far without one and this one is very heavy duty which helps with making nice smooth cuts.
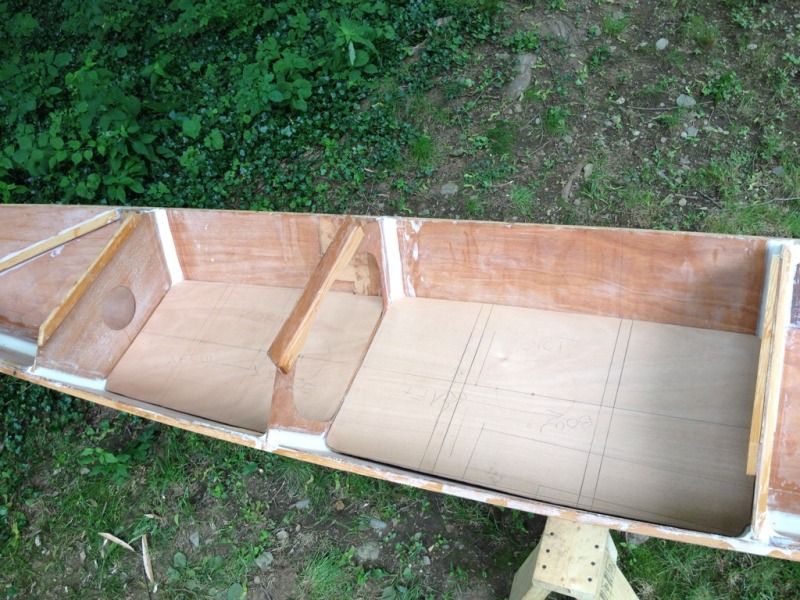
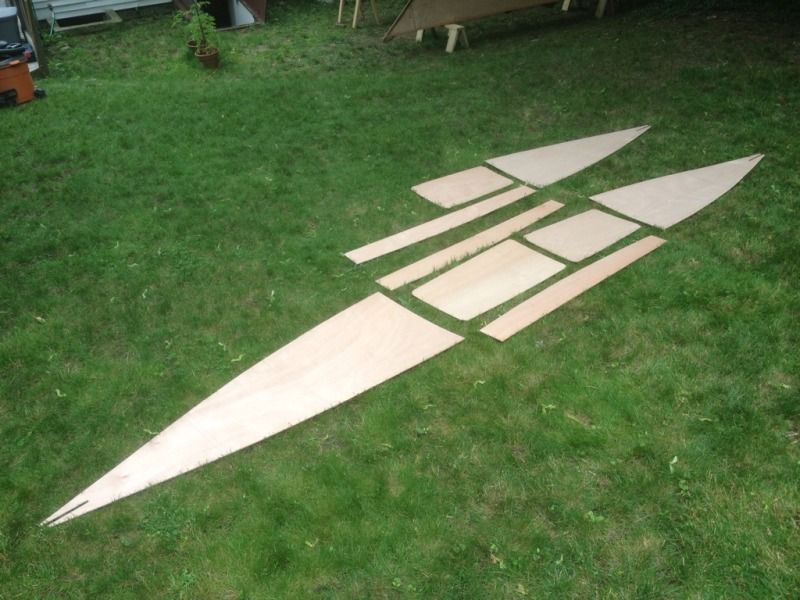
So after all that jig sawing this is what we have to show for it: noth aft decks, both aft floors, three side decks, one front floor and one front deck.
Next up: more epoxy coating, gluing on more fir stringers and back to the lumber store for another sheet of Okoume plywood. Pretty soon we'll be painting the interior and under sides of the decks to get them ready for glue and fiber glassing over the floors.
The first order of business was bringing out the scraps of plywood and seeing what we could get out of each piece to best use the material we had left. We knew after cutting all the bulkheads twice that we wouldn't have enough to finish, but we would like to buy as little extra as possible.
The first pieces cut were the floors. These two floors should be almost the same length according to the plans, but bulkhead 5 which forms the aft face of the aft most floor is about 5" too far forward. Not sure how this happened but we're going with it and will change some of the details on the hatches to make it all look right. The mast will be in the right place and that's what counts so hopefully we don't miss the extra seating space too much. In the end I don't think anyone will notice.
Here is our process for making the main decks. We start with a piece about the right size and put a straight edge up against the bulkhead. Clamps hold it tight against the bulkhead and centered across the hull.
The stem location is marked on the underside holding the edge of the pencil point flush with the plywood.
Then cut out the slot and fit it over the stem handle. Next it's pretty straight forward to mark the edges of the hull and trim it down with the jig saw.
Speaking of the jig saw, this is my new Bosch saw which got quite a workout today. I can't believe we made it this far without one and this one is very heavy duty which helps with making nice smooth cuts.
So after all that jig sawing this is what we have to show for it: noth aft decks, both aft floors, three side decks, one front floor and one front deck.
Next up: more epoxy coating, gluing on more fir stringers and back to the lumber store for another sheet of Okoume plywood. Pretty soon we'll be painting the interior and under sides of the decks to get them ready for glue and fiber glassing over the floors.
Friday, May 11, 2012
Attaching the mast step
Wharram seems to like interesting mast steps, and the Hitia 17 is no different. The mast as feet that lock it to the beam fore and aft and "locating chocks" that locate the base of the mast laterally. The front block also prevents the mast from rotating and the middle portion gives a curved initial contact point for the foot of the mast to hook onto as the mast is rotated up into place.
So here is the plan for the front block, I have made it a bit wider than the sketch which I think looks better and will give more epoxy surface area to prevent shearing along the glue joint.
Now the mast step doubling block and the block are epoxied on. The sequence here was fillets, doubling block then mast foot block.
The block liked to slide around particularly with the clamps on the angled faces. It took some adjusting but eventually it sat centered and flush with the top surface.
Now that the epoxy has cured it's time to make sure the proportions and shapes look right.
Overall I'd say the mast step is looking pretty good and I seem to be getting the hang of the fillets. The second round worked out much neater than the first though you can see that i need to go back and clean up some of the excess.
We're still struggling to find a free day with good weather to do the hulls, but they are poised and waiting should the opportunity arise.
So here is the plan for the front block, I have made it a bit wider than the sketch which I think looks better and will give more epoxy surface area to prevent shearing along the glue joint.
Now the mast step doubling block and the block are epoxied on. The sequence here was fillets, doubling block then mast foot block.
The block liked to slide around particularly with the clamps on the angled faces. It took some adjusting but eventually it sat centered and flush with the top surface.
Now that the epoxy has cured it's time to make sure the proportions and shapes look right.
Overall I'd say the mast step is looking pretty good and I seem to be getting the hang of the fillets. The second round worked out much neater than the first though you can see that i need to go back and clean up some of the excess.
We're still struggling to find a free day with good weather to do the hulls, but they are poised and waiting should the opportunity arise.
Thursday, May 10, 2012
Continuing on the main beam
A quick update on the main beam. The bottom was glued on and cured over night.
The compression blocks pretty much assure that it the top and bottom are parallel, though in some cases there was some room for adjustment based on small changes in the clamping location particularly on the ends.
And here is the main beam all glued up and man is this thing sturdy. I'm feeling better about these beams being the only thing keeping us out of the water.
Now we just have to keep up the sequence: glue, wait, fillet, wait, glue, wait, fillet, wait ...
The compression blocks pretty much assure that it the top and bottom are parallel, though in some cases there was some room for adjustment based on small changes in the clamping location particularly on the ends.
And here is the main beam all glued up and man is this thing sturdy. I'm feeling better about these beams being the only thing keeping us out of the water.
Now we just have to keep up the sequence: glue, wait, fillet, wait, glue, wait, fillet, wait ...
Wednesday, May 9, 2012
Carving the mast step block
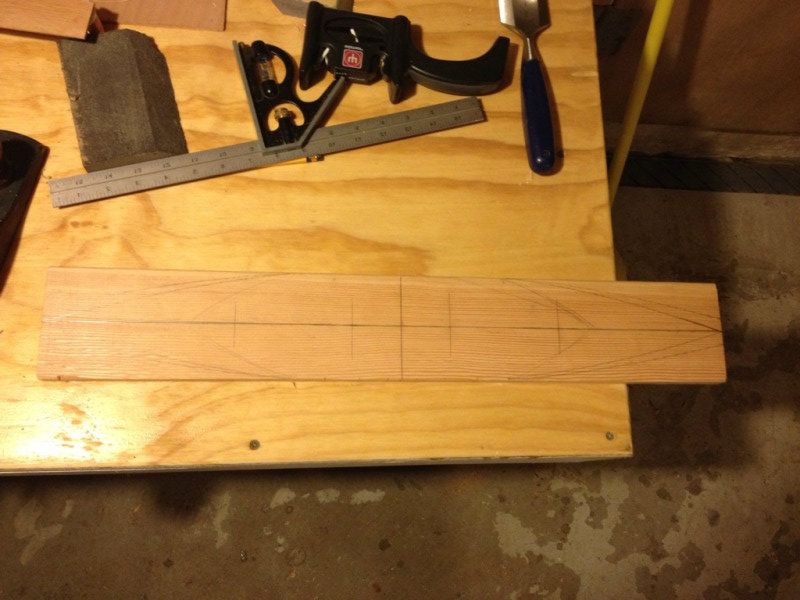
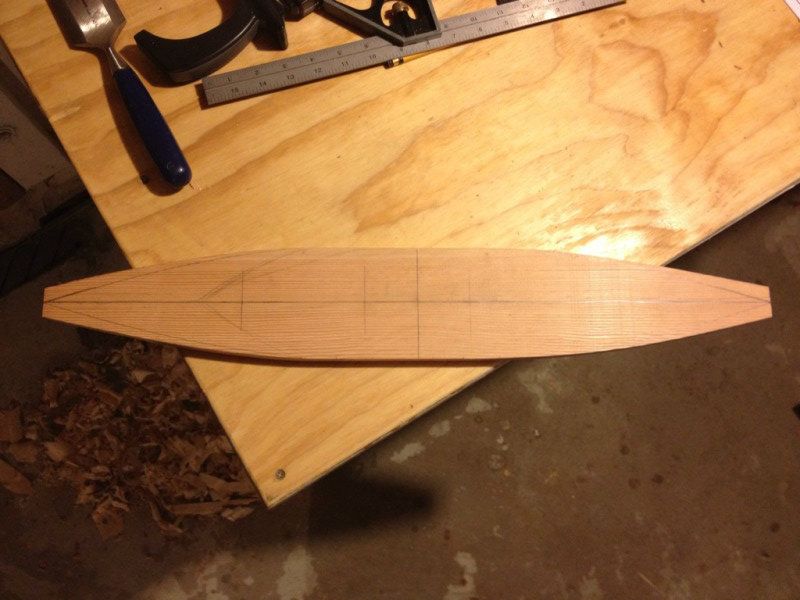
Another rainy day working in the basement instead of outside, but I made some progress on the mast step for the main beam. The top of the main beam is doubled up under the mast step with a block that tapers on each end "to a pleasing shape" according to the plans. I marked a shape that looked good on a cutoff and got to shaping. At first I thought I would bring the edges to a point, but then decided to leave the edge flat at about an inch wide.
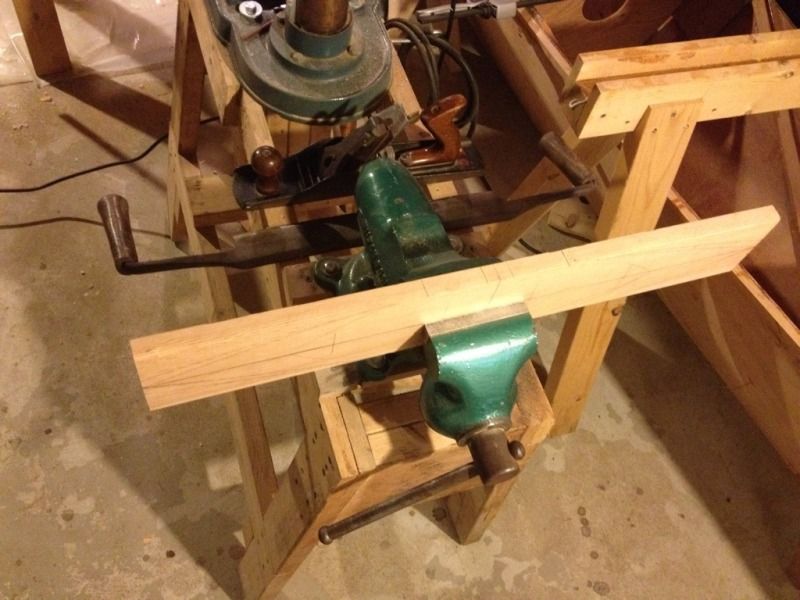
I've recently found how much I like working with an old draw knife I picked up a long time ago and this was another good use for it. It's 14" along the blade and 24" between the handles so a bit big but very handy.
In no time at all the blank was worked down to shape and then planed to the lines.
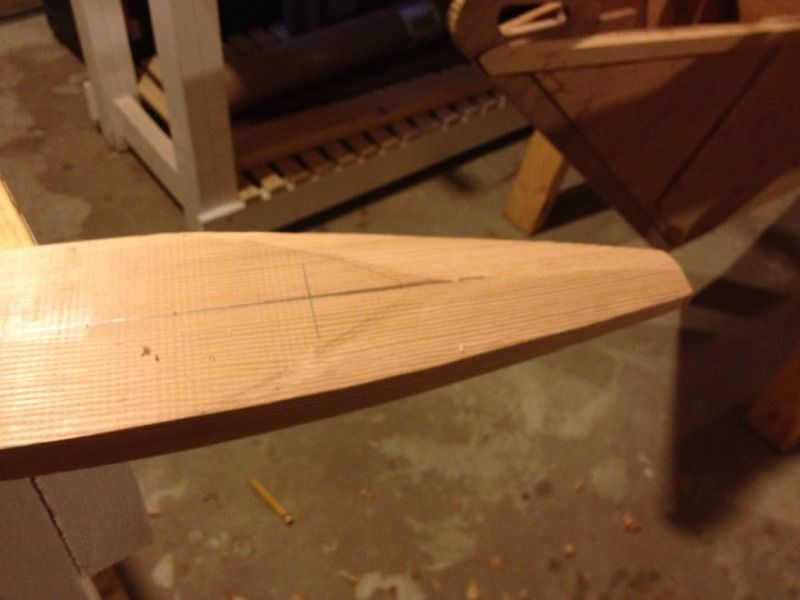
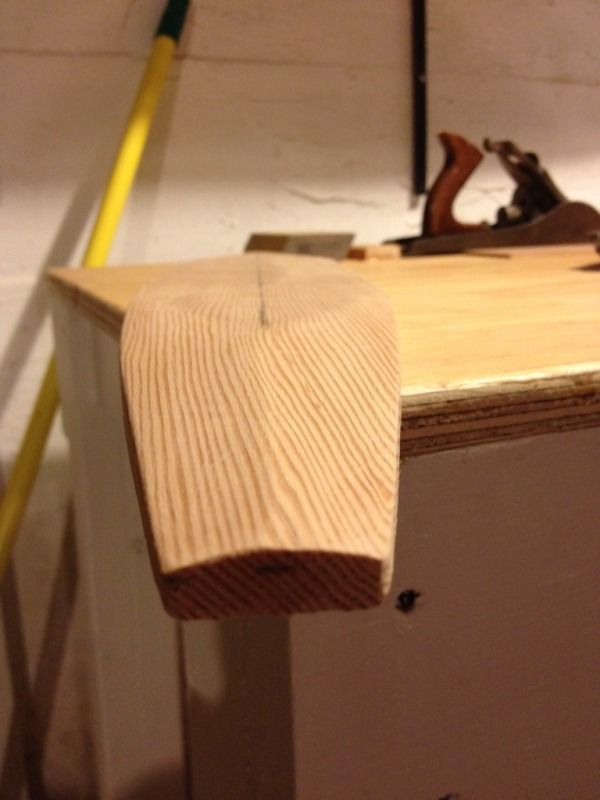
The next step was to taper and bevel the edges to lighten up the appearance of the mast step block. The top edge of the bevel was drawn on freehand to miss the blocks that form the step so that they have a flat mounting surface. The rest was trimmed down by eye with the draw knife.
Here it is getting pretty close to the final shape, but not quite even. This was all with the draw knife so far.
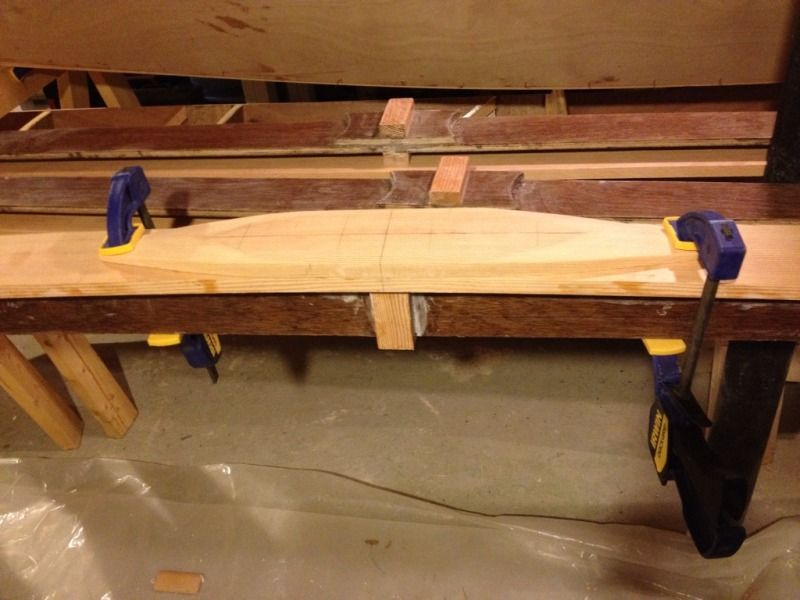
A bit more work with a sanding block and it was done and ready for a test fit. The short piece didn't want to take the bend but eventually settled in nicely. I'm happy with how the tapered ends turned out and how they flow with the curve of the beam.
I've recently found how much I like working with an old draw knife I picked up a long time ago and this was another good use for it. It's 14" along the blade and 24" between the handles so a bit big but very handy.
In no time at all the blank was worked down to shape and then planed to the lines.
The next step was to taper and bevel the edges to lighten up the appearance of the mast step block. The top edge of the bevel was drawn on freehand to miss the blocks that form the step so that they have a flat mounting surface. The rest was trimmed down by eye with the draw knife.
Here it is getting pretty close to the final shape, but not quite even. This was all with the draw knife so far.
A bit more work with a sanding block and it was done and ready for a test fit. The short piece didn't want to take the bend but eventually settled in nicely. I'm happy with how the tapered ends turned out and how they flow with the curve of the beam.
That's it for now on the mast step until the bottom of the beam is glued on. This beam is getting pretty close to done, two more to go.
Tuesday, May 8, 2012
Starting the main beam
Today we found ourselves with a free day to spend working on the boat and then it rained non-stop. The weather is always gorgeous when one or the other of us is busy, but we can't let that stop us getting out on the water. Since we are confined to the basement we decided to work on the beams and save the hulls for another day.
The compression support blocks were trimmed pretty close when we glued them, but needed some adjustments so that the top and bottom boards of the I-beams would sit level. We are trying to keep all of the saw dust generating activities out of the basement but it was raining so this was our compromise. The saw-rasp evened things up pretty quickly
We took advantage of a brief break in the rain to sand the epoxy coated faces of the center beam pieces. There was some concern with the metric conversions that we may have made the beams too narrow so we double checked while measuring for the top board of the main beam. It is actually an inch long which means we'll get that much more room when sailing.
In the dry test fit it looked like we could get away with four clamps and use the stiffness of the board to close all the gaps in a fair curve.
In reality it took 7 clamps, good thing we only epoxied up one at a time! This was about the time Cam said, "If we just had more space and more clamps, think about how much we could get done!"
Sighting down the beam makes sure that the it is straight and centered. Right after this photo we adjusted the closest part a bit to the right as you can see that it is a little off.
After a few hours it was time for more fillets. Here is the glue joint smoothed out with our finger.
The middle two sections get a 1.25" radius fillet.
The outside sections step down to a 5/8" fillet which you can just see in the corner of this picture. Probably could have done the fillets once both boards are on but it seemed easier to do now while there was better access. For the next ones I'll wait till the clamps are out of the way, it's hard to keep the epoxy off of them.
One half of one beam down, can't wait for the weather to clear so we can move outdoors. That will solve the space issue, I'm not sure I'll ever have enough clamps though.
The compression support blocks were trimmed pretty close when we glued them, but needed some adjustments so that the top and bottom boards of the I-beams would sit level. We are trying to keep all of the saw dust generating activities out of the basement but it was raining so this was our compromise. The saw-rasp evened things up pretty quickly
We took advantage of a brief break in the rain to sand the epoxy coated faces of the center beam pieces. There was some concern with the metric conversions that we may have made the beams too narrow so we double checked while measuring for the top board of the main beam. It is actually an inch long which means we'll get that much more room when sailing.
In the dry test fit it looked like we could get away with four clamps and use the stiffness of the board to close all the gaps in a fair curve.
In reality it took 7 clamps, good thing we only epoxied up one at a time! This was about the time Cam said, "If we just had more space and more clamps, think about how much we could get done!"
Sighting down the beam makes sure that the it is straight and centered. Right after this photo we adjusted the closest part a bit to the right as you can see that it is a little off.
After a few hours it was time for more fillets. Here is the glue joint smoothed out with our finger.
The middle two sections get a 1.25" radius fillet.
The outside sections step down to a 5/8" fillet which you can just see in the corner of this picture. Probably could have done the fillets once both boards are on but it seemed easier to do now while there was better access. For the next ones I'll wait till the clamps are out of the way, it's hard to keep the epoxy off of them.
One half of one beam down, can't wait for the weather to clear so we can move outdoors. That will solve the space issue, I'm not sure I'll ever have enough clamps though.
Sunday, February 5, 2012
Gluing the cross beam halves
There is still one pair of beam pieces to cut from the plywood and a few hours before the Super Bowl starts so no time to waste. I'm still waiting on longer clamps to arrive so in the mean time Cam is using the tried and true butt clamp method while he saws. Using the saw at a very shallow angle seemed to help the blade follow the curve of the cut nicely.
The shim helps prevent the plywood from grabbing the saw blade.
Next the beam halves are matched up and glued using the butt blocks. Small nails keep the butt blocks from sliding and a board, clamps and shims apply the pressure. The girls have been making all kinds of snacks while we've been working so now it's off to Cam's house for the game while the epoxy sets.
The shim helps prevent the plywood from grabbing the saw blade.
Next the beam halves are matched up and glued using the butt blocks. Small nails keep the butt blocks from sliding and a board, clamps and shims apply the pressure. The girls have been making all kinds of snacks while we've been working so now it's off to Cam's house for the game while the epoxy sets.
Saturday, February 4, 2012
Starting on the cross beams
The Hitia 17, like most cats, uses three cross beams to hold the hulls together which also support the mast and platform. The plans call for curved and tapering I-beams using plywood for the vertical portion and douglas fir for the tops and bottoms. All three beams share the same profile, but are cut to different lengths to follow the taper of the outside of the hulls.
The beam template is made from cheap plywood and a bit taller than the plans call for to increase the strngth of the beams. We drew a line perpendicular to the factory edge before cutting it out and then drilled holes along this line. This will allow using the big t-square to mark perpendicular lines on the good plywood and sight through the holes as a reference point later on to make sure the template is square so the beams all end up with the same amount of curve. To lay out the patterns I marked six lines on the plywood spaced so that there was a 1/2" margin between each piece to allow for cutting.
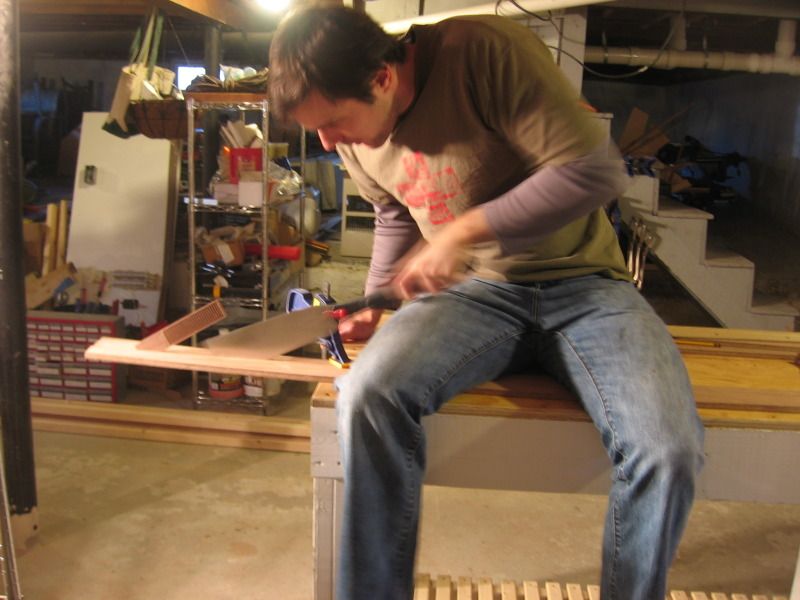
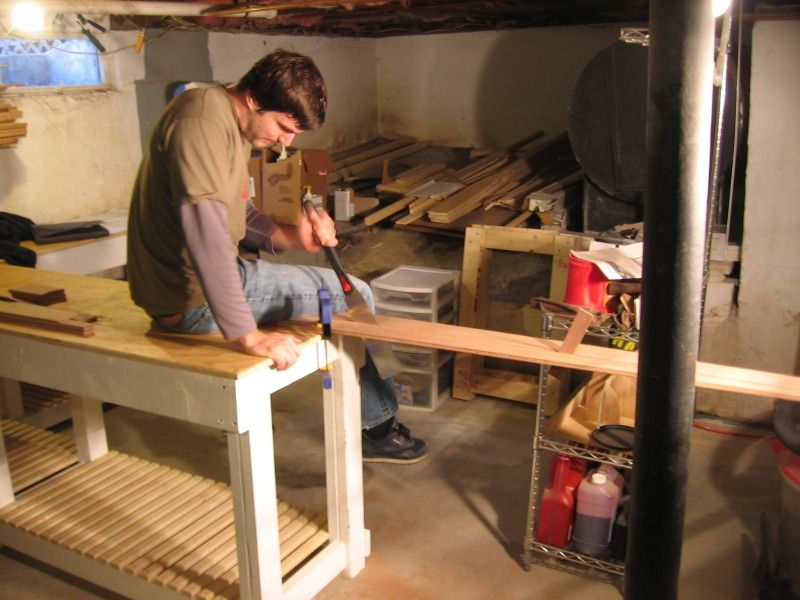
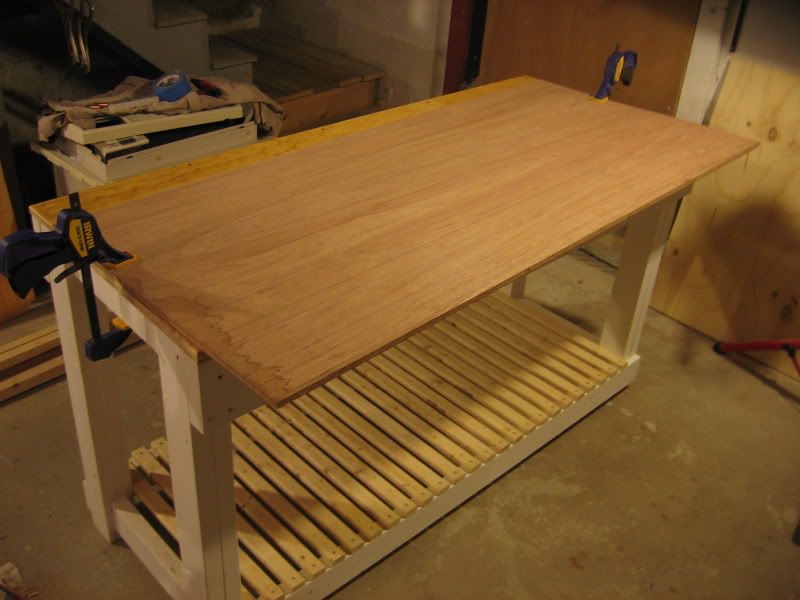
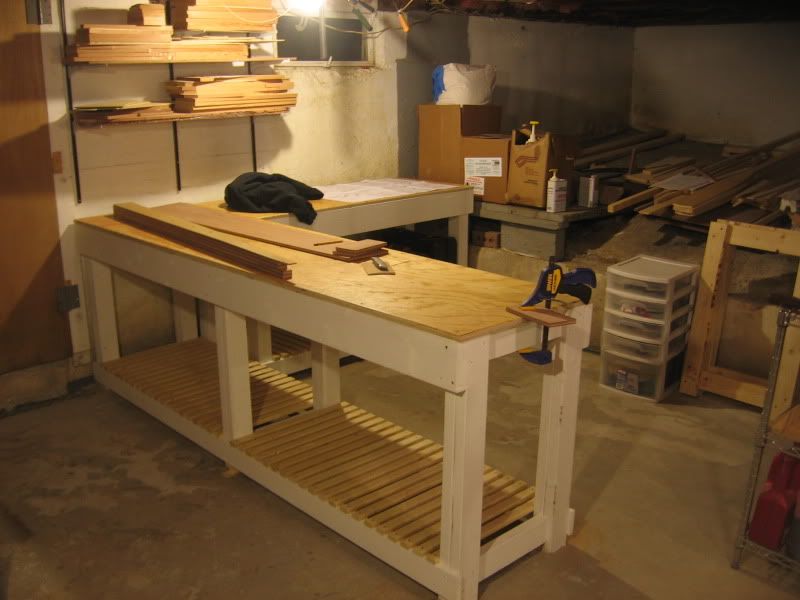
With all six beam halves traced the plywood got clamped to the new workbench and cut with the Japanese pull saw.
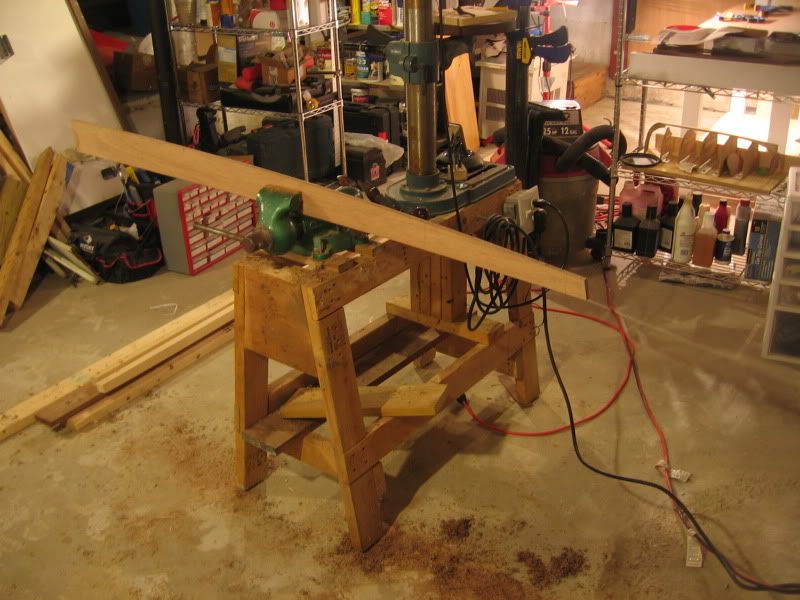
And then the edges planed down to the pencil line with a jack plane I picked up for $6 at a yard sale last year. I don't think there is any faster way to get to a piece of wood to your exact template than a hand plane.
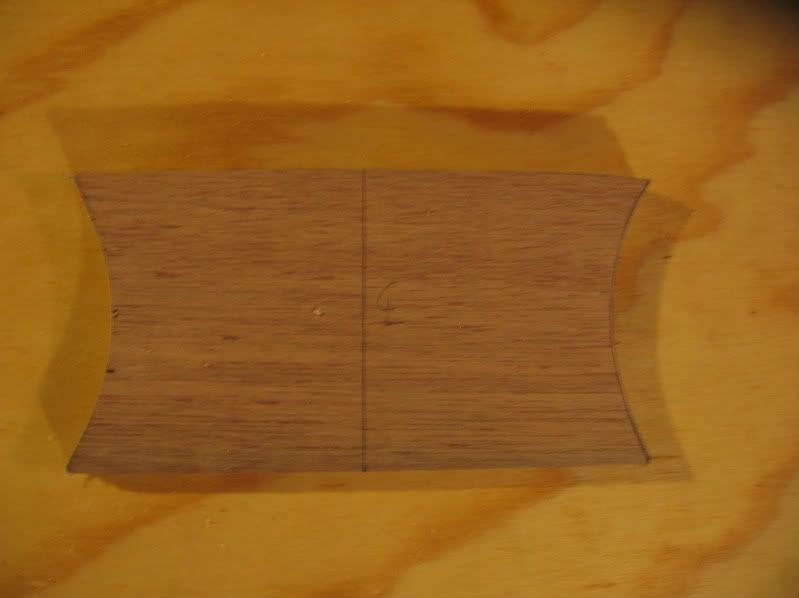
Next come the butt blocks that join the two halves of each beam. These are also 1/2" plywood and curved to match the top of the beam.
So that's it for today. The center and aft beams are cut and shaped, the fore beam is waiting for longer clamps so I can safely cut it, and all three butt blocks are cut and shaped. The plan is for all three beams to get glued together tomorrow morning before the Super Bowl starts. Maybe now that we can lay out the plans and work at the same time we won't keep making so many mistakes!
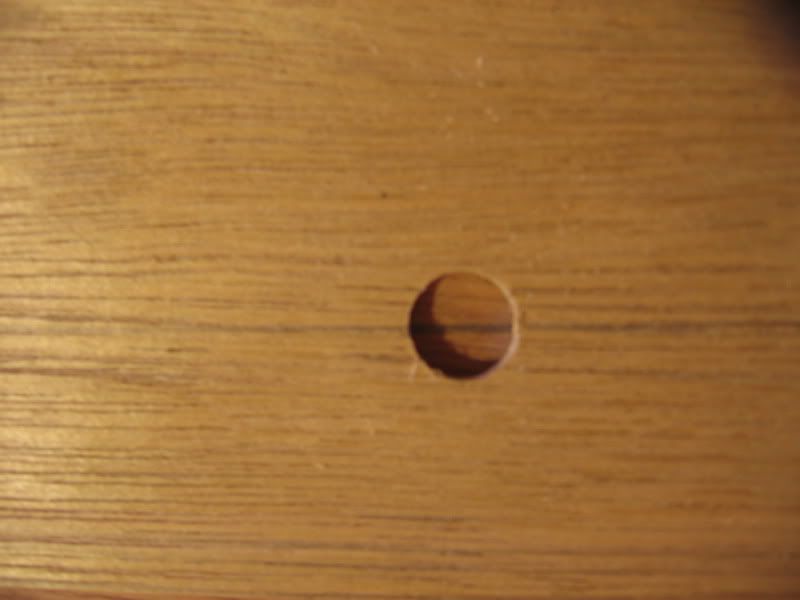
The beam template is made from cheap plywood and a bit taller than the plans call for to increase the strngth of the beams. We drew a line perpendicular to the factory edge before cutting it out and then drilled holes along this line. This will allow using the big t-square to mark perpendicular lines on the good plywood and sight through the holes as a reference point later on to make sure the template is square so the beams all end up with the same amount of curve. To lay out the patterns I marked six lines on the plywood spaced so that there was a 1/2" margin between each piece to allow for cutting.
Then it's as easy as lining up the template with the line by sighting through the holes. This allows for much greater precision than just trying to line up the short edge by feel.
With all six beam halves traced the plywood got clamped to the new workbench and cut with the Japanese pull saw.
And then the edges planed down to the pencil line with a jack plane I picked up for $6 at a yard sale last year. I don't think there is any faster way to get to a piece of wood to your exact template than a hand plane.
Next come the butt blocks that join the two halves of each beam. These are also 1/2" plywood and curved to match the top of the beam.
So that's it for today. The center and aft beams are cut and shaped, the fore beam is waiting for longer clamps so I can safely cut it, and all three butt blocks are cut and shaped. The plan is for all three beams to get glued together tomorrow morning before the Super Bowl starts. Maybe now that we can lay out the plans and work at the same time we won't keep making so many mistakes!
Subscribe to:
Posts (Atom)