Friday, February 3, 2012

New workbenches - Part 1

You have probably noticed that all of our work so far has been on temporary (and my wife might argue inappropriate) surfaces. Well no more working on the floor or the washing machine, we're going to build some permanent workbenches for my basement.

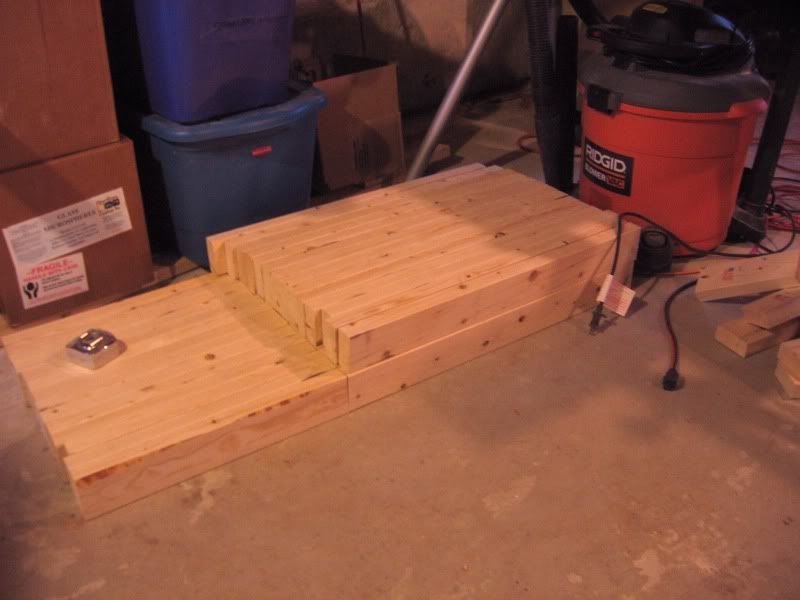
The first step was coming up with a design by browsing the web to see what other people were building. I wanted to use construction lumber and keep it fairly simple and cheap. In the end I combined several elements from each design to come up with something I liked and then worked out the measurements so the final product would be 24" wide and 33" tall. Here are enough 2x4 pieces cut to length to make three benches which can be moved around the shop.

This joint is one element I borrowed from a design I found online that is pretty simple to make and very strong when the surfaces are glued in addition to screws. The two stacked 2x4s will become a leg of the workbench.
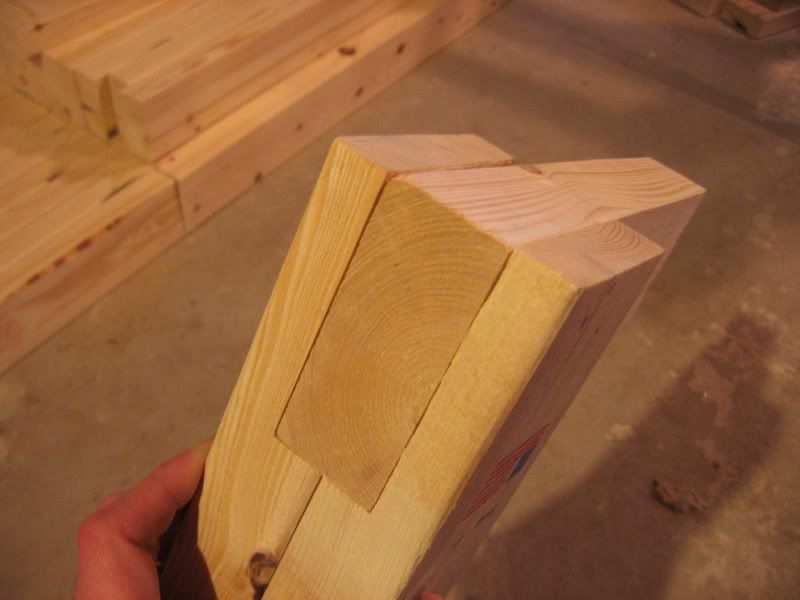

This sort of joint will connect across each pair of legs near the top and floor.
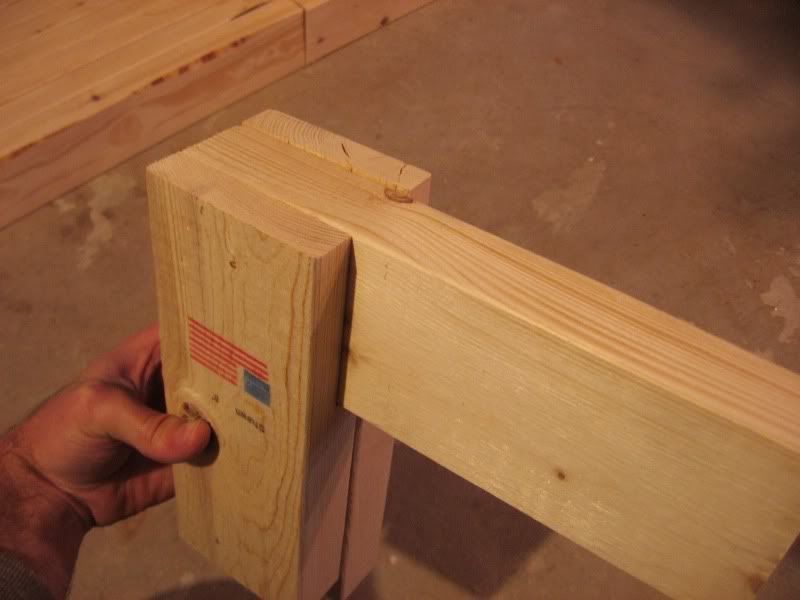

After a LOT of cutting and chiseling I ended up with seven of these pairs of legs which are the basic building block of my workbench design. The two five foot benches will use two of these while the eight foot will have three to add more support in the middle. Probably overkill but I want these to be sturdy.
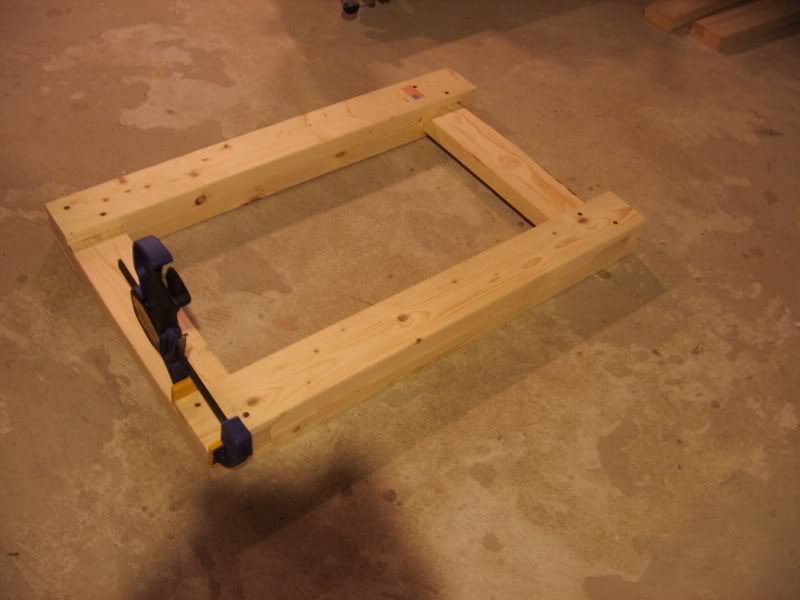

Here is one of the five foot benches coming together. The bottom cross pieces will hold the legs and also support a shelf for more storage.
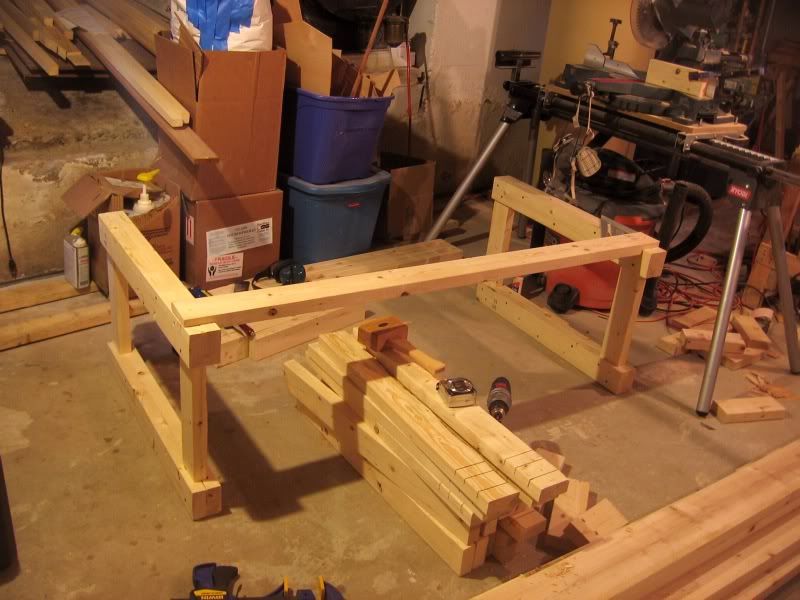

I was going to just put the cross pieces on the surface but i decided to cut another lap joint to make it look nicer and also be stronger because the leg is supported by the face of the lap.
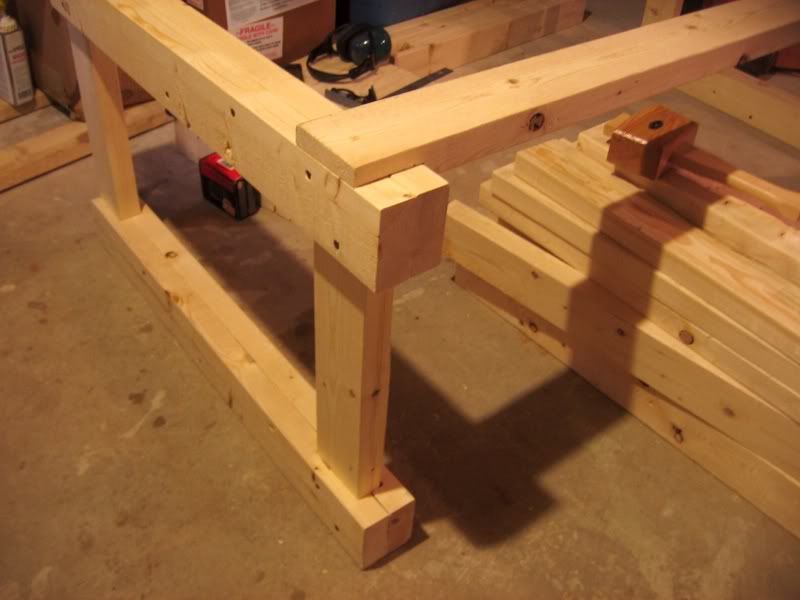
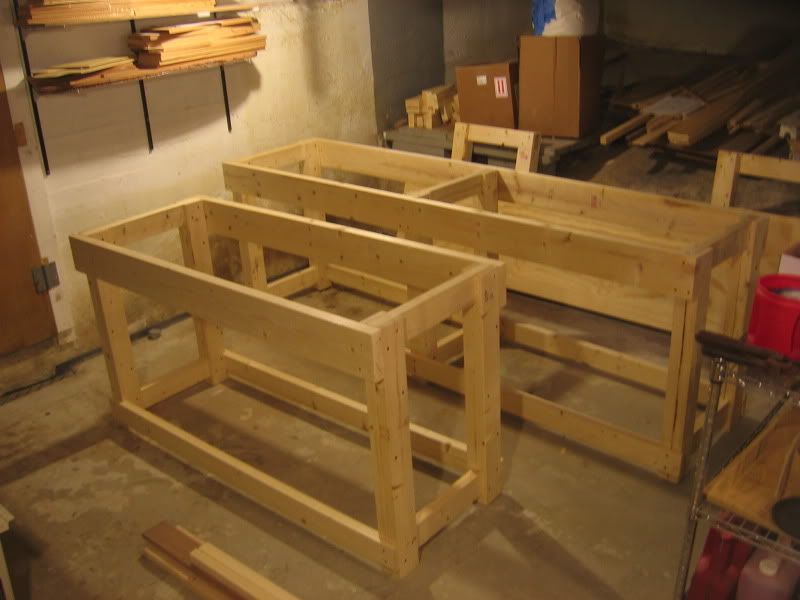
So here are the structures of the first two benches. The top supports are 2x8s which will give a good vertical surface for clamping boards to plane on edge, etc. You can see how the upper boards will hold the plywood top and the lower boards will form a storage shelf.

See Part 2 for the finishing touches ...

Friday, January 27, 2012

Making a bellrope - Part 3


The final step to complete the bellrope is to finish the bottom. This can be done several ways but I am going to use a very large turkshead and a basket weave on the bottom. This was by far the most complicated turkshead I have ever tied and it's a good thing there are YouTube tutorials that you can repeat over and over.

Here is the first complete pass. I had no idea how much line this would take so I cut a huge piece and just managed to not run out after all three passes.


Pass number two complete, one more to go.


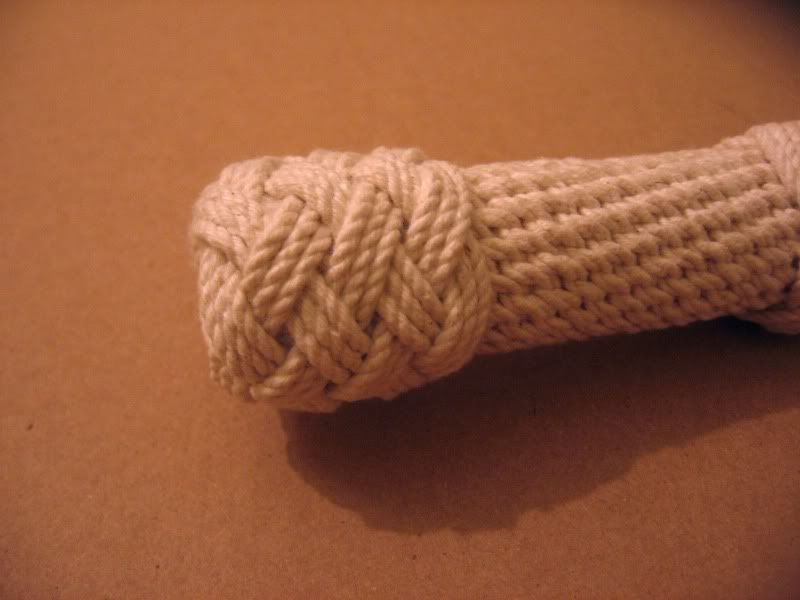
And here it is with the third pass and tightened down on the bottom of the bellrope. This turkshead wraps around the bottom edge creating a nice rounded end without being bulky. However this style of ending knot leaves the center of the bottom face exposed. 


To dress this area up I put on a basket weave to cover the end of the core and pudding layers before applying the turkshead. This was a little fiddly to get tight but it turned out really nice.


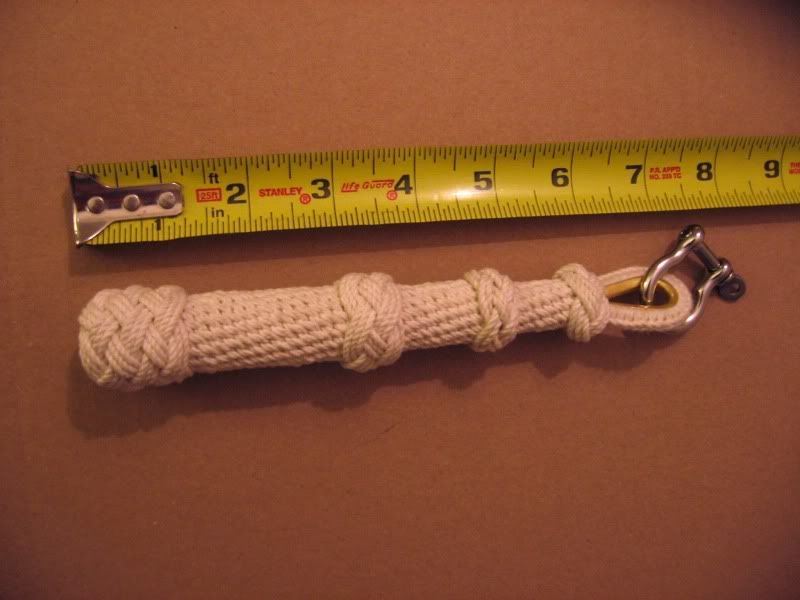
A coat of clear poly-acrylic to keep the salt air off the cotton and the bellrope is done!


Here it is in my hand for a more intuitive sense of scale.


Sunday, January 22, 2012

Making a bellrope - Part 2


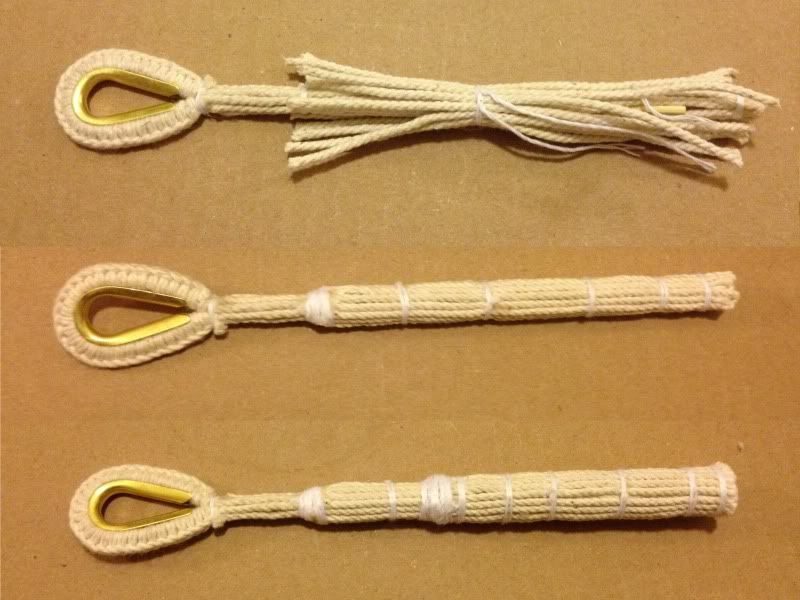
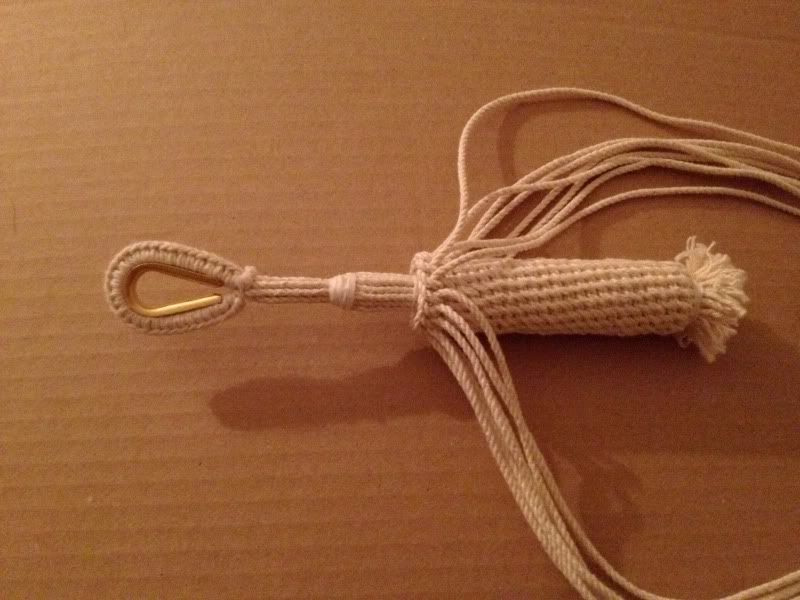
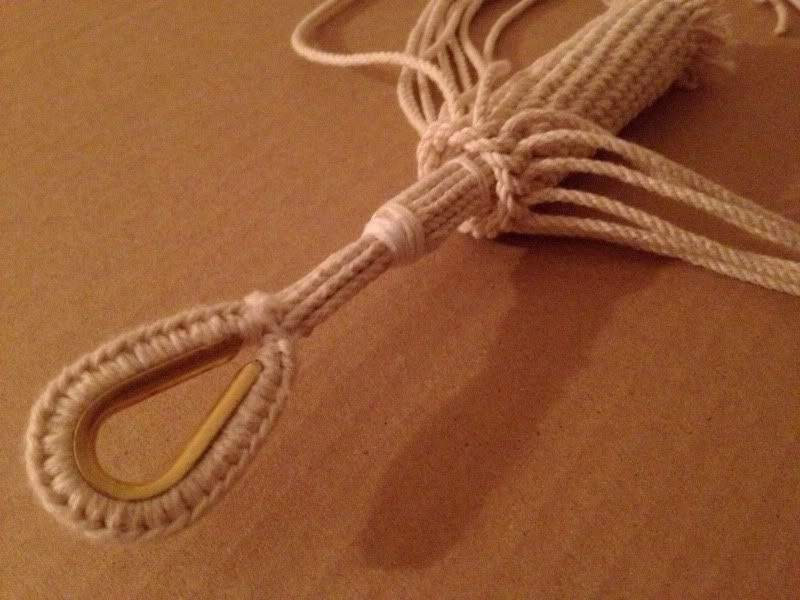
So here is where I left off last time. The eye of the bellrope is done and the central core is made around a bamboo skewer and held tight with constrictor knots and a few strategic drops of super glue.


The next step is to build up the graduated taper with layers called 'pudding'. Each layer is held down with constrictor knots and trimmed. At each change in diameter I added wraps of sail twine to create a taper which will help smooth out the transition when the puddings are covered. A turkshead knot will eventually cover each diameter change to create the stacked cylinder effect in the final bellrope.


Now the core is done and it's time to add the final covering. This can either be hitching or grafting, but I thought hitching would be easier for my first attempt. The hitching is tied in rings of over two hitches, there is a good tutorial here. The slight left twist is from having too many hitches which don't have room to tighten enough for perfectly straight rows.


Here you can see how the circles of hitches cover the 'pudding' layers. At each step down a couple of strands need to be clipped and glued so that the circle of hitches can shrink to the new diameter. It takes trial and error to see how many need to be removed. In this case I tried to match the left hand twist of the first stage.


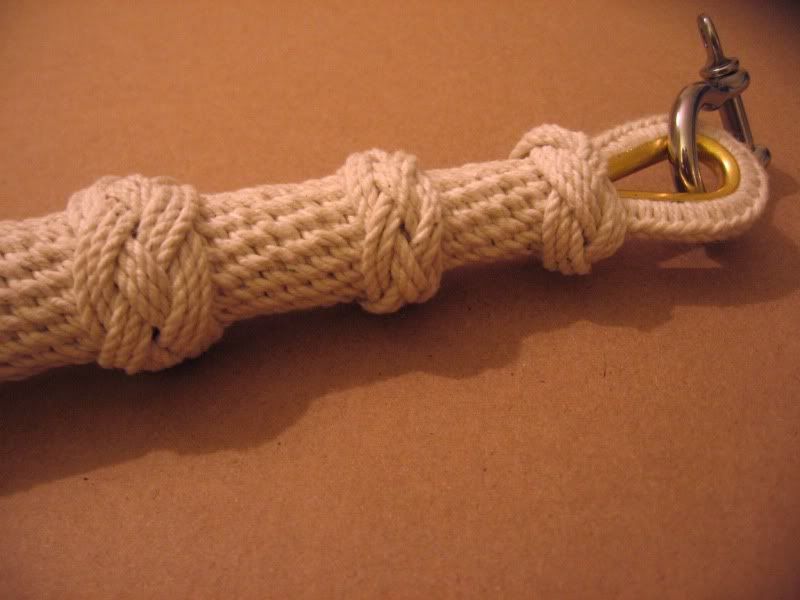
Unfortunately I don't have a picture with the hitching complete, I was in too big a hurry to put on the turkshead knots. Here are the top three turksheads which cover the transitions from the eye to the hitching and then each step in the pudding. Each one is a slightly different combination of number of bytes and number of passes to introduce some variety.


All that is left is finishing off the bottom of the bellrope which I'll leave for the final installment.

Making a bellrope - Part 1

The holidays are always a busy time of year and this year was no exception. The hull pieces were tucked away in the basement to hibernate until it is warm enough to continue epoxy work. Our plan was to build the cross beams, mast, gaff and tillers indoors during the winter. No progress on that front yet other than building workbenches long enough for the mast.

In the mean time, here is a small nautical project I made as a Christmas gift - a bellrope!

My father in law lives aboard a trawler and I noticed while visiting that his ship's bell was lacking a nice bellrope. Having just read several marlinspike books I thought this would be a nice opportunity to try my hand at some fancy knot work.

I based my bellrope on this excellent tutorial at Frayed Knot Arts which also has tutorials on ringbolt, hitching, and grafting which are used to decorate the bellrope. The materials came from Marty Combs' website that sells both the hard cotton line and brass thimbles.

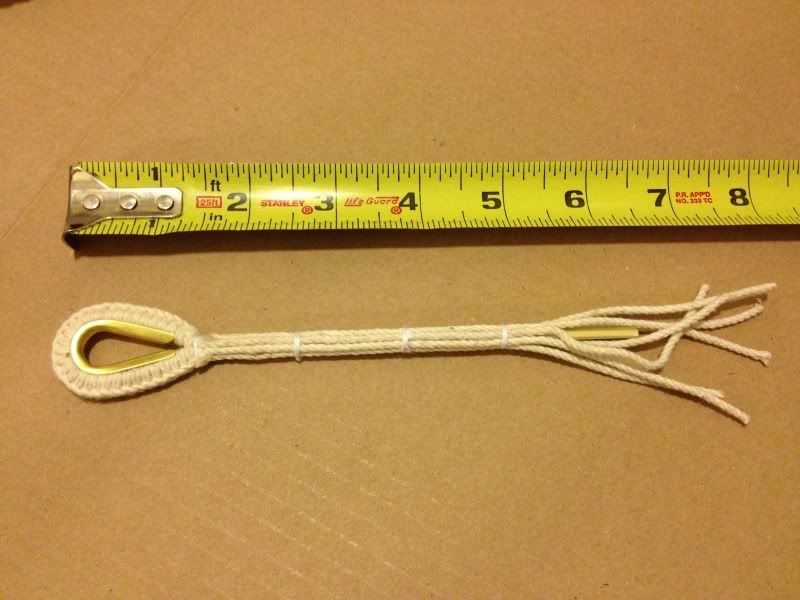
I started by picking the general proportions based on a length of around 7" to fit with the diameter of the bell. Here are #1, #2, and #3 thimbles; I chose the #2 for this project.


Then loop strands of #15b cotton line around the thimble making sure the grove of the thimble is full but not too full that there isn't room for the ringbolt hitching. In this case it took three strands. Secure each side with a small constrictor knot to hold things together and mark the ends of the ringbolt hitching. Things are still a bit long at this point but will be trimmed up later once the eye of the bellrope is formed and tightened permanently.


This is what the ring bolt hitching looks like when complete. It is made out of single strands from the cotton line which works out nicely.


Here it is all together with a piece of bamboo skewer to the middle to fill out the six pieces of line into a nice circle and also add some stiffness to the finished bellrope.


To be continued ...