Tuesday, August 30, 2011

Cutting stems and rudders

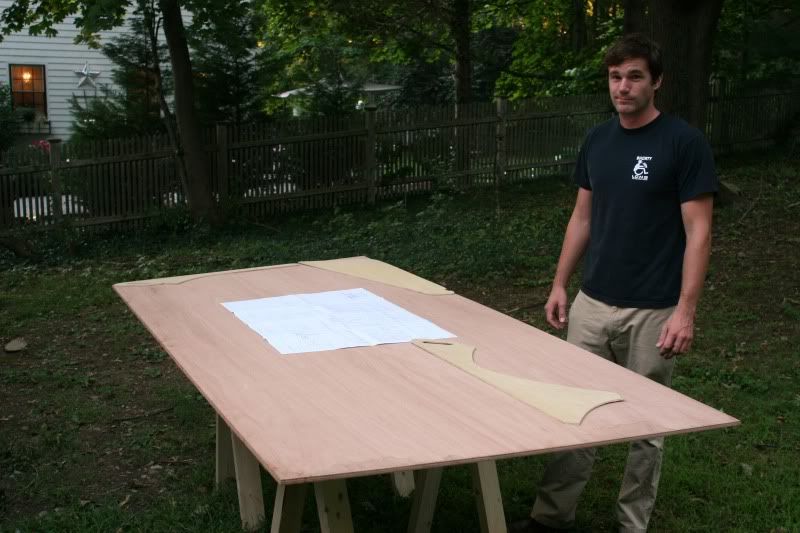
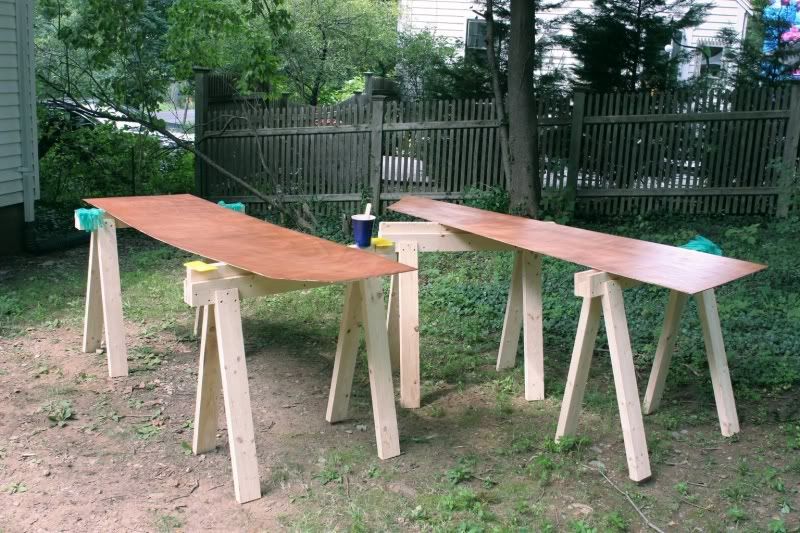
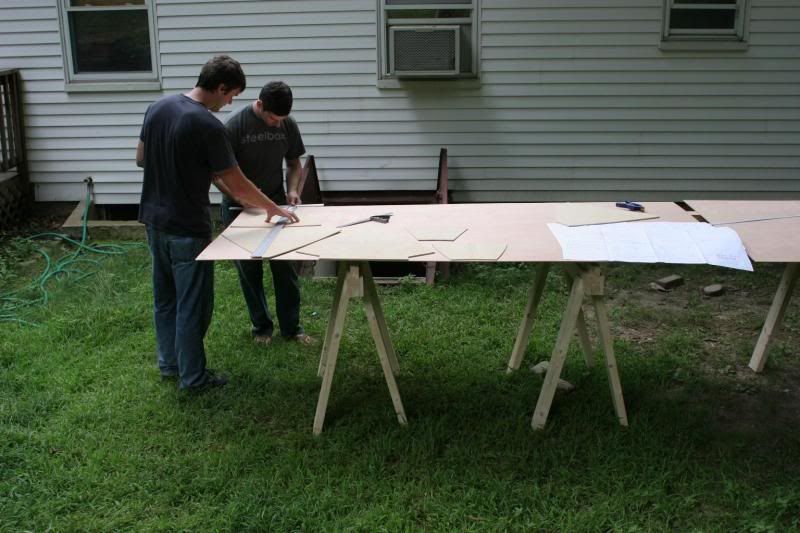
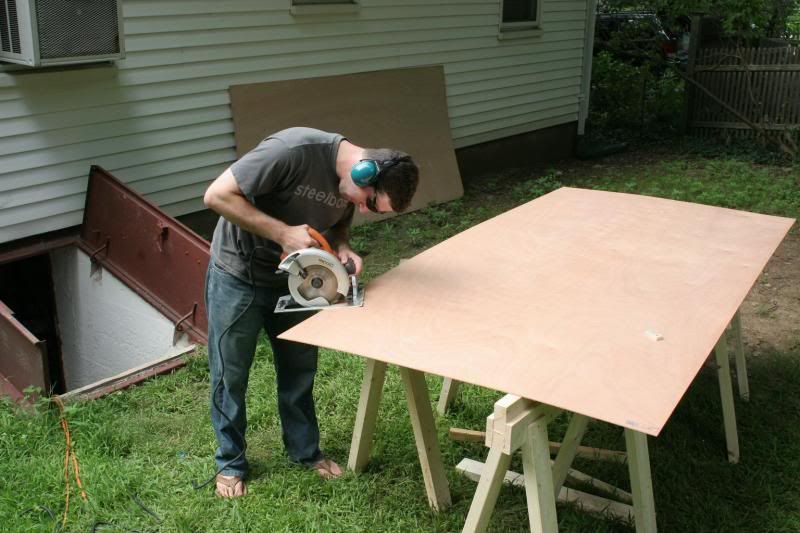
Time to keep this project moving. One of the many tasks between us and stitching up the hull sides is cutting out the stems and rudders. Having learned our lesson cutting out the 4mm panels, we layed out all the templates carefully to conserve as much space as possible and followed the plans exactly. Smile for the camera, Cam.


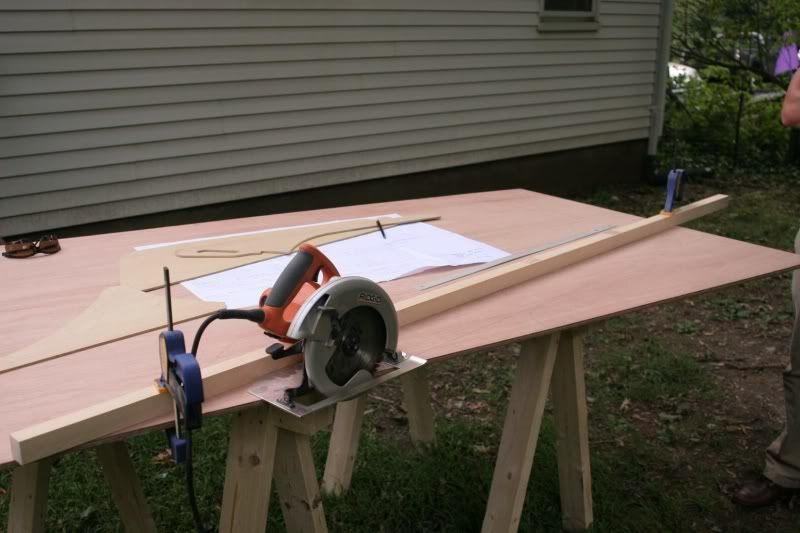
Hopefully that means we won't have any trouble in the future. Next we used a scrap board with a nice straight edge as a guide for the circular saw to put as clean a cut as possible on the rudder to stem edge while we cut it.


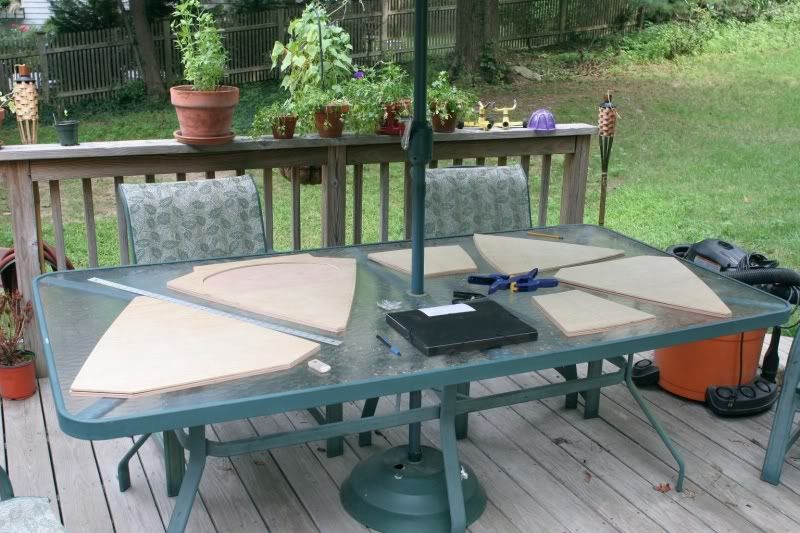
We used the same technique to cut the long edges of all four stems and both rudders. Next we cut out a rectangle that will become the backing pads for the beam lashing points. Had to double check the math to make sure we allowed for the right number of saw kerf widths but it should be just right. Next time the table saw is out we can rip it down to final width and then cut it up into our blocks.

I'd be nice to have everything ready to stitch at the end of the weekend. Not sure if that is doable but it's a nice goal.

Saturday, August 27, 2011

Halfway done coating bulkheads

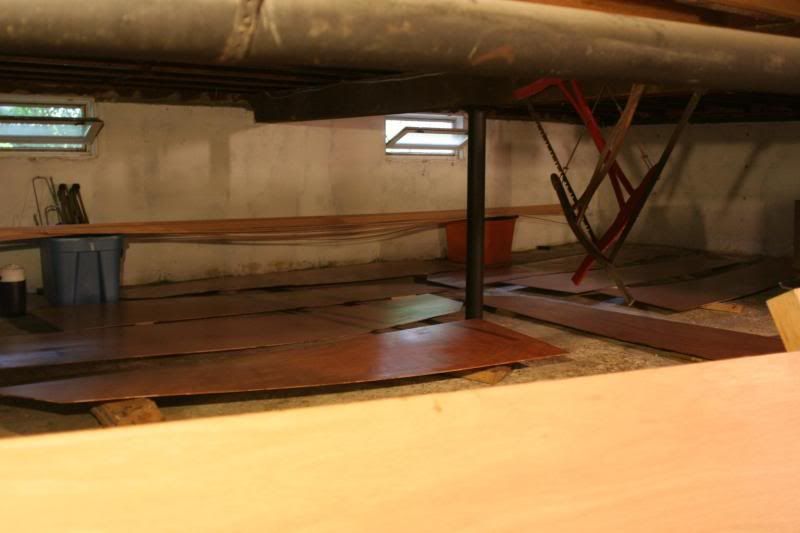
The hull panels have been drying in the eves of the basement and are just itching to be sanded and glued together.


Over the week I made some steady progress coated a couple of bulkheads a night after work. Now all the bulkheads are covered on one side. By next weekend they should all be coated and maybe have the floor and deck supports glued on as well.


New England is bracing for hurricane Irene. The rain is going to start in a few hours so we can't do much this weekend. One day I'll have a proper workshop and a measly tropical storm won't have to slow me down.

Tuesday, August 23, 2011

Epoxy coating hulls

So after a very busy day of cutting and routing the plywood pieces, here is where the project stood on Sunday morning. Six pairs of bulkheads with their corresponding templates, four bow panels, one pair of hull panels trimmed to final shape and three pair of hull panels roughly cut.


I wish we stopped to take photos of the next part because it was kind of clever, but i'll describe it instead. In order to hold the good hull sides to the rough cut pieces during the routing we used a staple gun around the edges instead of two sided tape like we had been using on the bulkheads. This turned out to be very quick and stable and the bottom edges are going to be heavily epoxied and fiberglassed anyway because of the stitching later on.

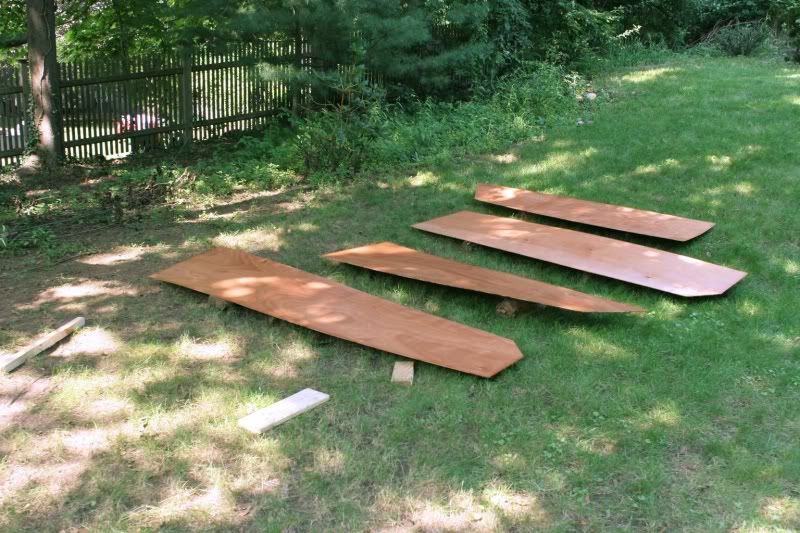
After the SNAFU with cutting out extra bulkheads we took the time to lay out all the panels on the lawn and identify which sides to determine the inside and outside for each piece.

That meant it was time to break out the 5 gallon jug of West epoxy and start coating. Every internal surface gets two coats of epoxy hot on hot so that they will bond chemically.


The okoume turns a very pretty reddish brown when coated in epoxy. It's almost a shame we're going to paint it.


After the first coat the panels were moved to the shade to cure until tacky to the touch. The timing worked out perfectly so that after we gave each of the eight panels one coat, the first was ready for the second coat.


After round two of epoxy the panels were brought down to the basement to dry over night. We didn't have time to do the bulkheads so those will have to wait for another day.

Saturday, August 20, 2011

Two steps forward, one step back

The day started with a run to the lumber store at 7:30 and ended 12 hours later with all the hull panels and bulkheads cut and lumber sawn to dimension. But in our haste to get as much done as possible we also cut twice as many bulkheads as needed. The extra bulkheads can be salvaged for a lot of small parts, but we'll need at least one more sheet of 4mm ply, maybe two.

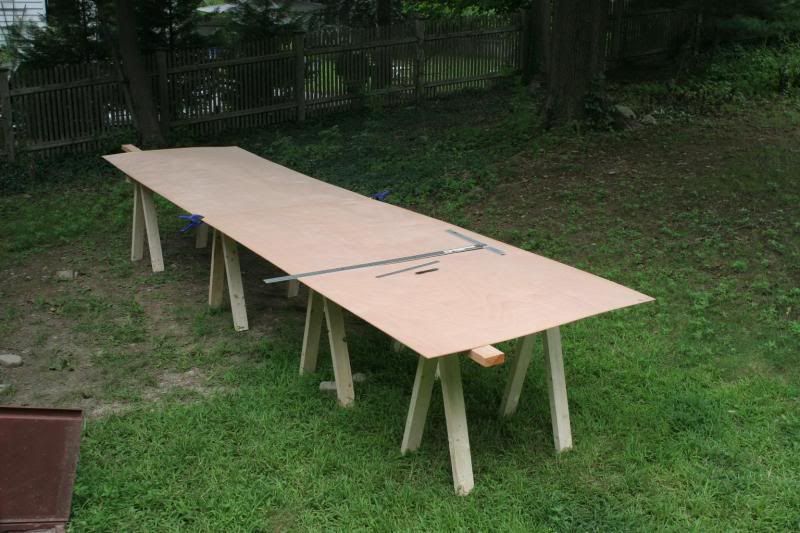
Everything began by laying out two sheets of the 4mm okoume plywood end to end and marking out all the measurements for the front and rear hull panels.


It took some double checking to get the outline and bulkhead locations to all agree, but pretty soon we had a batten through all the marks and could see hulls taking shape.


Then it was time to cut out the hull side panels and clean them up to serve as a template for the marking the rest.


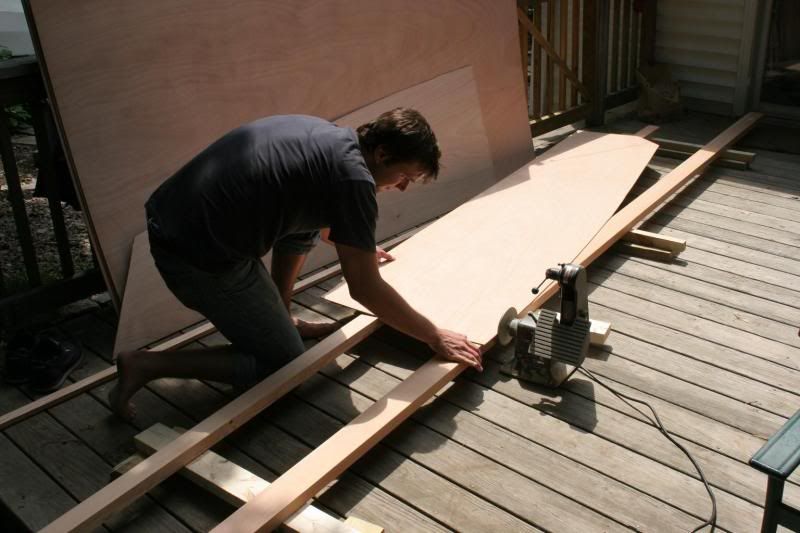
We set up a temporary frame on the deck using the douglas fir boards that would eventually become the keels and stringers to slide the panels by the sander. Once the shape was close we finished by hand with a sanding block right to the pencil lines.


Next we used the first set of hull panels to mark and rough cut the other three pairs. We didn't want to waste any plywood (the irony!) by mixing up which sheet had been used for fore or aft panels so we laid out the bulkhead templates based on the layout guide in the plans and cut them out as well. Unfortunately we marked them out on all eight sheets instead of the four sheets required.

Lesson learned - if it's hot and you're tired and in a hurry to make progress, you're likely to make mistakes. We slowed down substantially after we realized what we had done and made sure to re-consult the plans at every step.

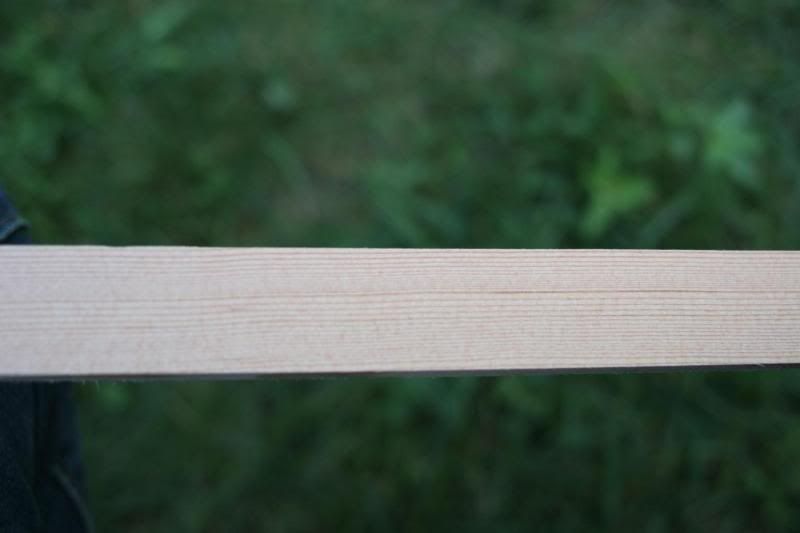
Next we took a break from the plywood and started to re-saw the douglas fir into the 3/4" x 1/2" keels and 1" x 1/2" stringers. Here you can see the grain spacing on a 1" wide strip.


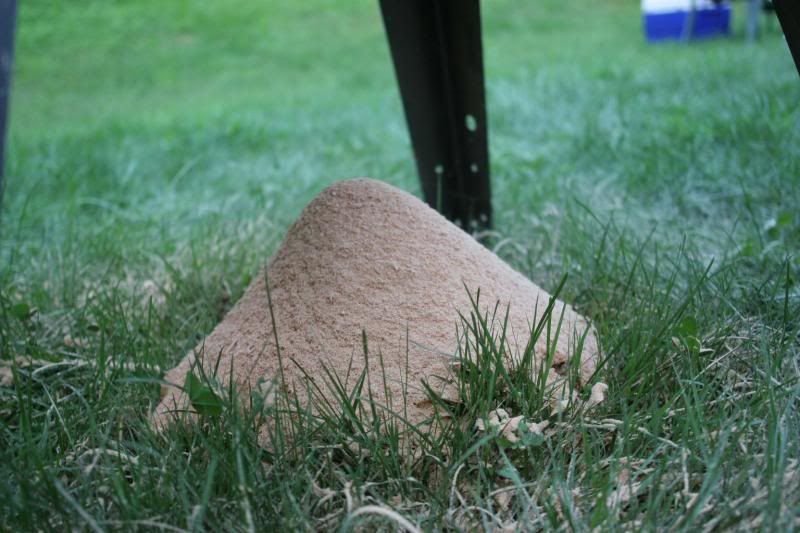
By the time we were done re-sawing it was time to call it a day and to clean up the small mountain of sawdust under the table saw.


Tomorrow all the hull panels will get cleaned up on the router table and then coated in epoxy.